


Batch social video export: scale by burning subtitles, overlays, voiceovers, and multi-platform masters
Scale short social video publishing by batching burned captions, reusable overlays, voiceovers and platform-specific exports. Practical workflow, templates, and QA tips.
 AI-generated
You need to publish dozens of short social clips each week without losing brand consistency or accessibility. Batching the finish—burning subtitles, adding voiceovers and overlays, and exporting platform-aware masters—lets small teams hit deadlines and audience metrics reliably. This article gives a practical workflow you can copy: design reusable overlays and a brand kit, automate subtitle burns and voiceovers across many files, and produce TikTok/Reels/Shorts masters in one run. I’ll include concrete export settings, template rules, and a GoCrazyAI Media Mixer walkthrough so you can finish clips inside one tool when you want.
Quick Answer
How do you scale short social videos with batch social video export? Batch the finish: create a single vertical master, burn captions, apply reusable overlays and voiceovers, then export platform-aware outputs. Use consistent presets and a brand kit to keep legible overlays. Tools like GoCrazyAI Media Mixer let you automate subtitle burns and export ready-to-publish files in one click.
Why does burning subtitles and overlays at the finish improve reach, watch time, and accessibility? (pitfalls if you skip it)
Burning subtitles and overlays at the final export usually increases completion and watch-time because viewers on mute or in noisy environments can still follow the story. One industry slide deck notes roughly 80% of viewers are more likely to finish a video with captions—so burned captions are often a critical finish step[1]. Burned overlays also ensure your brand lockups and CTAs remain visible after platform crops or re-encodes.
If you skip burning captions or rely only on platform auto-captions, you risk inconsistent placement, timing drift after re-encoding, or missing captions on embedded players. Overlays that are live text layers can be lost or mispositioned when platforms crop or re-encode. For better results, bake captions and essential overlays into the pixel data at export time. That guarantees consistent appearance across feeds and increases accessibility for viewers who need readable text.
Practical tip: keep caption lines to two rows, large enough for small screens, and use a semi-opaque background to preserve legibility over busy footage.
How do I design reusable overlay templates and a brand kit for batch video exports? Examples and rules
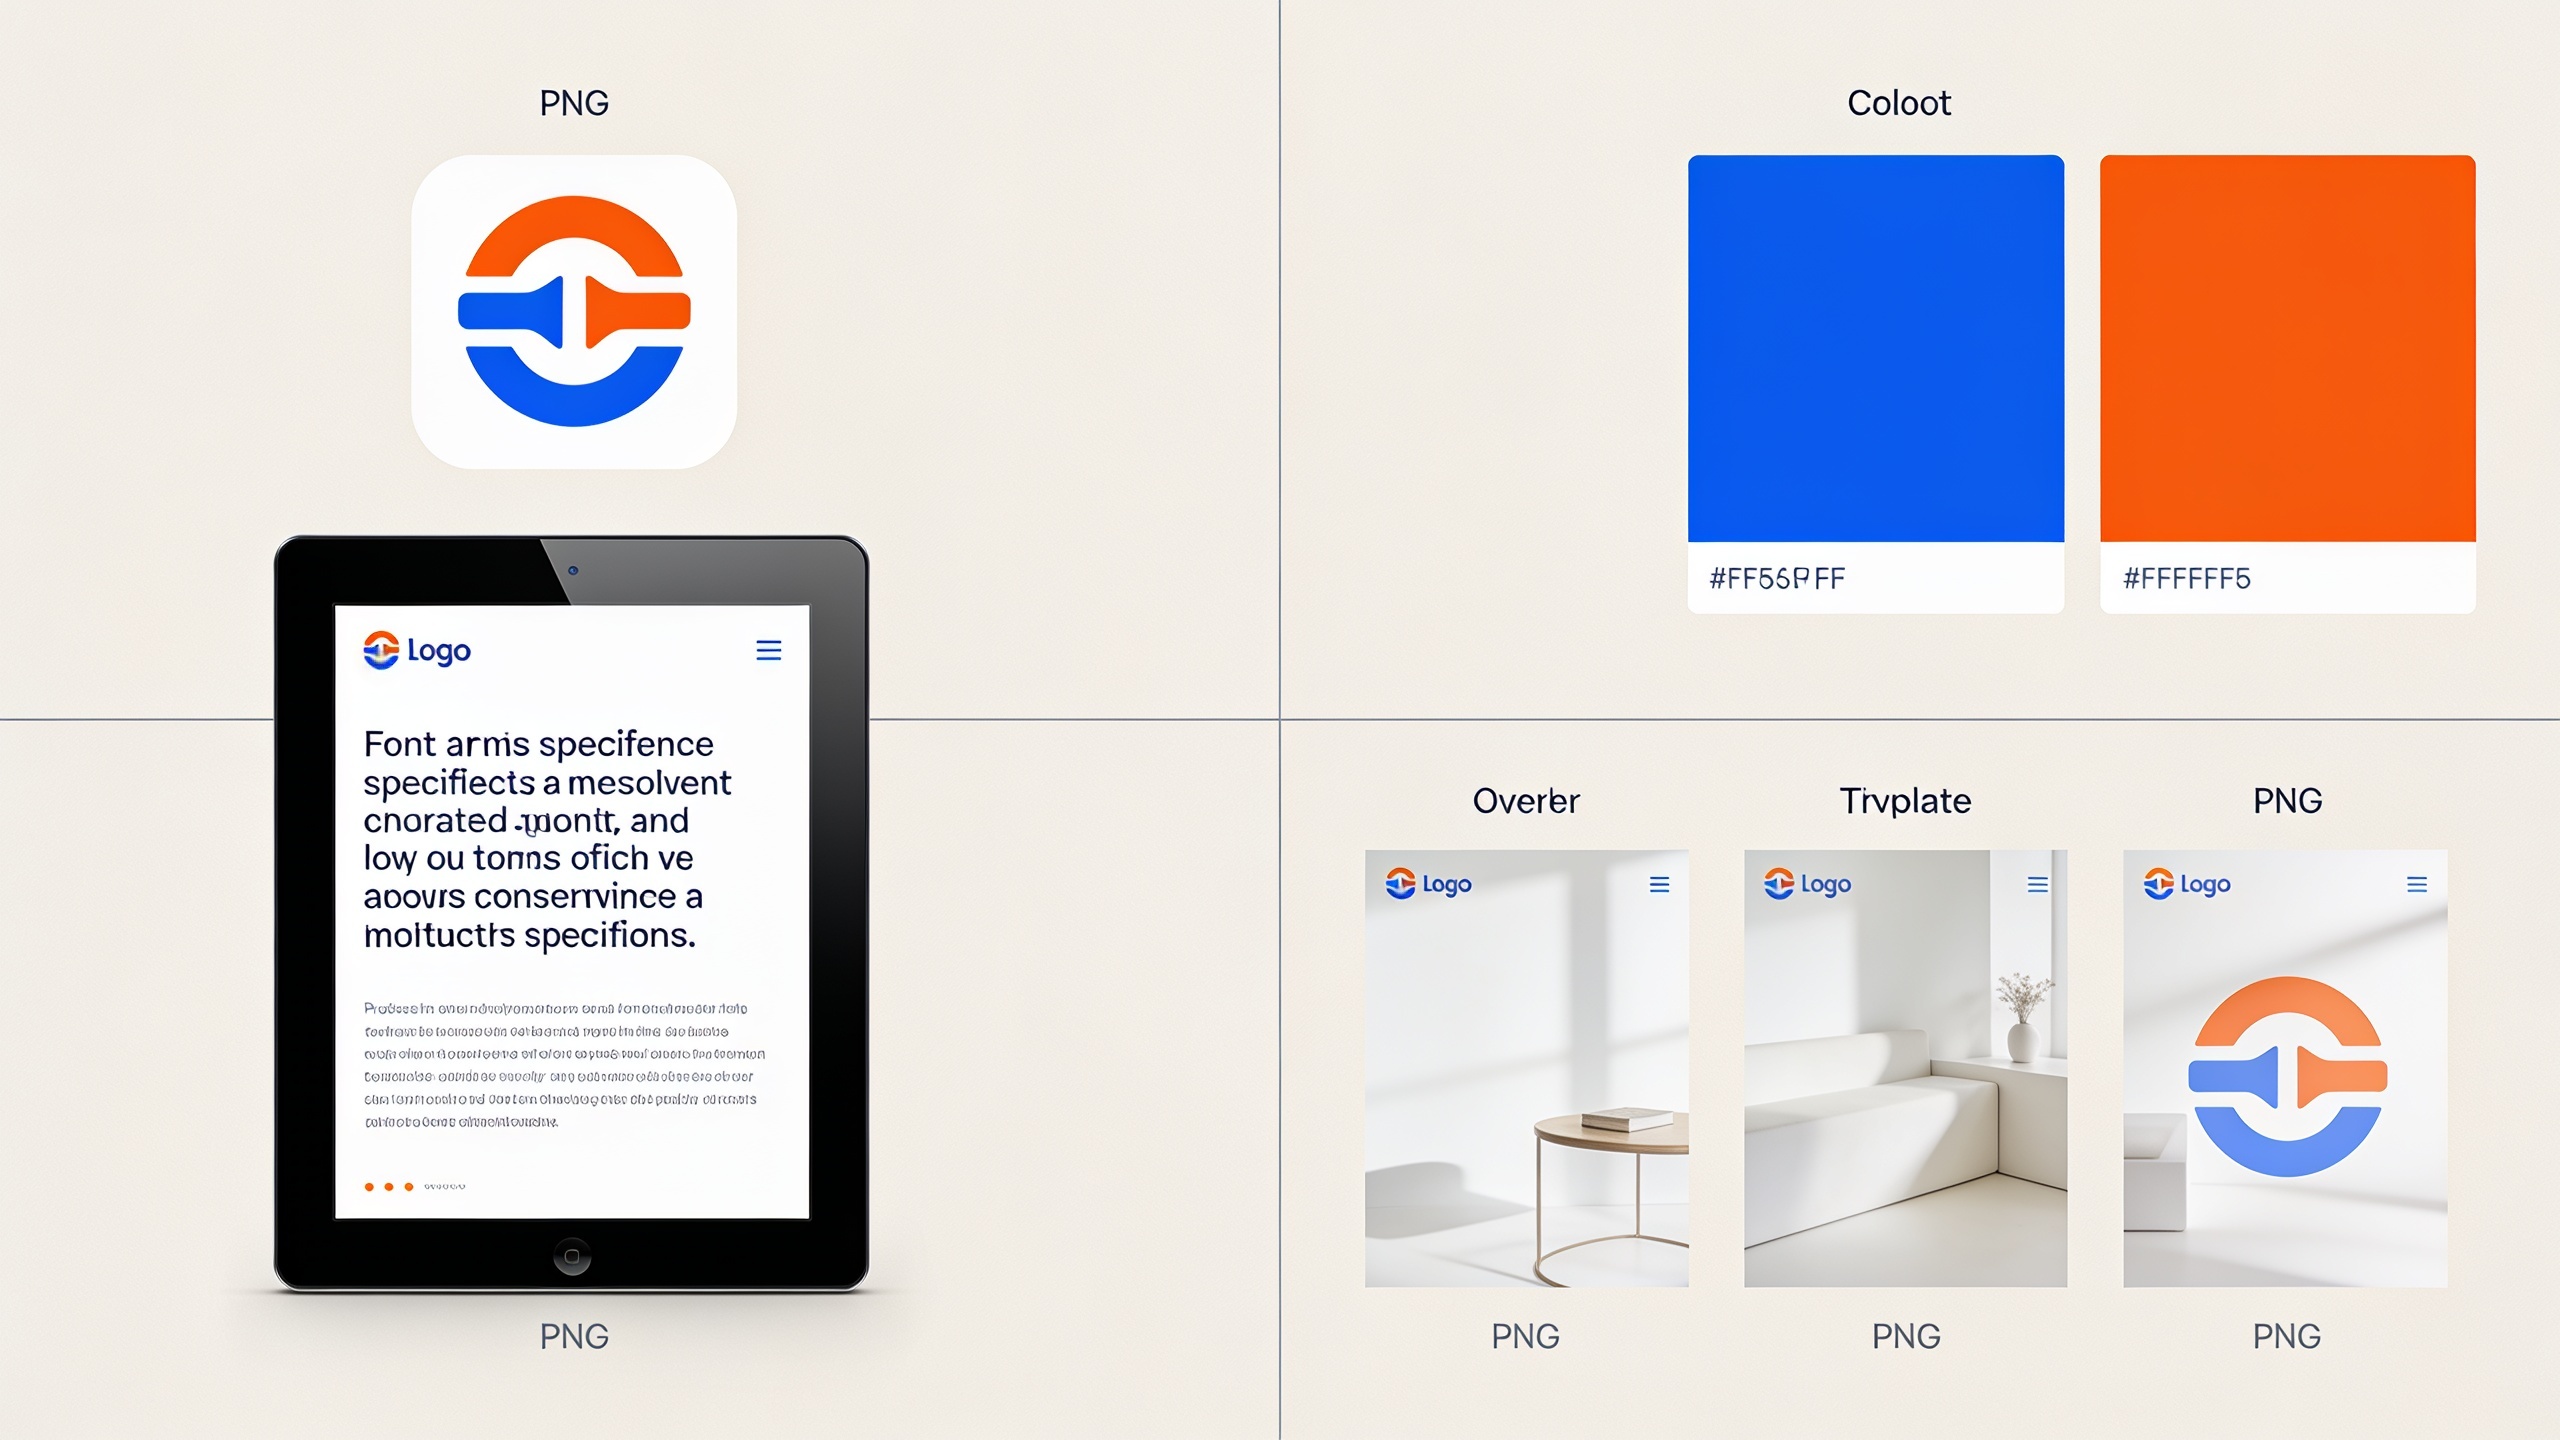
A small, constrained brand kit speeds batch exports and keeps overlays legible across aspect ratios. Start with a stored kit that includes a logo PNG/SVG, one readable body font, two accent colors, and a single CTA style. Teams typically recommend 2–3 palette colors and a single body font to avoid unreadable text when clips are cropped for different platforms (GoCrazyAI brand-kit overlay guidance).
Design rules to copy:
- Keep body text >36 px when scaled to 1080×1920 vertical. Use weight, not small size, for emphasis.
- Use a short headline style (one line) and a smaller subhead (max two lines) for captions or CTAs.
- Add a 6–12% safe-margin from frame edges so overlays are not cut on platform crops.
- Store each overlay as a template with adjustable text fields and an alpha channel for logos.
Example overlay templates to create and reuse:
- Top-left logo badge (small, 12% width) with 50% opacity background.
- Lower-third caption panel with semi-opaque rectangle and centered text.
- CTA end card template with a contrasting button color and 3-second minimum duration.
Example prompt for a design brief teams can pass to a designer or asset generator:
"Create a vertical lower-third subtitle template: semi-opaque black rectangle, rounded corners 12px, white Inter-like body font, font size scaled for 1080×1920, two color accents (teal #00BFA6, warm gray #4A4A4A). Export PNG with alpha and a Figma file."
 AI-generated
Hands-on: How do I batch burn subtitles, add voiceovers and SFX to dozens of clips with GoCrazyAI?
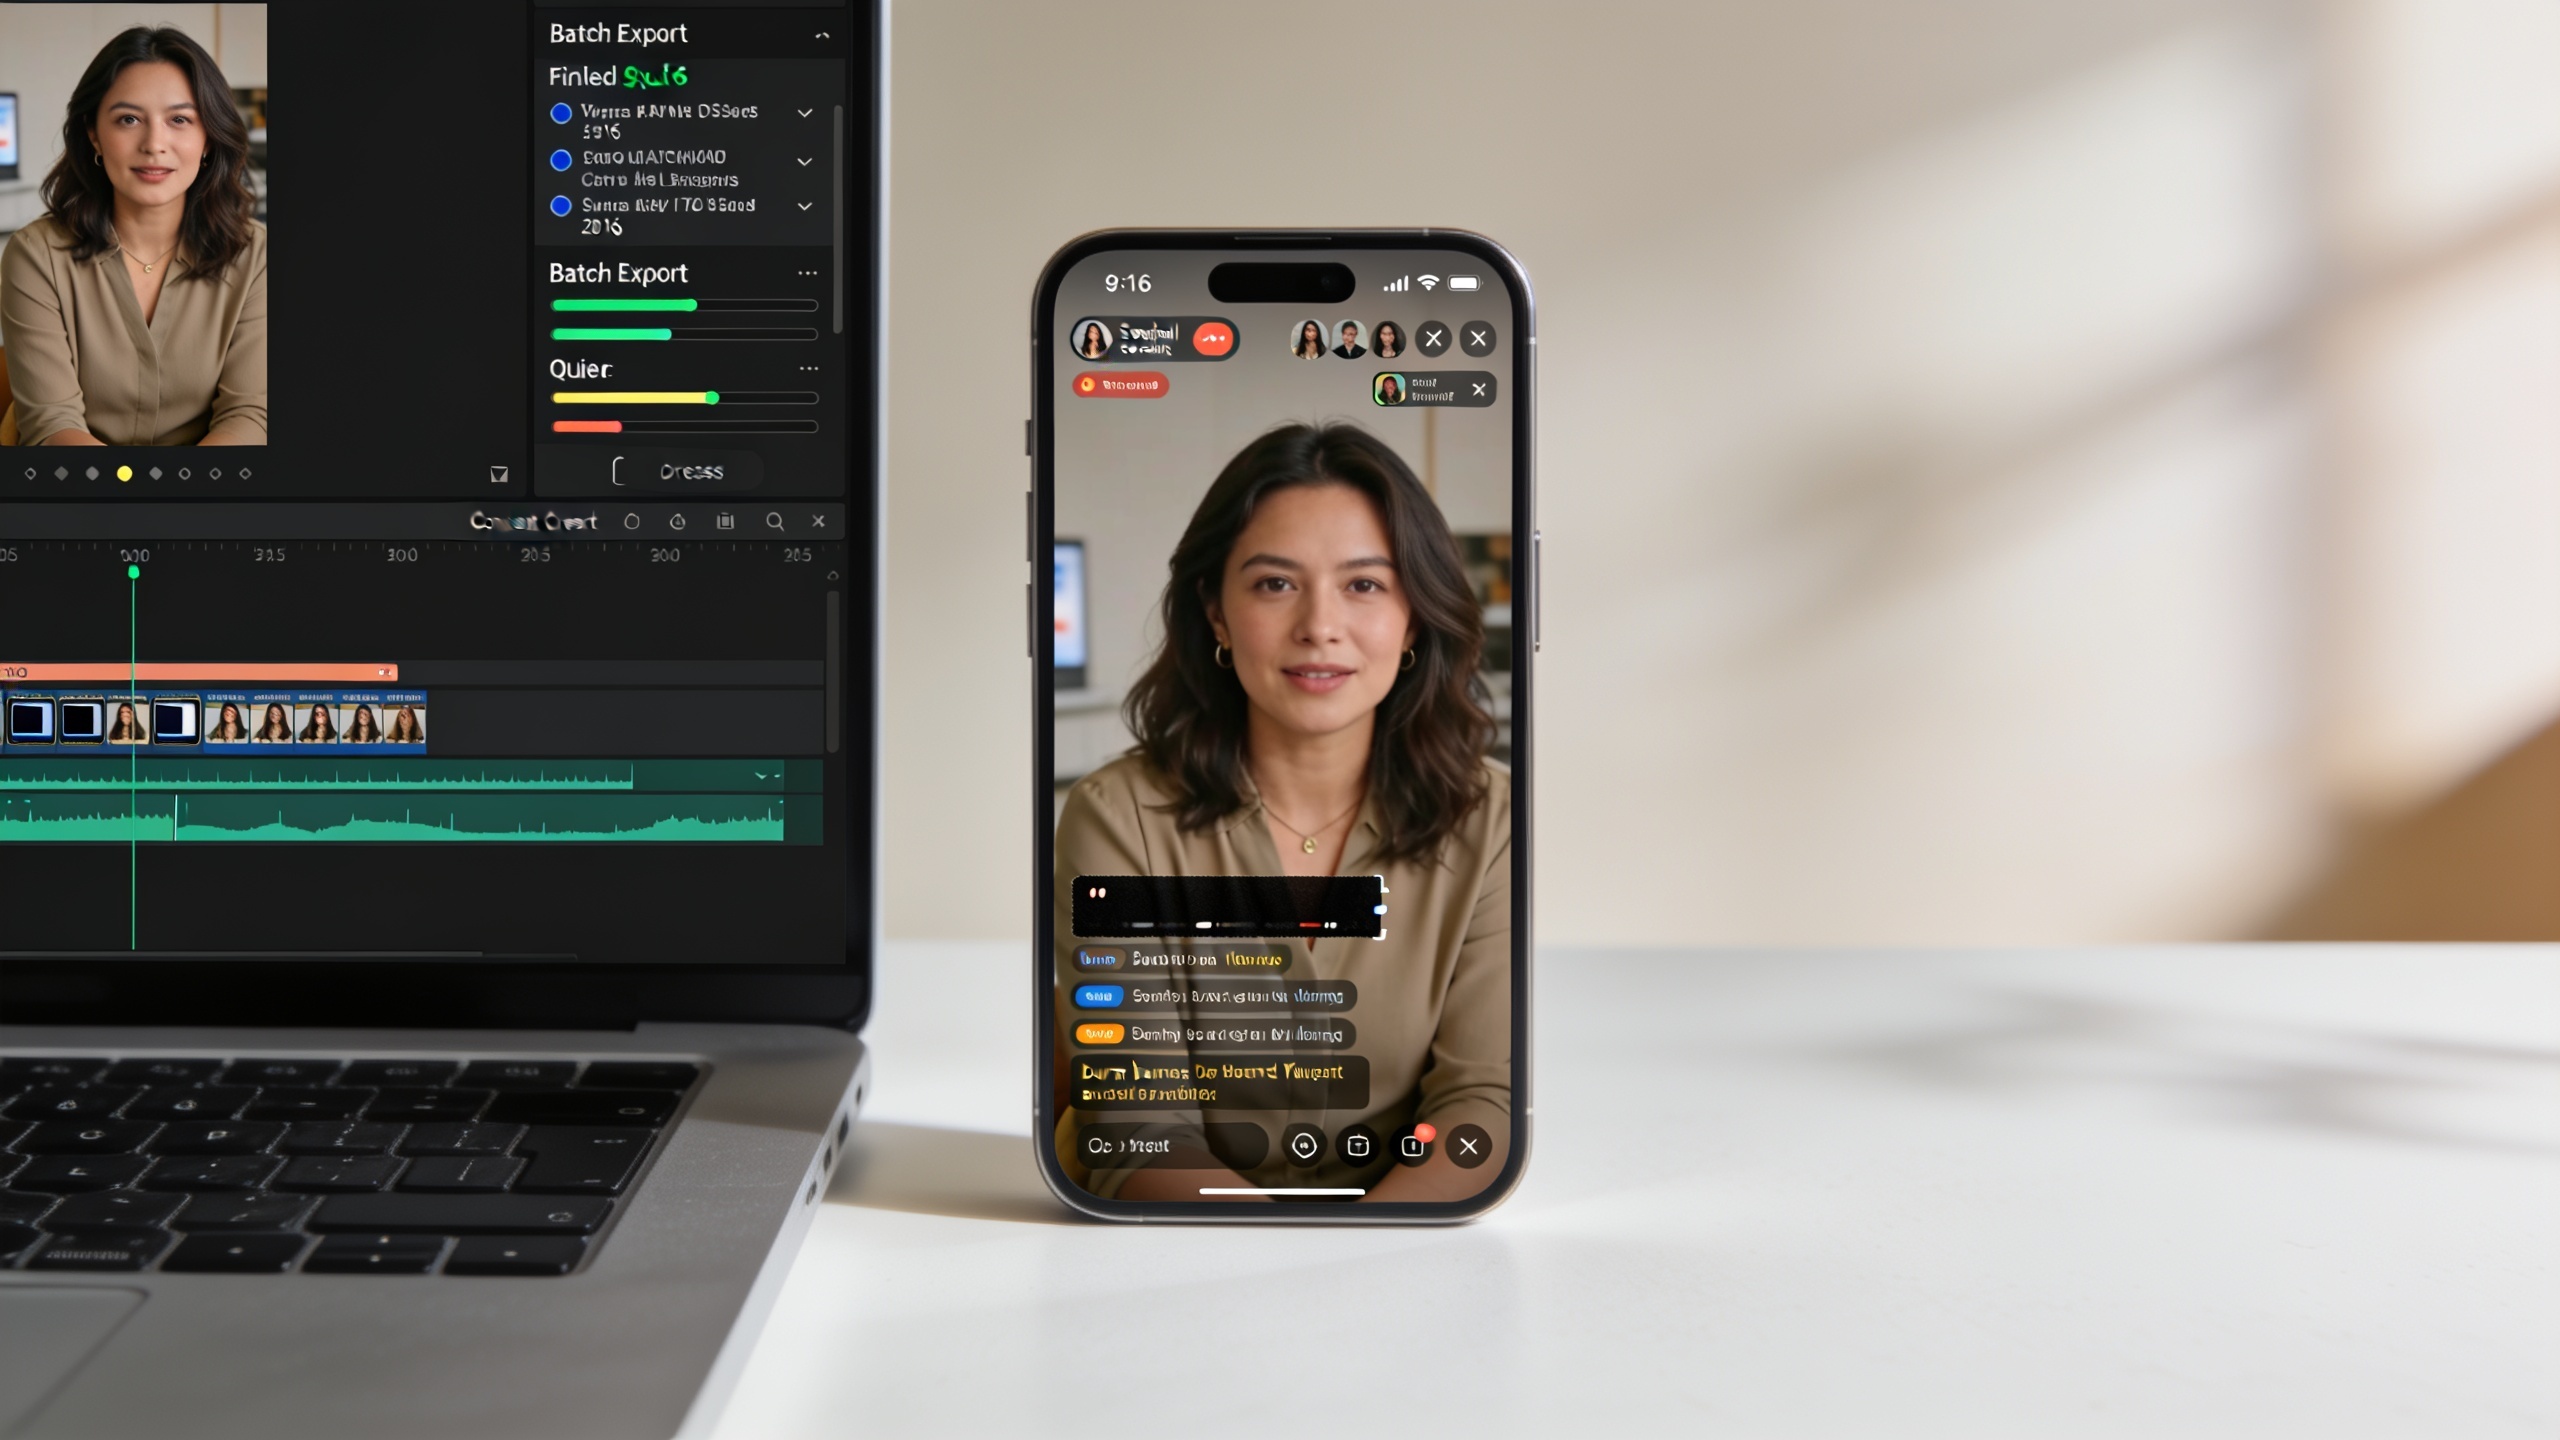
You can batch-burn subtitles, add voiceovers, and layer SFX in a single panel using GoCrazyAI Media Mixer so that all post-production stays in one tool. Media Mixer generates and burns subtitles automatically, lets you import or record voiceovers, layer music and SFX, and export a single ready-to-publish file per clip or a batch of clips. Use the same brand kit and overlay templates across the batch to keep everything consistent.
Step-by-step on GoCrazyAI Media Mixer (summary): import clips, select the brand kit, choose "Generate Subtitles" or upload an SRT, assign a voice for narration from the AI Voices panel or upload an MP3, drop music from the AI Music generator, apply an overlay template, then queue a batch export. The Media Mixer keeps subtitles, music, and voiceover accessible from one panel so you avoid switching apps.
When you prepare voiceovers at scale, normalize loudness to -14 LUFS for social platforms and use short SFX stems (300–800 ms) for stings. If you need synthetic narration for many clips, use consistent voice presets from the AI Voices library and export a single narration track per clip to be baked in during the final render.
GoCrazyAI Media Mixer reference: see the AI Video Editor panel for subtitle generation and one-click exports to publish-ready files (/ai-video-edit).
Hands-on: How do I prepare one source clip and export platform-specific masters (TikTok, Reels, Shorts) in a single batch?
Prepare a single highest-quality vertical master and use preset exports for platform-specific masters. A reliable approach is to encode a vertical master at 1080×1920 H.264 with AAC audio and a target bitrate around 10–12 Mbps—this commonly passes the strictest platform decoders and reduces re-encodes. Then create crop and duration presets for each platform to produce the final deliverables without changing the core edit.
Workflow example:
- Start with a 4K or 1080 vertical source. Apply burned subtitles and overlays in the pixel layer.
- Export a vertical master: 1080×1920, H.264, AAC 128 kbps, target 10–12 Mbps, -14 LUFS loudness.
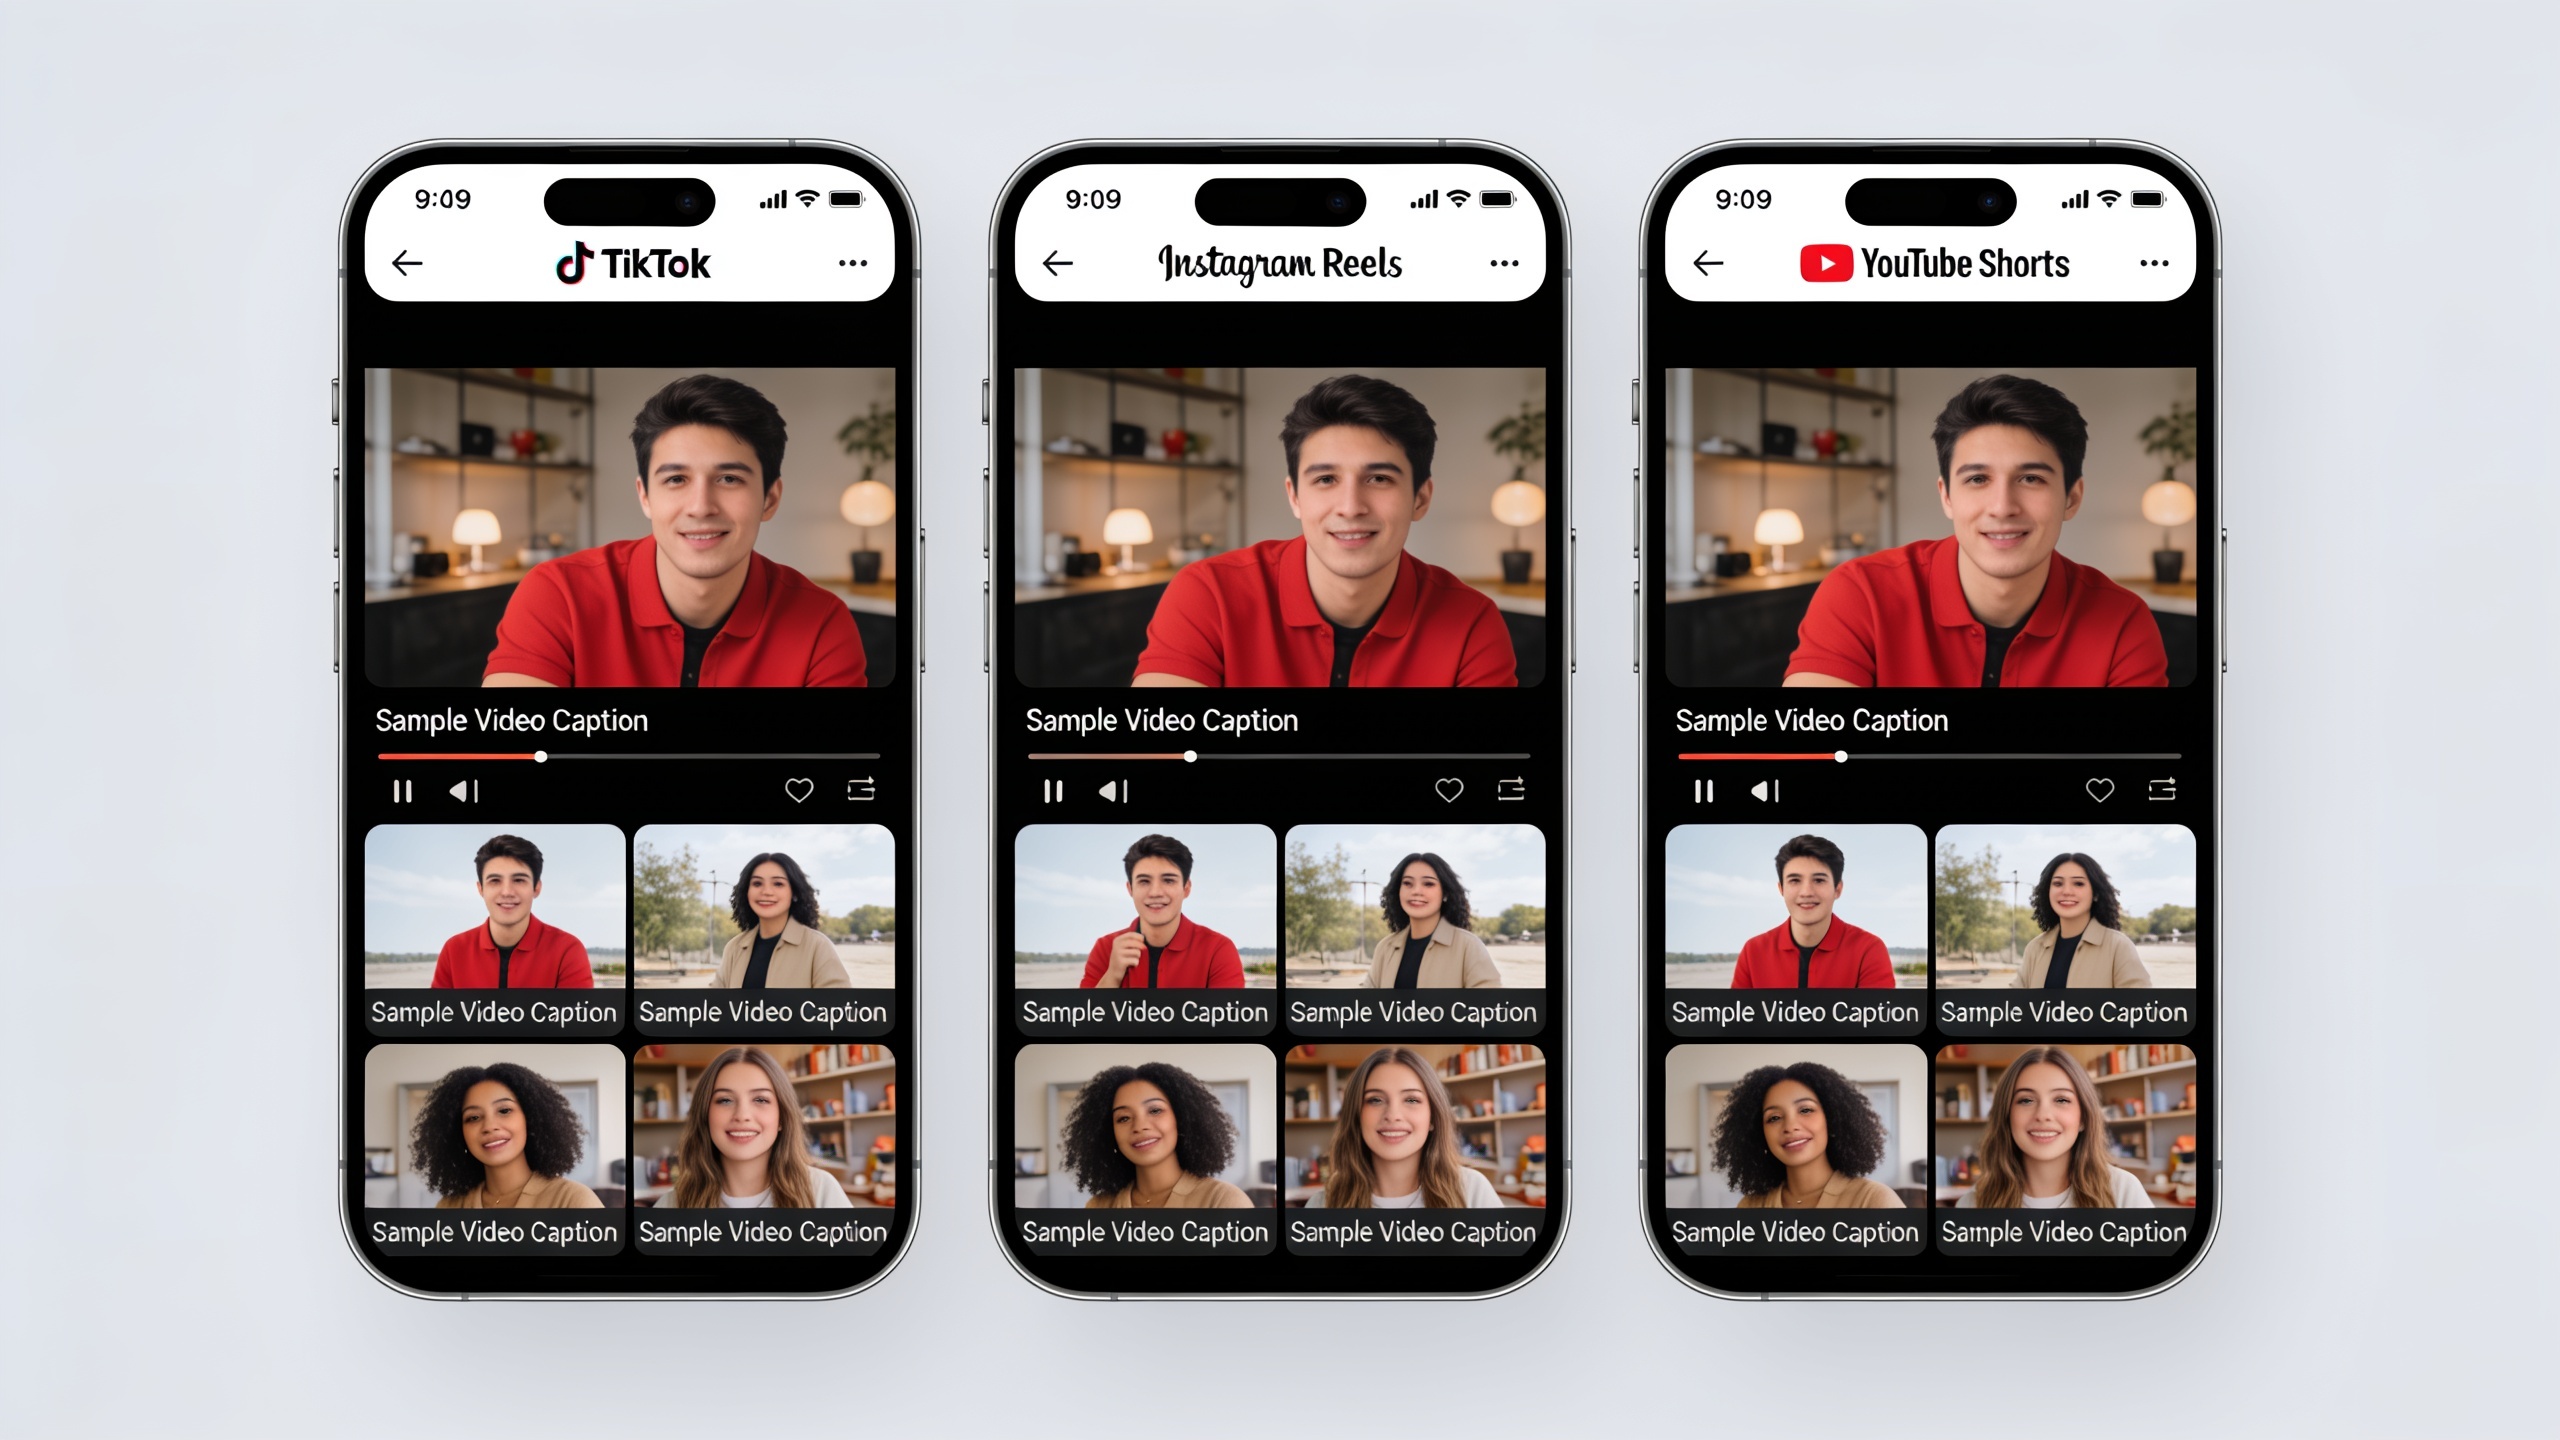
- Use that master as the input for platform-specific presets: TikTok (≤10 min typical, vertical), Instagram Reels (≤90 sec common), YouTube Shorts (≤60 sec traditionally). Each preset should apply any extra crop, add platform-specific endcards, and trim durations.
This "master-first" strategy reduces re-upload issues and keeps the burned captions intact. For platforms that require different aspect ratios (square or landscape), plan final crops in your batch tool; otherwise, a strict vertical master usually covers most short-form needs. For platform specs and limits, consult the Sprout Social guide for up-to-date constraints and timing recommendations[2].
 AI-generated
QA, file naming, and automation: how to validate, queue, and publish large social video batches
QA and consistent file naming prevent chaos when publishing many clips. Use a validation checklist and automated queueing so the team can push hundreds of clips without manual errors. Core checks: captions burned and legible, audio loudness within -14 ±1 LUFS, filename includes platform tag and version, correct aspect ratio and resolution, and final duration within platform limits.
Recommended filename convention:
- brand_campaign_clip01_v1_TT_1080x1920.mp4
Where _TT_ is TikTok, or use _IG_ for Instagram if the file is platform-specific. If you export a single master for multi-platform distribution, use: brand_campaign_clip01_master_v1_1080x1920.mp4.
Automation options:
- Use the export tool's batch queue and presets so each job applies the right crop and codec.
- If you build a custom pipeline, FFmpeg scripts can transcode and burn captions from SRTs automatically; for teams without dev resources, use a batch-ready editor with multi-output support[5].
Final QA flow to scale:
- Run an automated render test for 2–3 representative clips. 2. Check burned captions and safe margins on a phone. 3. Verify loudness and PGM file size/codec. 4. Tag filenames and add metadata. 5. Queue batch. 6. Publish from your scheduling tool or upload directly.
A strict checklist combined with export presets and batch queues will reduce re-uploads and last-minute fixes—saving hours each week.
Frequently Asked Questions
What bitrate and codec should I use for a single vertical master?
Use H.264 video, AAC audio, 1080×1920 resolution, and a target bitrate around 10–12 Mbps with -14 LUFS loudness. This typically meets the strictest common denominator for short-form platforms.
Can I rely on platform auto-captions instead of burning subtitles?
Auto-captions are convenient but inconsistent: they can misplace or strip overlays during platform re-encodes. Burning subtitles ensures timing and placement remain correct across feeds and embeds.
How many overlay templates should my team maintain?
Keep 3–6 reusable templates: a logo badge, lower-third caption, headline template, and an end-card. Limit palette colors to 2–3 and use one readable body font to ensure legibility across crops.
Do I need dev help to batch-process exports?
Not always. Many editors and tools—including GoCrazyAI Media Mixer—support batch queues and multi-output presets. If you want custom automation, FFmpeg scripts are a common developer approach.
Conclusion
Batch social video export is about making the finish repeatable: burn captions, apply a small brand kit, normalize audio, and export platform-aware masters from a single queue. That workflow reduces re-uploads, improves watch time, and keeps your team consistent under deadline. If you want to finish AI-generated clips without leaving one tool, polish your clip in the AI Video Editor and export the finished file in one click.
Sources
- Scale social videos with a brand kit overlay — GoCrazyAI bloggocrazyai.com ↗
- Social Media Video Specs for Every Platform — Sprout Socialsproutsocial.com ↗
- Video Specs by Platform — YouTube/Video (comparison)video.yt ↗
- How to Prep Footage for Multiple Platform Exports — Wideframetry.wideframe.com ↗
- Batch Process AI Videos for Social Media Platforms — DEV Communitydev.to ↗
- Video Export Settings for TikTok, Reels & Shorts: Complete Guide — CapKitcapkit.app ↗
- Accessibility 101: Best Practices — (Subtitle stats referenced)vca.es.virginia.gov ↗
- The Social Video Specs Cheat Sheet — Business Film Boothbusinessfilmbooth.com ↗