



ai video postproduction: speed up finishing, captions, music and one-click exports
Speed up AI video postproduction: add voiceovers, licensed music, burned captions and one-click social exports using GoCrazyAI Media Mixer. Step-by-step workflows.
 AI-generated
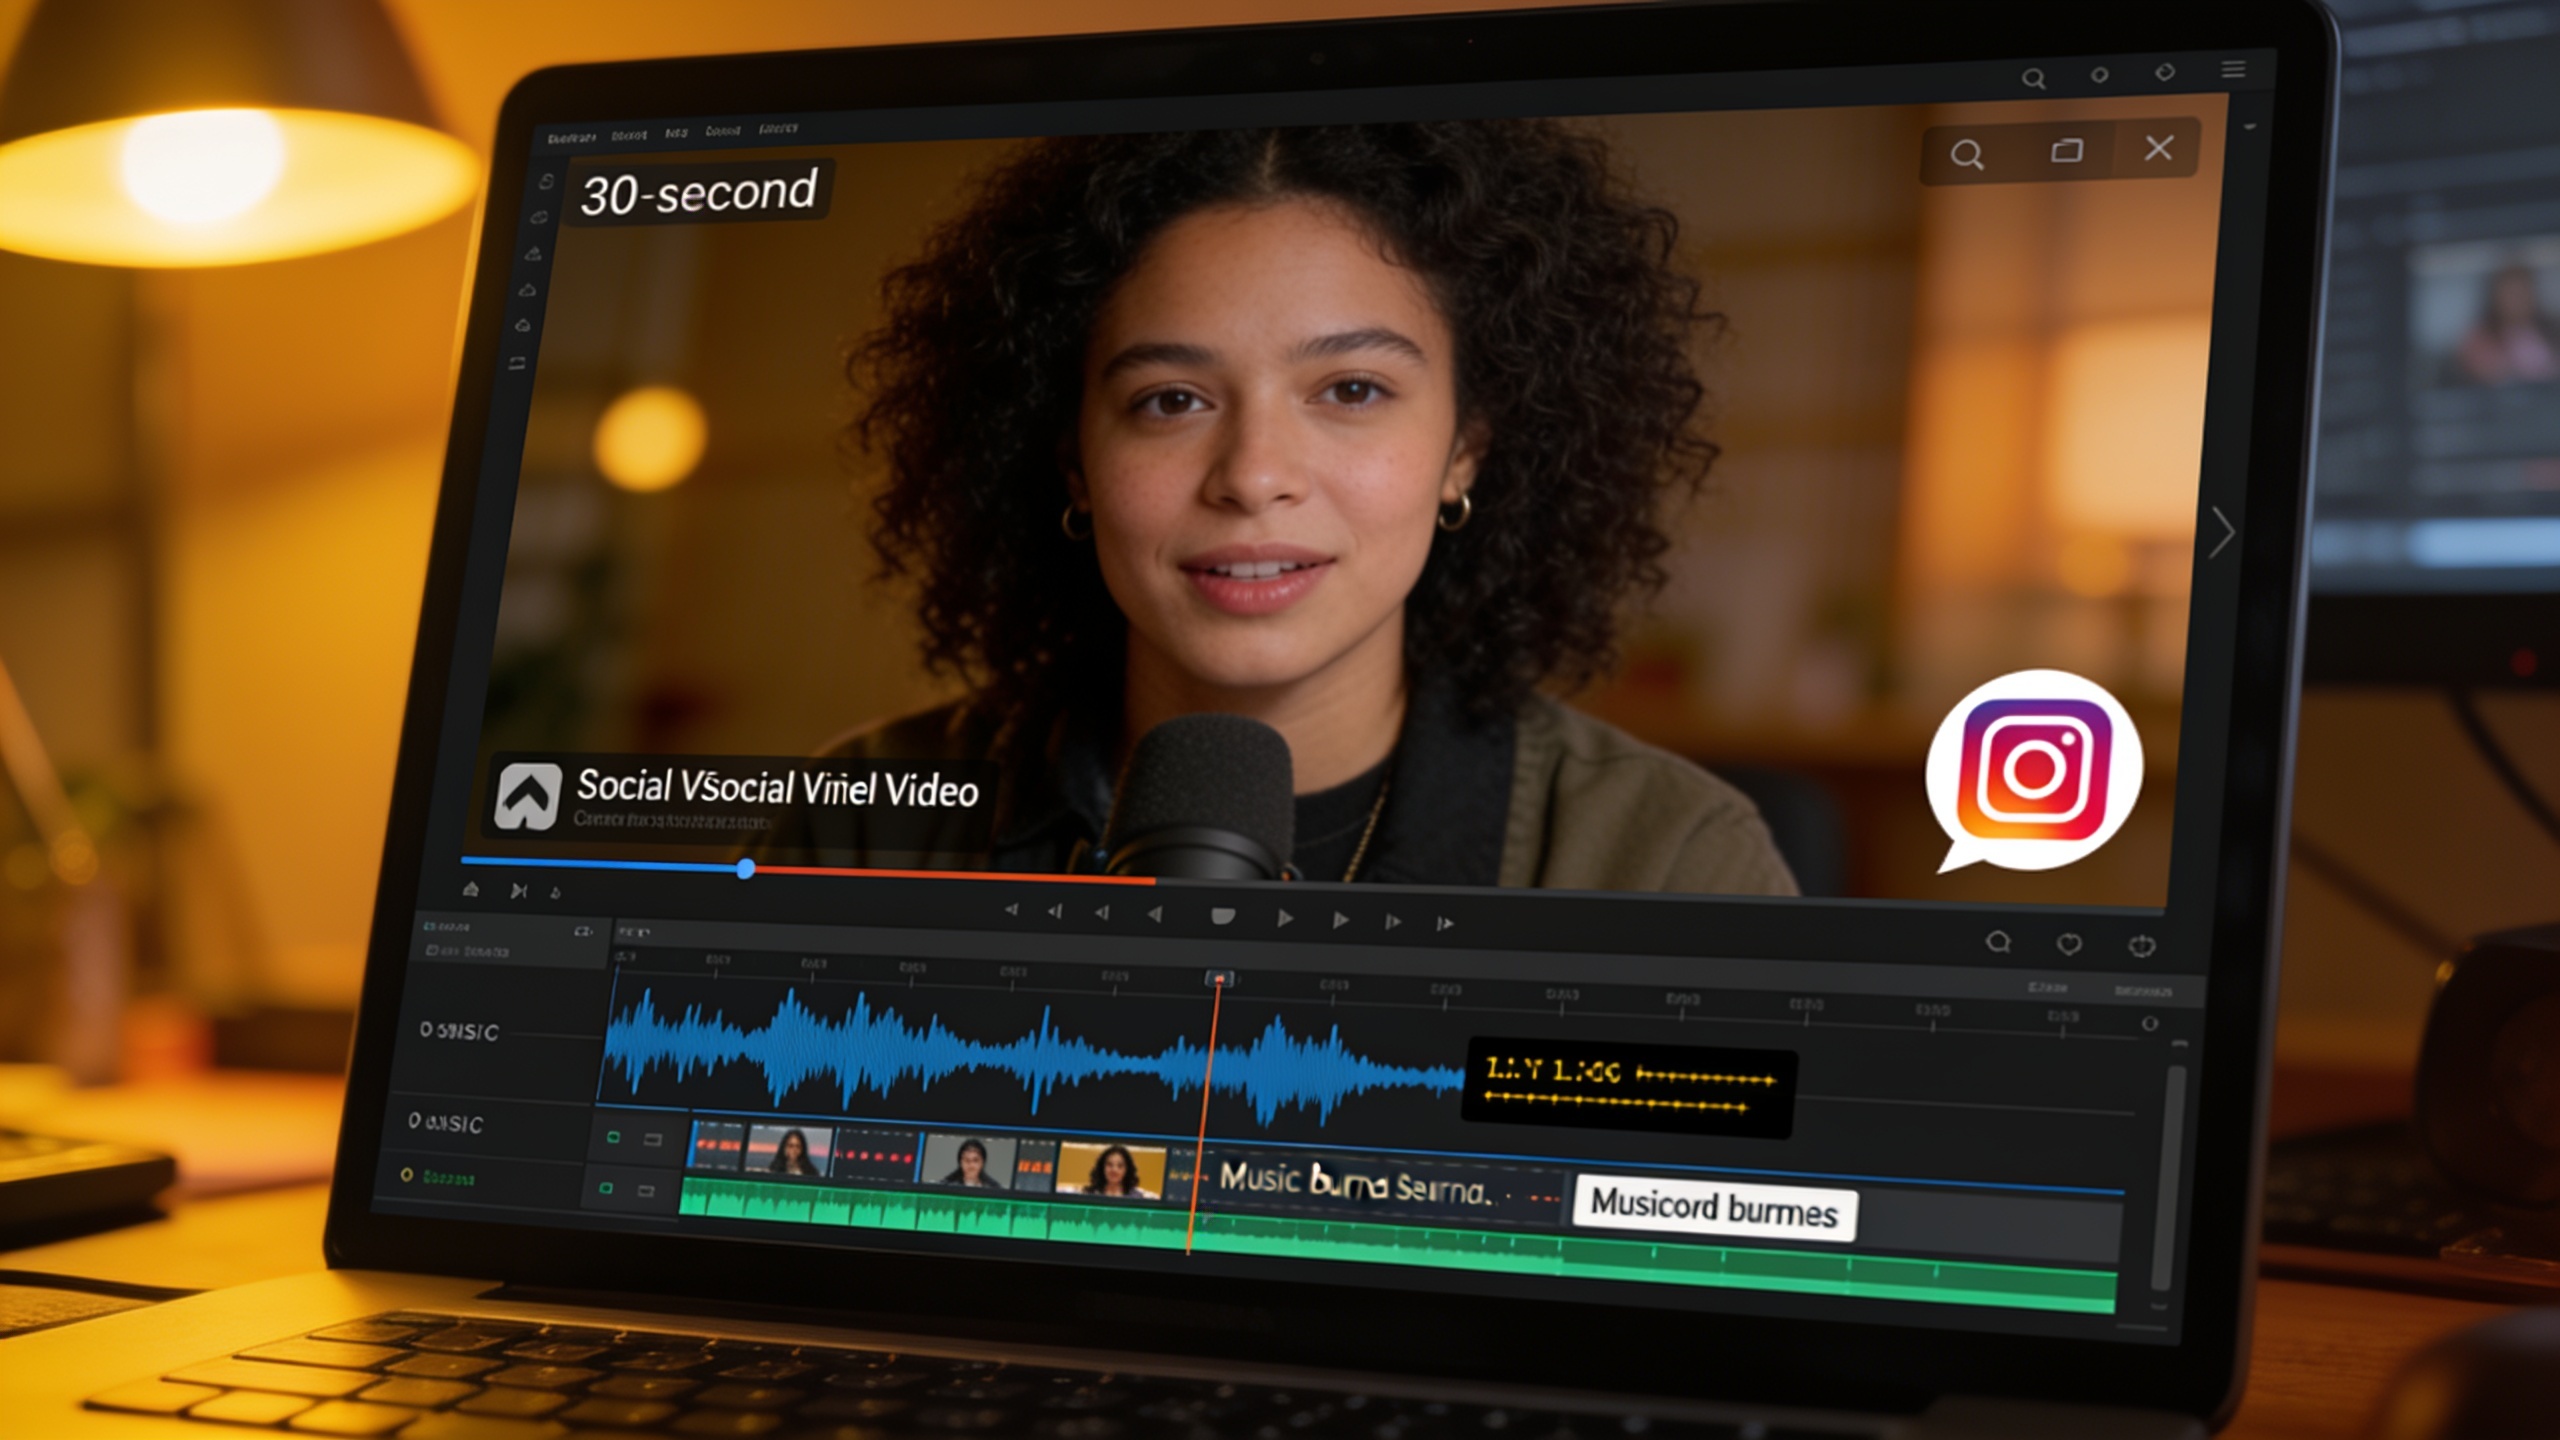
You have AI-generated footage but finishing it takes longer than you expected. Editors need to add voiceovers, select a soundtrack, burn accurate captions, apply brand overlays, and export platform-ready files — fast. This guide shows a repeatable, step-by-step post-production workflow that trims hours off each clip by using an integrated mixer panel for audio, subtitles, overlays, and one-click social exports.
You'll get concrete settings, prompt examples for narration and music, and checklist templates you can copy. When appropriate, the guide shows how to do the same tasks inside GoCrazyAI Media Mixer so you can keep everything on one platform and publish faster.
Quick Answer
How do you speed up ai video postproduction? Use a single mixer workflow that handles voiceover, music, subtitle generation and burned captions, then export platform presets in one click. Prepare clips (trim, color, decide narration), run a scripted voiceover and soundtrack pass, auto-generate captions and quickly edit them, and then use platform export presets to publish.
Why is AI-driven post-production table stakes in 2025 (and what metrics prove it)?
AI-driven post-production is becoming essential because brands and agencies are scaling video output and need faster finishing workflows. Recent research shows the share of brands using AI for video generation jumped from 18% to 41% between 2024 and 2025, and many of those teams apply AI in post tasks like captions and dubbing[1]. The IAB reports nearly 90% of advertisers planned to use generative AI for video ads in 2025, which creates commercial pressure to streamline editing and publishing[2].
For creators that means faster turnaround, lower per-clip cost, and more iterations. Practically, this trend pushes teams to adopt tools that automate transcription, speed voiceover creation, suggest musical stems, and export platform-ready files. Expect AI to handle first-pass tasks (ASR captioning, rough audio mix, music suggestions), while humans provide final editorial decisions. That split — machine speed plus human quality control — is what saves hours per clip without sacrificing accuracy.
Preparing your AI-generated clips for post: what should you do first?
Start by creating a small checklist so your Media Mixer session focuses on finishing, not fixing. The first-pass prep should include trimming bad frames, normalizing clip lengths for social formats, and exporting a reference audio track if the AI generator produced any scratch sound. When you trim and set in/out points before importing to a mixer, you avoid wasting time on unnecessary renders.
Concrete preflight checklist
- Trim excess footage and mark the intended start/end points. Keep clips within 15–60 seconds for social variants.
- Export a low-bitrate reference MP4 or MOV to preserve timing while keeping file sizes small.
- Note the desired aspect ratios (9:16 for TikTok, 1:1 for Instagram feed, 16:9 for YouTube).
- If you plan a voiceover, prepare a short script and timecode notes. If you want a dubbed version, list timestamps for key lines so your ASR/dubbing pass can be checked quickly.
- Prepare brand assets: logo PNG, color hex codes, and one or two headline lines for overlays.
Following these steps makes the actual mixer session much faster and reduces re-uploads and wasted renders.
 AI-generated
Hands-on example: Adding voiceovers, music, effects and licensed tracks in GoCrazyAI Media Mixer (step-by-step)?
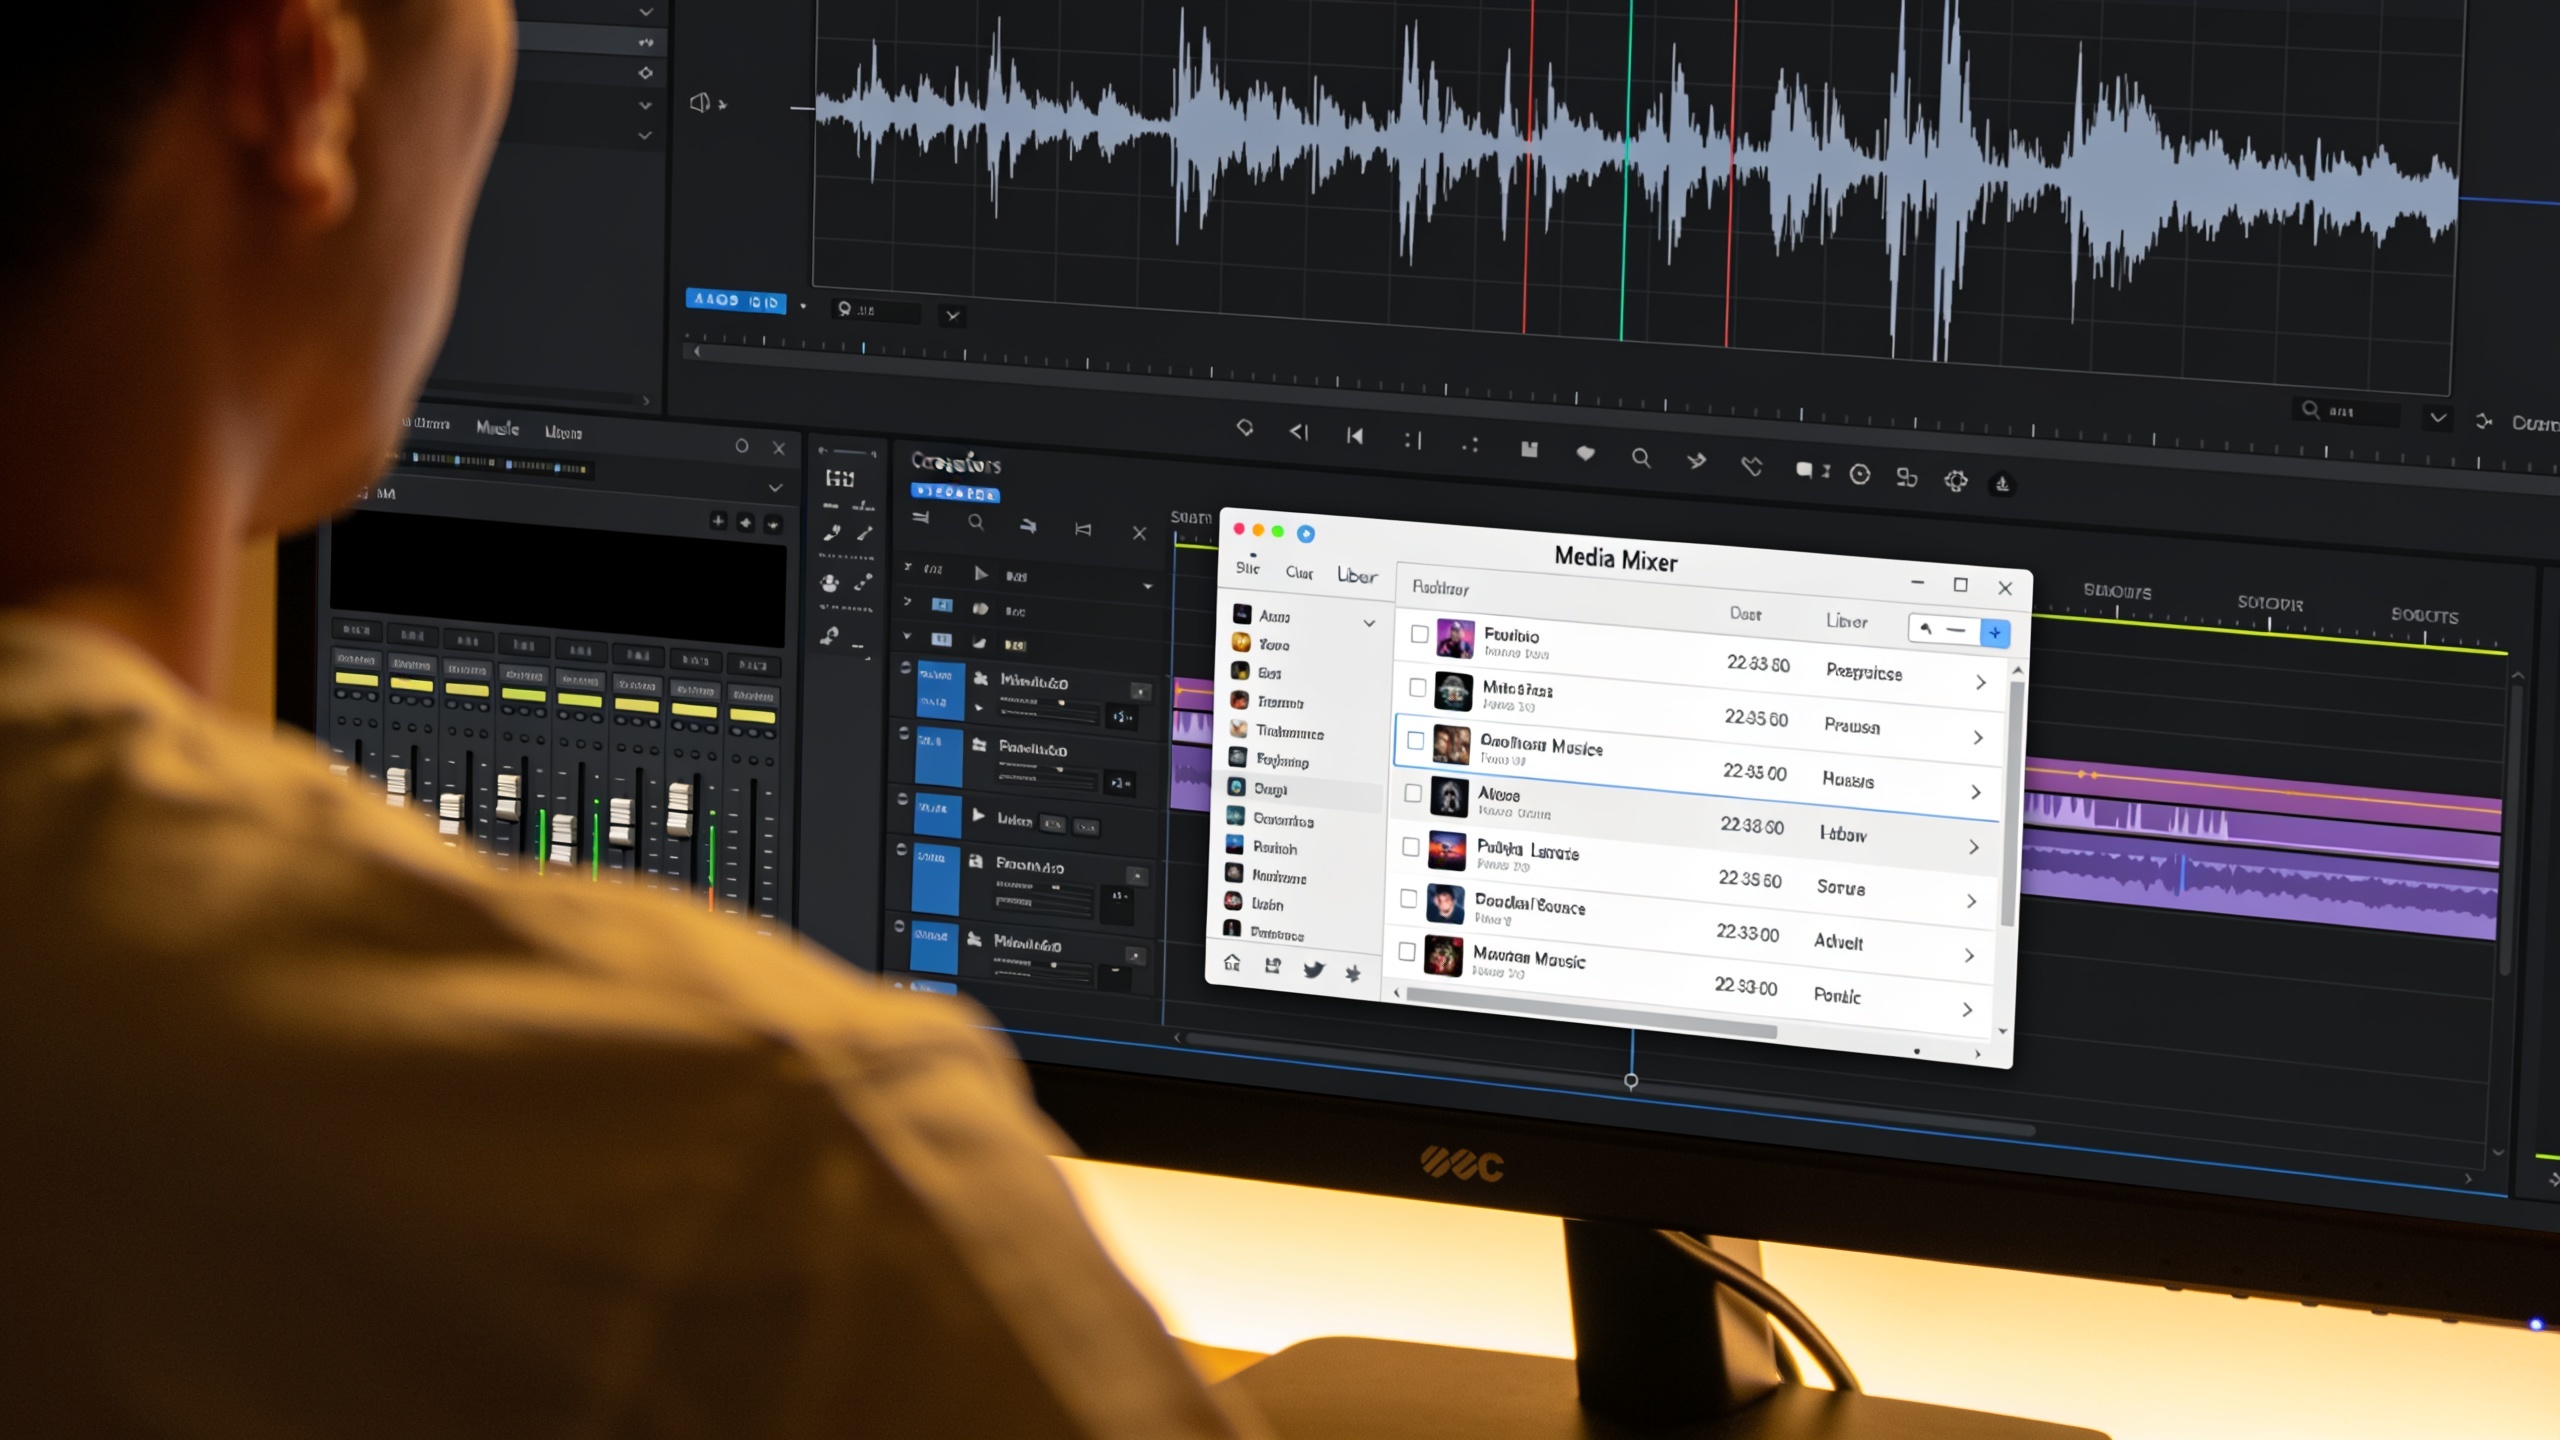
Yes — you can add narrations, background music, and licensed effects in one panel using Media Mixer, and keep the whole session inside GoCrazyAI. First, upload the prepared clip and open the Media Mixer. From there you can add a voiceover track, select or generate music, apply volume ducking, and export the single mixed file.
Step-by-step walkthrough (do this first time with a 30s product clip):
- Upload your trimmed clip to the Media Mixer.
- Click "Voiceover" and either paste a script or choose an AI voice from the voice library. If you paste a script, preview with a natural voice at 90–100% speed. Example narration prompt you can paste into the voice panel:
"Introducing the Nova X: compact power for creators. Lightweight, fast, and studio-grade—record and export in seconds."
- Adjust timing: drag the voice clip so words align with on-screen moments (product reveal, call-to-action).
- Open "Music" and either choose a stock loop or generate an instrumental from the AI music panel. For a fast social mix, pick a track with a clear 4–8 bar intro so you can cut under speech. Example music prompt for an AI music generator:
"Upbeat minimal electronic instrumental, 80–100 BPM, optimistic, 16 bars intro build, export stems."
(You can create that track in the AI Song Generator and import it, or use the Media Mixer music browser.)
- Use ducking: enable automatic ducking so voiceover lowers the music by 8–12 dB during narration.
- Add sound effects: import a canned whoosh for a product reveal and place it on the SFX lane aligned with the on-screen motion.
- Preview and quick-edit the ASR transcription (if you plan to burn captions next).
- Export a single mixed file using the "platform preset" you want.
This single-panel flow eliminates leaving the platform for voice, music, and SFX and reduces time spent syncing separate apps. For creators who need custom voices, consider cloning a consistent narrator in the voice panel for brand continuity — then reuse that voice across clips.
You can try every step above directly in GoCrazyAI Media Mixer — no setup needed.
Hands-on: Burned-in subtitles, branded overlays and one-click social exports for TikTok/Instagram?
Yes — you can auto-generate captions, edit them, burn them into the video, add branded overlays, and use one-click export presets for TikTok and Instagram. The usual flow is: generate ASR captions, run a short human edit pass for accuracy, style the captions (size, font, background), position overlays, and choose the platform export preset that applies the correct aspect ratio and encoding.
Practical steps and settings to follow:
- Generate captions using the Media Mixer ASR tool and set language and accent hints before processing for better accuracy.
- Run a 3–5 minute human pass to fix misheard words and punctuation; industry research shows automated ASR is fast but benefits from review to meet accuracy standards[3].
- For burned captions on TikTok/Instagram choose: font size 48–64 px (9:16), high-contrast background pill, and 2-line max per caption. This keeps captions readable on small phones.
- Place brand overlay: import your transparent PNG logo at top-left or bottom-right, set to 8–12% opacity background box if the shot is busy, and lock the overlay so exports keep it.
One-click exports: choose the preset for TikTok (9:16 H.264, 1080x1920), Instagram Reels (9:16 or 4:5), or Instagram Feed (1:1), and toggle "burned captions" if you want captions baked into the pixel stream. Tools that offer these presets save hours when repurposing one clip for multiple platforms[5].
 AI-generated
Workflow templates and checks: Repeatable post-production recipes and common pitfalls?
Create templates that capture each deliverable so you don't reconfigure settings for every clip. A template should include the timeline structure, voiceover style, music stem, caption style, and export presets. Also be aware of common pitfalls and how to avoid them.
Three repeatable templates you can copy:
1) Short social ad (15–30s): Trim+hook (0–3s), narration lane, quick SFX for product reveal, high-contrast burned captions, TikTok export preset. 2) Product demo (45–60s): Longer script with chapter markers, two music stems (intro and loop), branded overlay, IG feed + YouTube export. 3) Multi-language reel: single master clip, multiple voice lanes (original + dubbed), separate caption tracks per language, export separate platform presets.
Common pitfalls and how to avoid them:
- Relying solely on ASR without review — fix: always run a short human edit pass for captions to meet discoverability and accessibility needs (3Play Media notes human review remains necessary for accuracy)[3].
- Over-compressing music or using loud masters — fix: keep headroom (peak -3 dB) and use ducking between voice and music.
- Forgetting platform safe zones for overlays — fix: use templates with overlay guides for 9:16 and 1:1 so logos and CTAs are never cut off.
Using these templates inside one tool reduces repetitive setup and preserves brand consistency across clips.
Frequently Asked Questions
How accurate are auto-generated captions and do I still need to edit them?
Auto-generated captions are fast and often accurate for clear speech, but they frequently need a short human edit to correct names, punctuation, and homophones. Industry research shows organizations usually require a human review pass to meet accessibility and accuracy standards[3].
Can I use licensed music inside the Media Mixer or do I need external licenses?
Media Mixer lets you add licensed tracks from its library or import music you have license rights to. For generated instrumentals, use the AI music generator which produces copyright-clear tracks you can drop into edits. Always confirm commercial use terms in the platform's music license notes.
How do I create multiple aspect ratios quickly for the same clip?
Use a template workflow: keep a single master edit, then duplicate the timeline per aspect ratio and use platform presets (9:16, 1:1, 16:9). Position overlays using safe-zone guides and export each preset as a one-click render.
Will adding voiceover through AI sound robotic?
Modern voice models offer natural prosody and pacing. For best results, choose a high-quality voice, slow the speed to 95–100% for clarity, and add brief breath or pause markers in the script. A quick human tweak to emphasis and timing usually removes any remaining synthetic feel.
Conclusion
Final thoughts: speed in ai video postproduction comes from repeatable templates, a short human editing pass for captions, and keeping voice, music, and overlays in one session. That approach reduces uploads and re-exports and makes it easy to publish platform-ready clips. If you want to try a single-panel flow for voiceover, music, captions, and one-click exports, polish your clip in the AI Video Editor and export the finished file in one click.
Sources
- Wistia — 2025 State of Video (press summary)wistia.com ↗
- IAB — 2025 Video Ad Spend & Strategy (Gen AI usage stat)iab.com ↗
- 3Play Media — The State of Captioning in 2024 (caption accuracy & human role)3playmedia.com ↗
- TechCrunch — DeepMind generates soundtracks and dialogue for videos (V2A research)techcrunch.com ↗
- UpReel — product example: transcribe, burn captions and one‑click publishingupreel.io ↗