



Thumbnail Upscaler: Make 4K/8K Thumbnails and Sharpen AI Images
Practical guide to upscaling phone photos and AI art into crisp 4K/8K thumbnails and print assets using repair→upscale→refine workflows and GoCrazyAI.
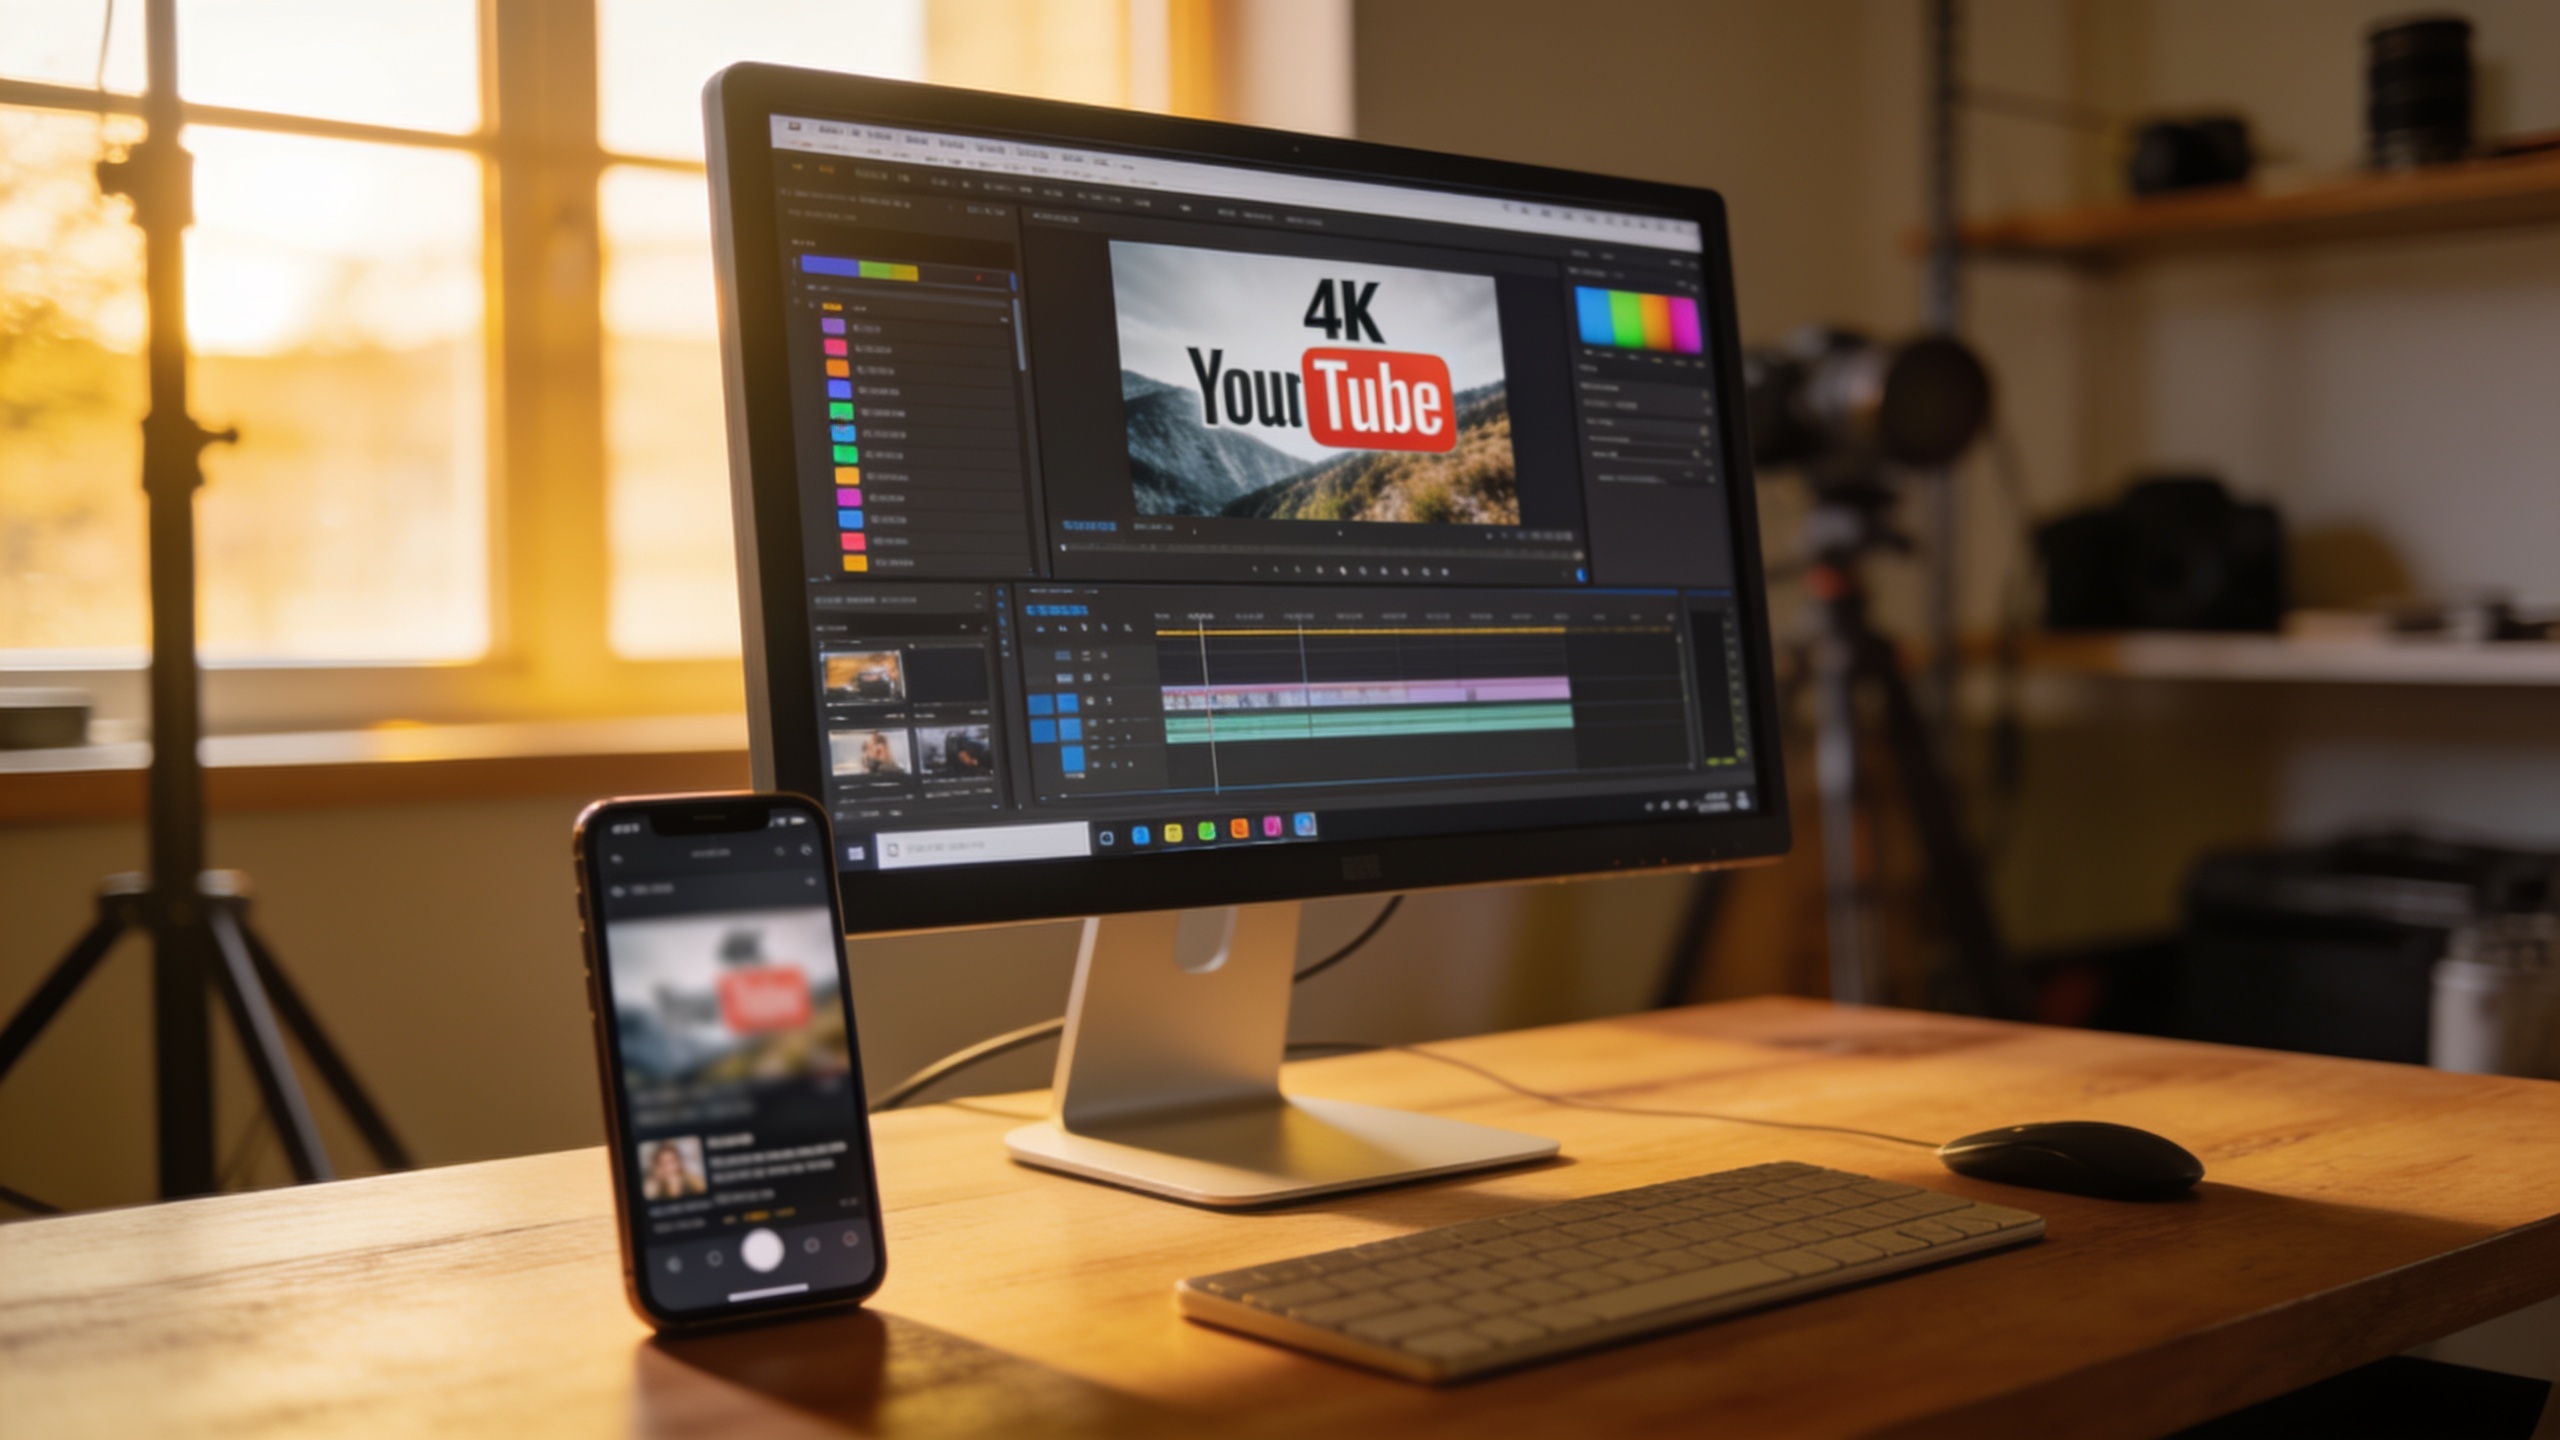 AI-generated
You need a crisp 4K thumbnail but only have a phone photo or a 1024×1024 AI image. This guide gives step‑by‑step, reproducible settings to repair compressed files, upscale them to 4K/8K, and finalize for YouTube or print. I’ll show exact scale, denoise, and sharpening values, example prompts for AI art, and when to re-edit or regenerate. The workflow mirrors creator-focused tutorials and includes a practical GoCrazyAI Image Upscaler walkthrough so you can try the tool end-to-end.
Quick Answer
How do you make a 4K thumbnail from a small image? Repair compression artifacts first, then run progressive AI upscaling (2×–4× passes), and finish with targeted sharpening and color correction. For AI art, begin with repair and upscaling before heavy edits; for very noisy or mis-composed images, re-generate. Use GoCrazyAI Image Upscaler presets to speed this workflow.
Why modern AI upscalers matter for creators (4K/8K quality explained)?
AI-driven super-resolution models (CNNs, GANs, diffusion-based SR) reconstruct detail by learning image priors, which usually yields far better results than classic interpolation like bicubic or Lanczos. For creators this means an upscaled thumbnail can show plausible texture, readable text, and cleaner edges instead of blurry enlargement. ScienceDirect’s review shows deep-learning super-resolution now dominates single-image upscaling approaches and typically recovers high-frequency features that interpolation can’t[1].
For practical purposes: upscalers are best at recovering texture (skin pores, fabric), sharpening edges (text and logos), and deblocking compressed JPEGs. They are less reliable at changing perspective, inventing accurate new content where none existed, or shifting camera angle. That’s why workflows prioritise restoration and progressive upscaling to avoid artifact amplification.
When to repair first vs regenerate: diagnosing low-res and compressed images?
Repair first if the image has compression blocks, color banding, or mild noise—these problems amplify when you upscale. Regenerate when composition, subject pose, or critical details are wrong and cannot be plausibly reconstructed. A quick diagnostic: zoom to 100% at source size. If edges are intact but blotchy or pixelated, repair→upscale is the right path. If subject anatomy, text layout, or framing is wrong, try regenerating or re-shooting.
Concrete checks to decide:
- Compression artifacts, color banding, or blocking: repair first.
- Excessive upscaling noise or tiny face detail missing: try a repair pass and then a weak denoise setting.
- Wrong pose, off-center subject, or missing important detail: re-generate or re-shoot—upscalers can’t reliably invent correct composition. ZNIX and recent guides recommend repair→upscale→refine as the default workflow for creators[2].
Step-by-step example: Turning a phone photo into a 4K YouTube thumbnail (hands-on)?
Short answer: repair JPEG artifacts, crop to 16:9 or 2560×1440 safe area, upscale progressively to 3840×2160, then sharpen and color-grade for contrast.
Hands-on steps and expected settings (follow these exactly): 1) Open source photo at native size. If it’s a phone JPEG with visible blocks, run a "repair/deblock" pass with moderate strength (30–50%). This reduces macro-blocking without softening edges too much. 2) Crop to a composition that reads at small sizes—use 16:9 or the YouTube-safe 2560×1440 center. Export the crop at the original resolution if possible. 3) First upscale pass: 2× scale, denoise low (10–20%), detail-preserve ON. This converts, for example, 1280×720 → 2560×1440 while keeping edges. 4) Second upscale pass: 1.5–1.6× or another 2× depending on starting size to reach 3840×2160. Use denoise OFF to preserve mid-frequency texture. 5) Refinement: apply a targeted sharpening (amount 10–25%, radius 0.8–1.2 px) and micro-contrast boost (+5–10). Check text and small logos at 100%. 6) Export as PNG or high-quality JPEG (quality 90–95) for YouTube. Uploading a 3840×2160 thumbnail ensures crisp display across devices—Google recommends high-resolution thumbnails for clarity[3].
Expected results: clearer edges, readable small text, and less JPEG blocking. If halos appear around edges after sharpening, reduce the sharpening amount and try local masks for eyes/text only.
Step-by-step: Sharpening and upscaling AI-generated art to print-ready 8K (hands-on)?
Short answer: repair diffusion artifacts, progressively upscale (2× passes), then use targeted texture sharpening and color proofs for print. For AI art, start conservative—art generators often add stylized noise that upscalers can exaggerate.
Concrete workflow for a 1024×1024 AI output → 7680×4320 (8K-ish) print asset: 1) Repair: use an artifact removal pass (40–60%) to clean diffusion grain and banding while preserving brush strokes. 2) First upscale: 2× to 2048×2048 with mild denoise (15%). Preserve detail mode ON. 3) Second upscale: 2× to 4096×4096; set denoise OFF. 4) Optional third progressive pass: 1.5–2× depending on target; avoid a single 8× pass to limit hallucinated details. Progressive upscaling reduces checkerboarding and texture blotches (many 2025 tutorials recommend this approach[4]). 5) Refinement: selective sharpening on focal elements (eyes, text, product), use frequency separation for texture vs color correction, and run a soft proof in CMYK for print. 6) Export TIFF or high-quality PNG with 300 dpi and embed color profile. For very large prints, check at 50–100% zoom for artifact bands.
When the image shows odd geometry or wrong hands/faces, regenerate the AI art at higher base sizes or re-prompt before upscaling—the upscaler can’t reliably correct structural errors.
Choosing output settings: scale, denoise, sharpening and file formats for YouTube and print?
Short answer: use progressive scaling (2× then 2× or 1.5×) instead of one large jump; set denoise low or off on the final pass; sharpen after upscaling; export PNG for web thumbnails and TIFF/PNG 300 dpi for print.
Recommended settings by target:
- YouTube thumbnails (web): target 3840×2160 (4K). Scale in two passes if starting under 2000 px. Final sharpen amount 10–25%, radius 0.8–1.2 px. Export PNG or JPEG quality 90–95.
- Print/poster (8K): target up to 7680×4320. Use 2× progressive passes and save as TIFF or PNG at 300 dpi. Apply subtle global sharpening and local texture work.
- Denoise guidance: use repair pass to remove blocking; set denoise to 10–20% on initial upscales, then 0% on the final pass to preserve recovered detail.
File formats: use lossless (PNG/TIFF) where possible for editing and print. Use high-quality JPEG only for final web uploads to save size. These choices preserve texture and avoid repeated compression cycles.
 AI-generated
Common artifacts and mistakes: how to fix them and when to re-run upscaling vs re-edit?
Short answer: common artifacts include halos from over-sharpening, checkerboard or patchy textures from single-pass upscales, and amplified compression blocks. Fix halos by reducing sharpening radius/amount or applying selective sharpening; fix patchy textures by rerunning progressive upscales with repair; fix blocks by increasing initial repair strength.
Specific mistakes creators make and how to avoid them:
- Mistake: Upgrading resolution in one huge pass. Fix: use progressive multi-pass 2× steps to reduce texture hallucination.
- Mistake: Sharpening before final upscaling. Fix: always sharpen after the final upscale to avoid re-amplifying artifacts.
- Mistake: Using high denoise on the final pass. Fix: use denoise on early passes only; final pass should aim to preserve recovered detail.
- Mistake: Ignoring composition issues. Fix: re-edit or re-generate if the subject framing or content is wrong; upscalers can’t invent correct composition.
When to re-run upscaling vs re-edit: re-run upscaling with adjusted denoise/repair if artifacts appear. Re-edit or re-generate if structural errors (missing limbs, unreadable text, wrong perspective) persist.
Speed, cost, and quality trade-offs: comparing Web upscalers and local tools?
Short answer: web upscalers typically offer easier presets, cloud GPU speed, and no local hardware needs but can cost credits or per-image fees; local tools (open-source models) may be cheaper per image over time but need powerful GPUs and technical setup. Choose based on volume and turnaround needs.
Trade-offs to consider:
- Speed: cloud upscalers are faster on average for single jobs because they use optimized GPUs. Local tools depend on GPU power and may be slower on older hardware.
- Cost: a few web upscales cost less in time; bulk or batch upscaling favors local setups for per-image cost. Check GoCrazyAI Pricing for credit options when planning large batches.
- Quality: many cloud services use refined pipelines (repair→upscale→refine) and custom models tuned for thumbnails and print; local models can match quality if you configure progressive passes and repair yourself.
If you need consistent creator outputs and fast turnarounds for thumbnails, a web-based upscaler with presets often provides the best balance of quality and speed.
How GoCrazyAI Image Upscaler fits into your creator workflow (where to link and why it’s the right tool)?
Short answer: GoCrazyAI Image Upscaler provides creator-focused presets for 4K/8K, repair→upscale→refine workflow, lossless export and no watermarks, so it integrates easily into thumbnail and print pipelines.
How to use it on gocrazyai.com: open the AI Image Upscaler, choose a preset (4K Thumbnail or 8K Poster), then follow the recommended sequence: Repair (deblock) → 2× upscale → progressive pass → refine (sharpen/color). The tool supports outputs up to 8K, no watermark on exports, and lossless formats for print. Use the AI image generator earlier in your workflow to create or iterate source art, then pull the image into the upscaler for final output. For cost planning, compare credits and plans on GoCrazyAI Pricing to decide whether per-image runs or a subscription suits your volume.
Quick links to help you continue: try the GoCrazyAI Image Upscaler to test presets, revisit the AI image generator for higher base sizes, and check pricing to plan batches. The upscaler’s creator presets speed this exact workflow and are built for thumbnail and print use cases—drop an image in and compare progressive vs single-pass results directly on the site.
You can try every step above directly in GoCrazyAI Image Upscaler — no setup needed.
Frequently Asked Questions
What resolution should a YouTube thumbnail be for best results?
Upload a high-resolution image; aim for 3840×2160 (4K) if you’re upscaling. YouTube scales thumbnails across devices, so a higher-res source helps maintain clarity across sizes[3].
Can I turn a 1024×1024 AI image into an 8K print?
Yes, typically by using progressive multi-pass upscaling (2× then 2×, or additional 1.5× pass), cleaning artifacts first, and doing final sharpening and soft-proofing in CMYK for print. If the source has structural errors, re-generate at a larger base first[4].
Which file format is best for thumbnails and prints after upscaling?
For web thumbnails use PNG or high-quality JPEG (quality 90–95). For print exports choose TIFF or PNG at 300 dpi and embed a color profile to preserve quality in print workflows.
Conclusion
Final thoughts: follow repair→upscale→refine and use progressive scaling rather than one big jump. Check composition first—re-generate if poses or framing are wrong. For most creators, a cloud upscaler with 4K/8K presets and lossless exports speeds the process and reduces trial-and-error. Drop your image into the AI Image Upscaler to try the 4K thumbnail and 8K poster presets in seconds.
Sources
- A review of deep-learning-based super-resolution: From methods to applications (ScienceDirect)sciencedirect.com ↗
- Image Upscaler 4K Tutorial — Thumbnails to Print (GoCrazyAI blog)gocrazyai.com ↗
- AI Upscaling Guide: Upscale Images to 4K (ZNIX.ai)znix.ai ↗
- How to Upscale AI-Generated Images (ImgUpscaleAI guide)imgupscaleai.com ↗
- The YouTube Creator playbook / guidance on thumbnails (Think with Google)thinkwithgoogle.com ↗