

AI image generator FAQ: how to get consistent, on-brand images
Practical FAQ for creators on making repeatable, platform-ready AI images: aspect ratios, seeds, reference frames, prompt templates, and GoCrazyAI workflows.
 AI-generated
Your thumbnails, hero art, and ads look different every time you generate an AI image — and that wastes clicks, time, and creative energy. This FAQ gives concrete controls and workflows so you can produce consistent, on-brand images across platforms. You’ll get the exact settings pros use: aspect ratios and export sizes for social, the determinism pattern (seed + model + prompt), a negative-prompt bank, and step-by-step GoCrazyAI workflows for thumbnails and hero images. Follow the checklists and templates here to hand editors ready-to-use masters and platform-specific exports.
Quick Answer
AI image generator FAQ: Use three repeatable controls — fixed aspect ratio and export resolution, a saved seed with the same model version, and a reference anchor (image + style sheet). Combine those with a prompt skeleton and shared negative prompts to get consistent, on-brand frames. Export a high-res master (e.g., 1920×1080) and crop for platform-specific sizes.
Why do aspect ratio, resolution, and composition matter for thumbnails and social images?
Use the recommended aspect ratio and resolution for each platform because composition and pixel size directly affect CTR and perceived quality. YouTube recommends 1280×720 (16:9) for thumbnails, and many creators export larger 1920×1080 masters to preserve quality when repurposing across platforms[1]. Instagram favors 1:1 or 4:5 for feed posts and 9:16 for reels and stories[2]. Good composition keeps the subject and call-to-action inside safe zones so cropping to different aspect ratios doesn’t cut off faces or text.
Practical rules: always build a high-resolution master using the widest aspect you need (often 16:9 at 1920×1080). Place your subject and any text inside a central safe area roughly 80% of the frame width for thumbnails. When you export variants, use the master to crop rather than re-generate from scratch; this preserves detail and color consistency across formats.
What core consistency controls must every creator use?
The fastest path to repeatable results is to lock five controls: seed, reference images, prompt templates, negative prompts, and model version. Where the tool exposes a seed parameter, the same seed + same prompt + same model version will reproduce the same image; that determinism is the single most reliable reproducibility guarantee[3].
- Seed: Save the numeric seed with every output and store it in the asset metadata.
- Reference images: Use one "anchor" image that defines pose, lighting, or composition.
- Prompt template: Keep a skeleton (subject, shot type, palette, mood, camera/lighting hints) and fill only variable bits.
- Negative prompts: Maintain a short bank like "no watermark, no extra fingers, avoid logos, no text" to reduce artifacts[4].
- Model versioning: Note the exact model and version (e.g., Nano Banana Pro vs Seedream 4). Model changes cause style drift, so pin the model in project specs.
Use a simple file-naming convention that includes project, seed, and prompt version so anyone on the team can regenerate or tweak outputs without guesswork.
What quick fixes solve common mistakes when AI images look inconsistent or off?
Most inconsistencies come from one of five mistakes: changing model versions, missing seed, vague prompts, absent reference anchors, or no negative prompts. Fix each specifically:
- Mistake: I changed the model and the look shifted. Fix: Re-run with the original model version or re-tune the prompt and treat the change as a new style. Always record the model name and version.
- Mistake: The generated image has extra limbs or artifacted text. Fix: Add specific negative prompts: "no extra fingers, no watermark, avoid text" and rerun.
- Mistake: Color palette drifts between images. Fix: Supply a palette reference image or hex swatches in the prompt and lock lighting parameters.
- Mistake: Thumbnails crop badly on mobile. Fix: Compose with a central safe area and export platform-specific crops from a high-res master.
- Mistake: Unable to reproduce a previous favorite. Fix: locate the saved seed + prompt + model version or take the saved asset into an editor and create a new reference frame.
These targeted fixes reduce rework and keep results predictable.
 AI-generated
How do I create a consistent YouTube thumbnail series using GoCrazyAI AI Image Generator?
Yes — use a fixed model, saved seed, reference frame, and a prompt skeleton inside GoCrazyAI to produce a consistent thumbnail series. Start by picking one generator (Nano Banana for iterative edits or Seedream 4 for stylized frames), upload a reference anchor image with your on-brand pose, set the seed, and lock aspect ratio to 16:9 or export size 1920×1080. Save the prompt template in a project so every thumbnail uses the same language and negative prompts.
Step-by-step highlights: pick your model, upload a reference anchor, set aspect ratio to 16:9, enter a prompt skeleton that includes key brand words and color swatches, set and save the seed, add negative prompts like "no text, no watermark, no extra fingers," and generate a few variations. Pick the best variation and export a master 1920×1080 file to crop into 1:1 or 9:16 variants later. GoCrazyAI saves variations to a library so you can iterate without losing seeds or prompts — which is essential for batch thumbnail production.
Internal tools to use: the GoCrazyAI AI Image Generator supports Google Nano Banana and Seedream 4, and it outputs social-ready aspect ratios directly. For video spin-offs, export your selected frame into the AI video generator to create short motion intro clips (/create-ai-video).
You can try every step above directly in GoCrazyAI AI Image Generator — no setup needed.
How do I produce on-brand hero images and export variants for ads and landing pages?
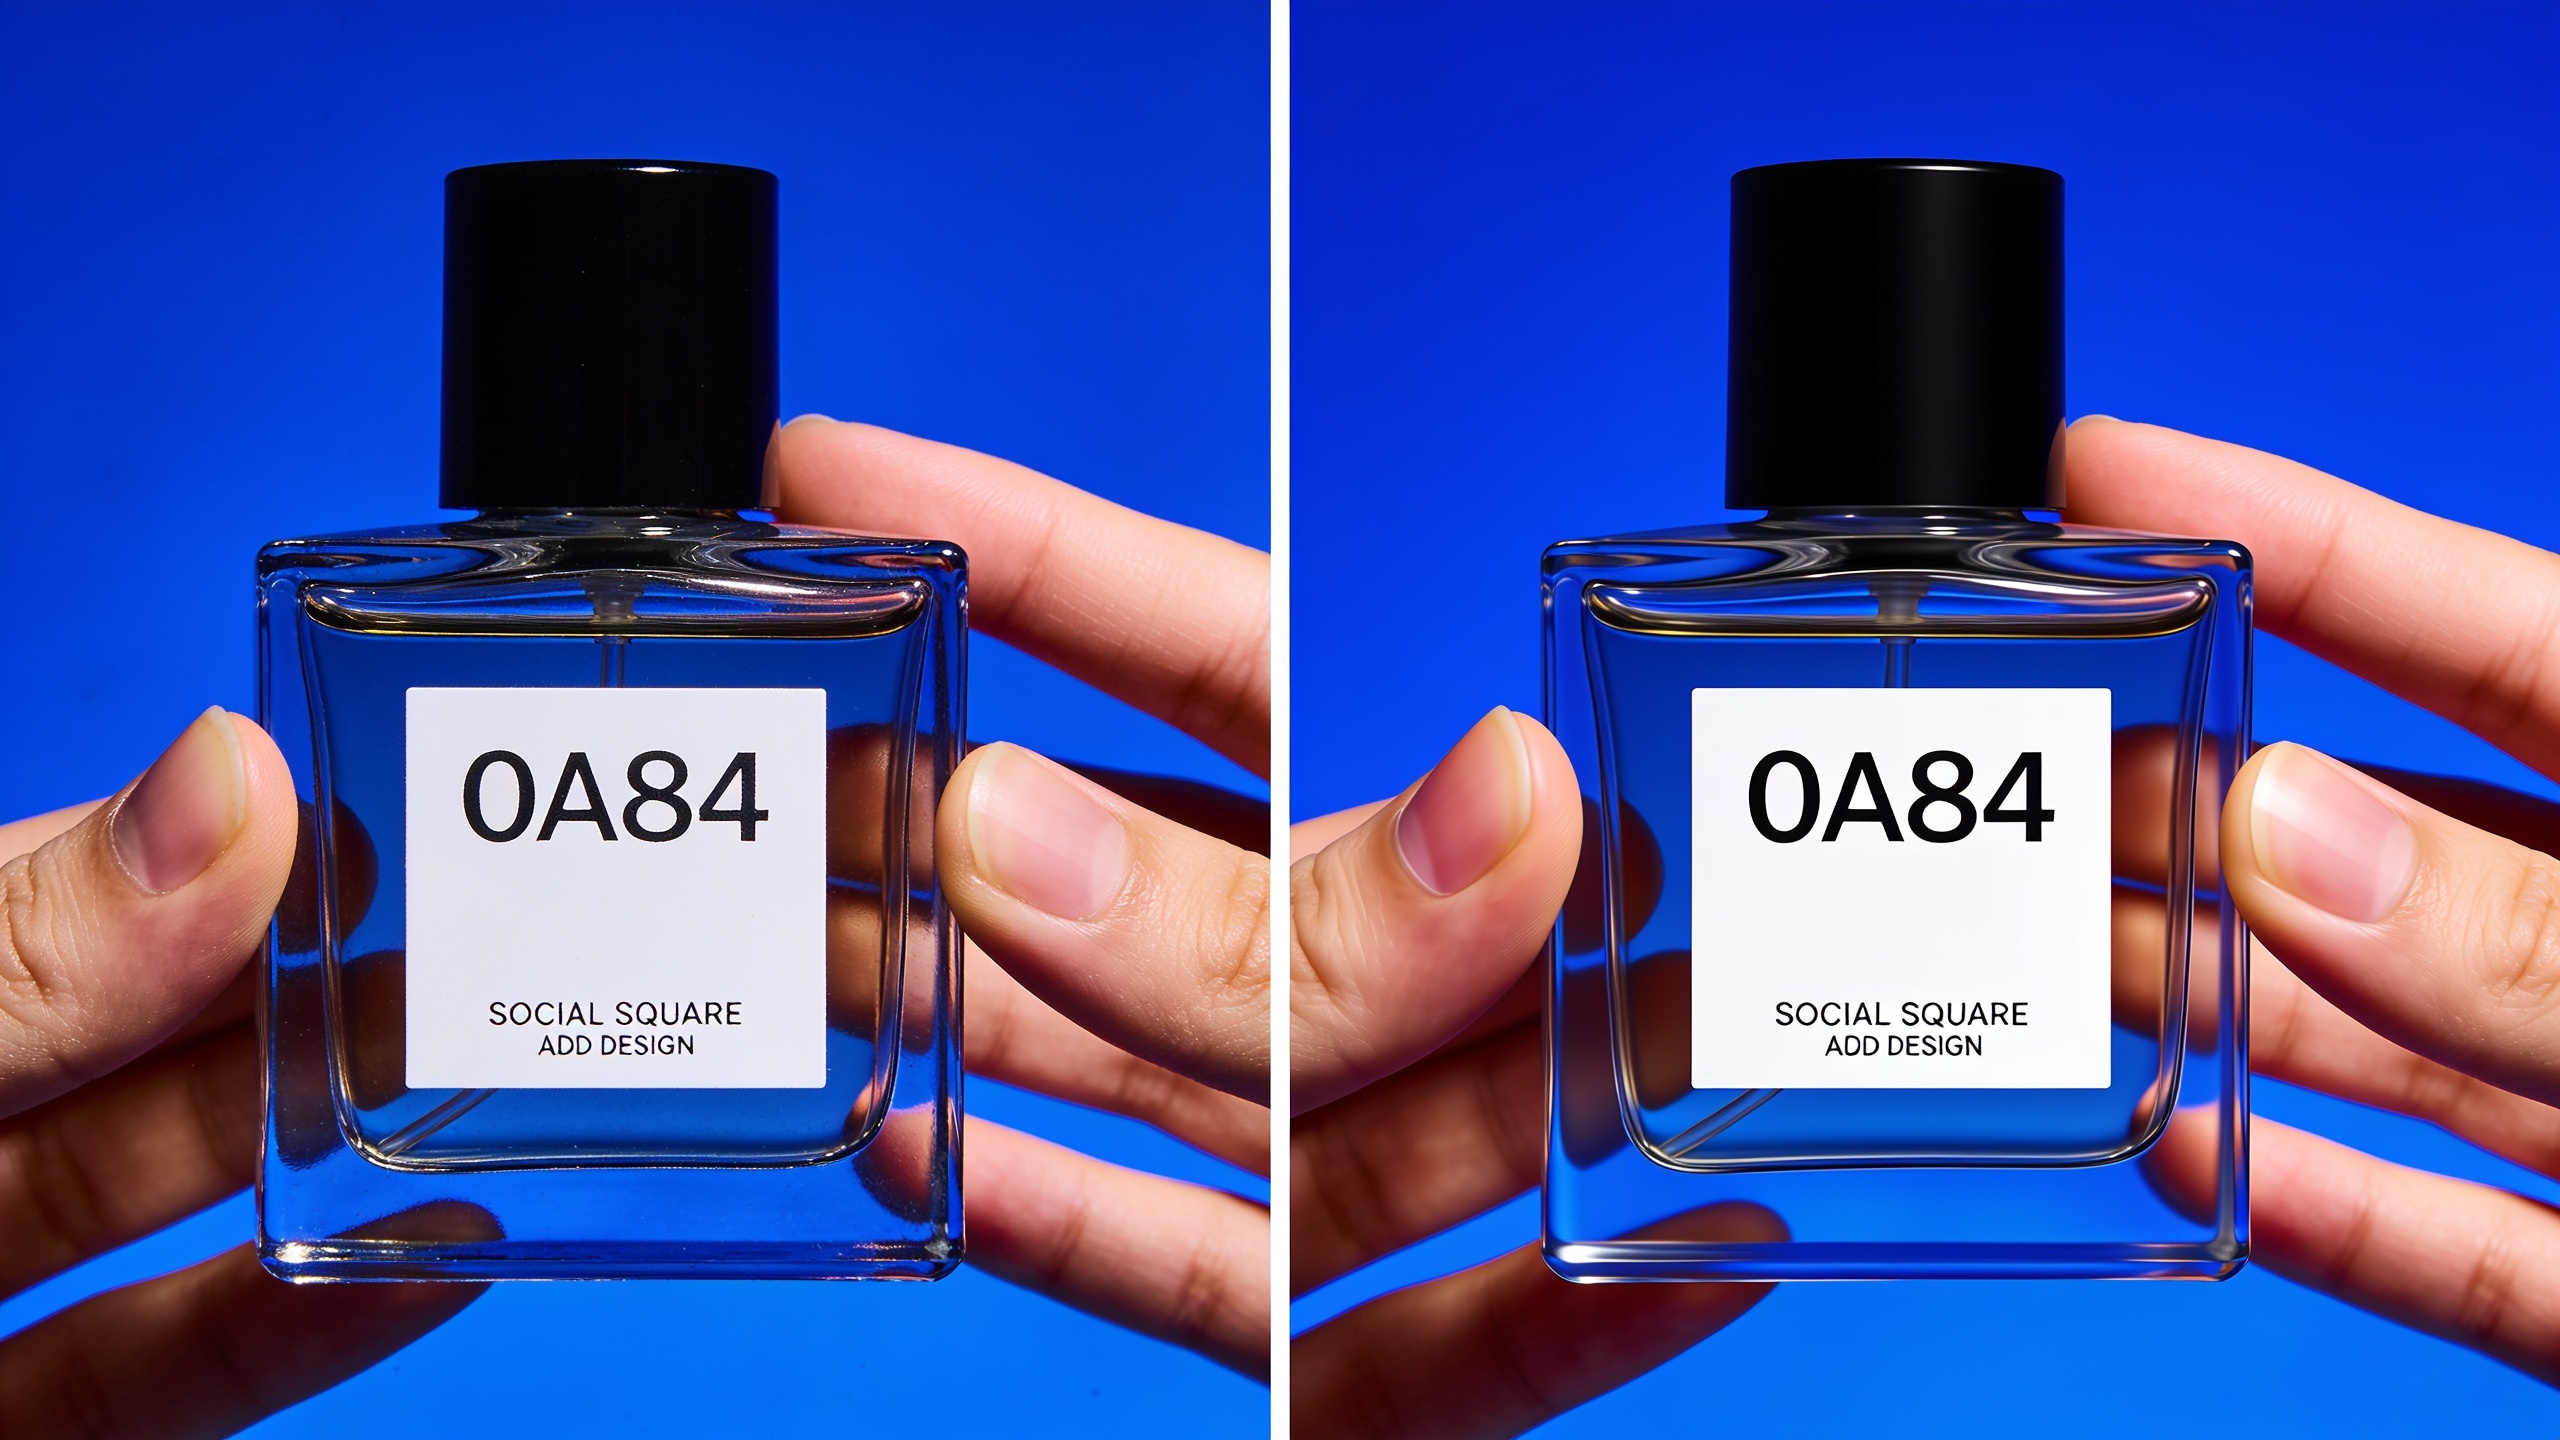
Produce a high-resolution master, lock your palette and safe typography margins, then create cropped exports for each ad aspect ratio. Start by defining a brand style sheet that lists HSL values or hex swatches, preferred lighting (e.g., "soft daylight, rim light"), and typography-safe margins where headline text will sit. Generate a 16:9 master at 1920×1080 (or higher) with the model and seed pinned. Use the reference anchor to preserve subject placement across variants.
When exporting, create these crops from the master: 1:1 for social ads, 4:5 for feed, 9:16 for stories, and a wide hero (e.g., 1920×600) for landing pages. Keep the CTA and headline inside the typography-safe margins. If you need sharper outputs, run the selected image through the GoCrazyAI Image Upscaler (/image-upscaler) before final exports. This workflow preserves focal points and ensures color consistency across ad platforms[1][2].
 AI-generated
What prompt and project templates (example) can I copy?
Below are reusable prompt skeletons, a negative prompt bank, and naming conventions you can copy into your project. Use the skeletons and fill only the variable parts (name, topic, colors). Keep every project folder copy of the template and save the seed in the filename.
Example prompt skeleton (thumbnail):
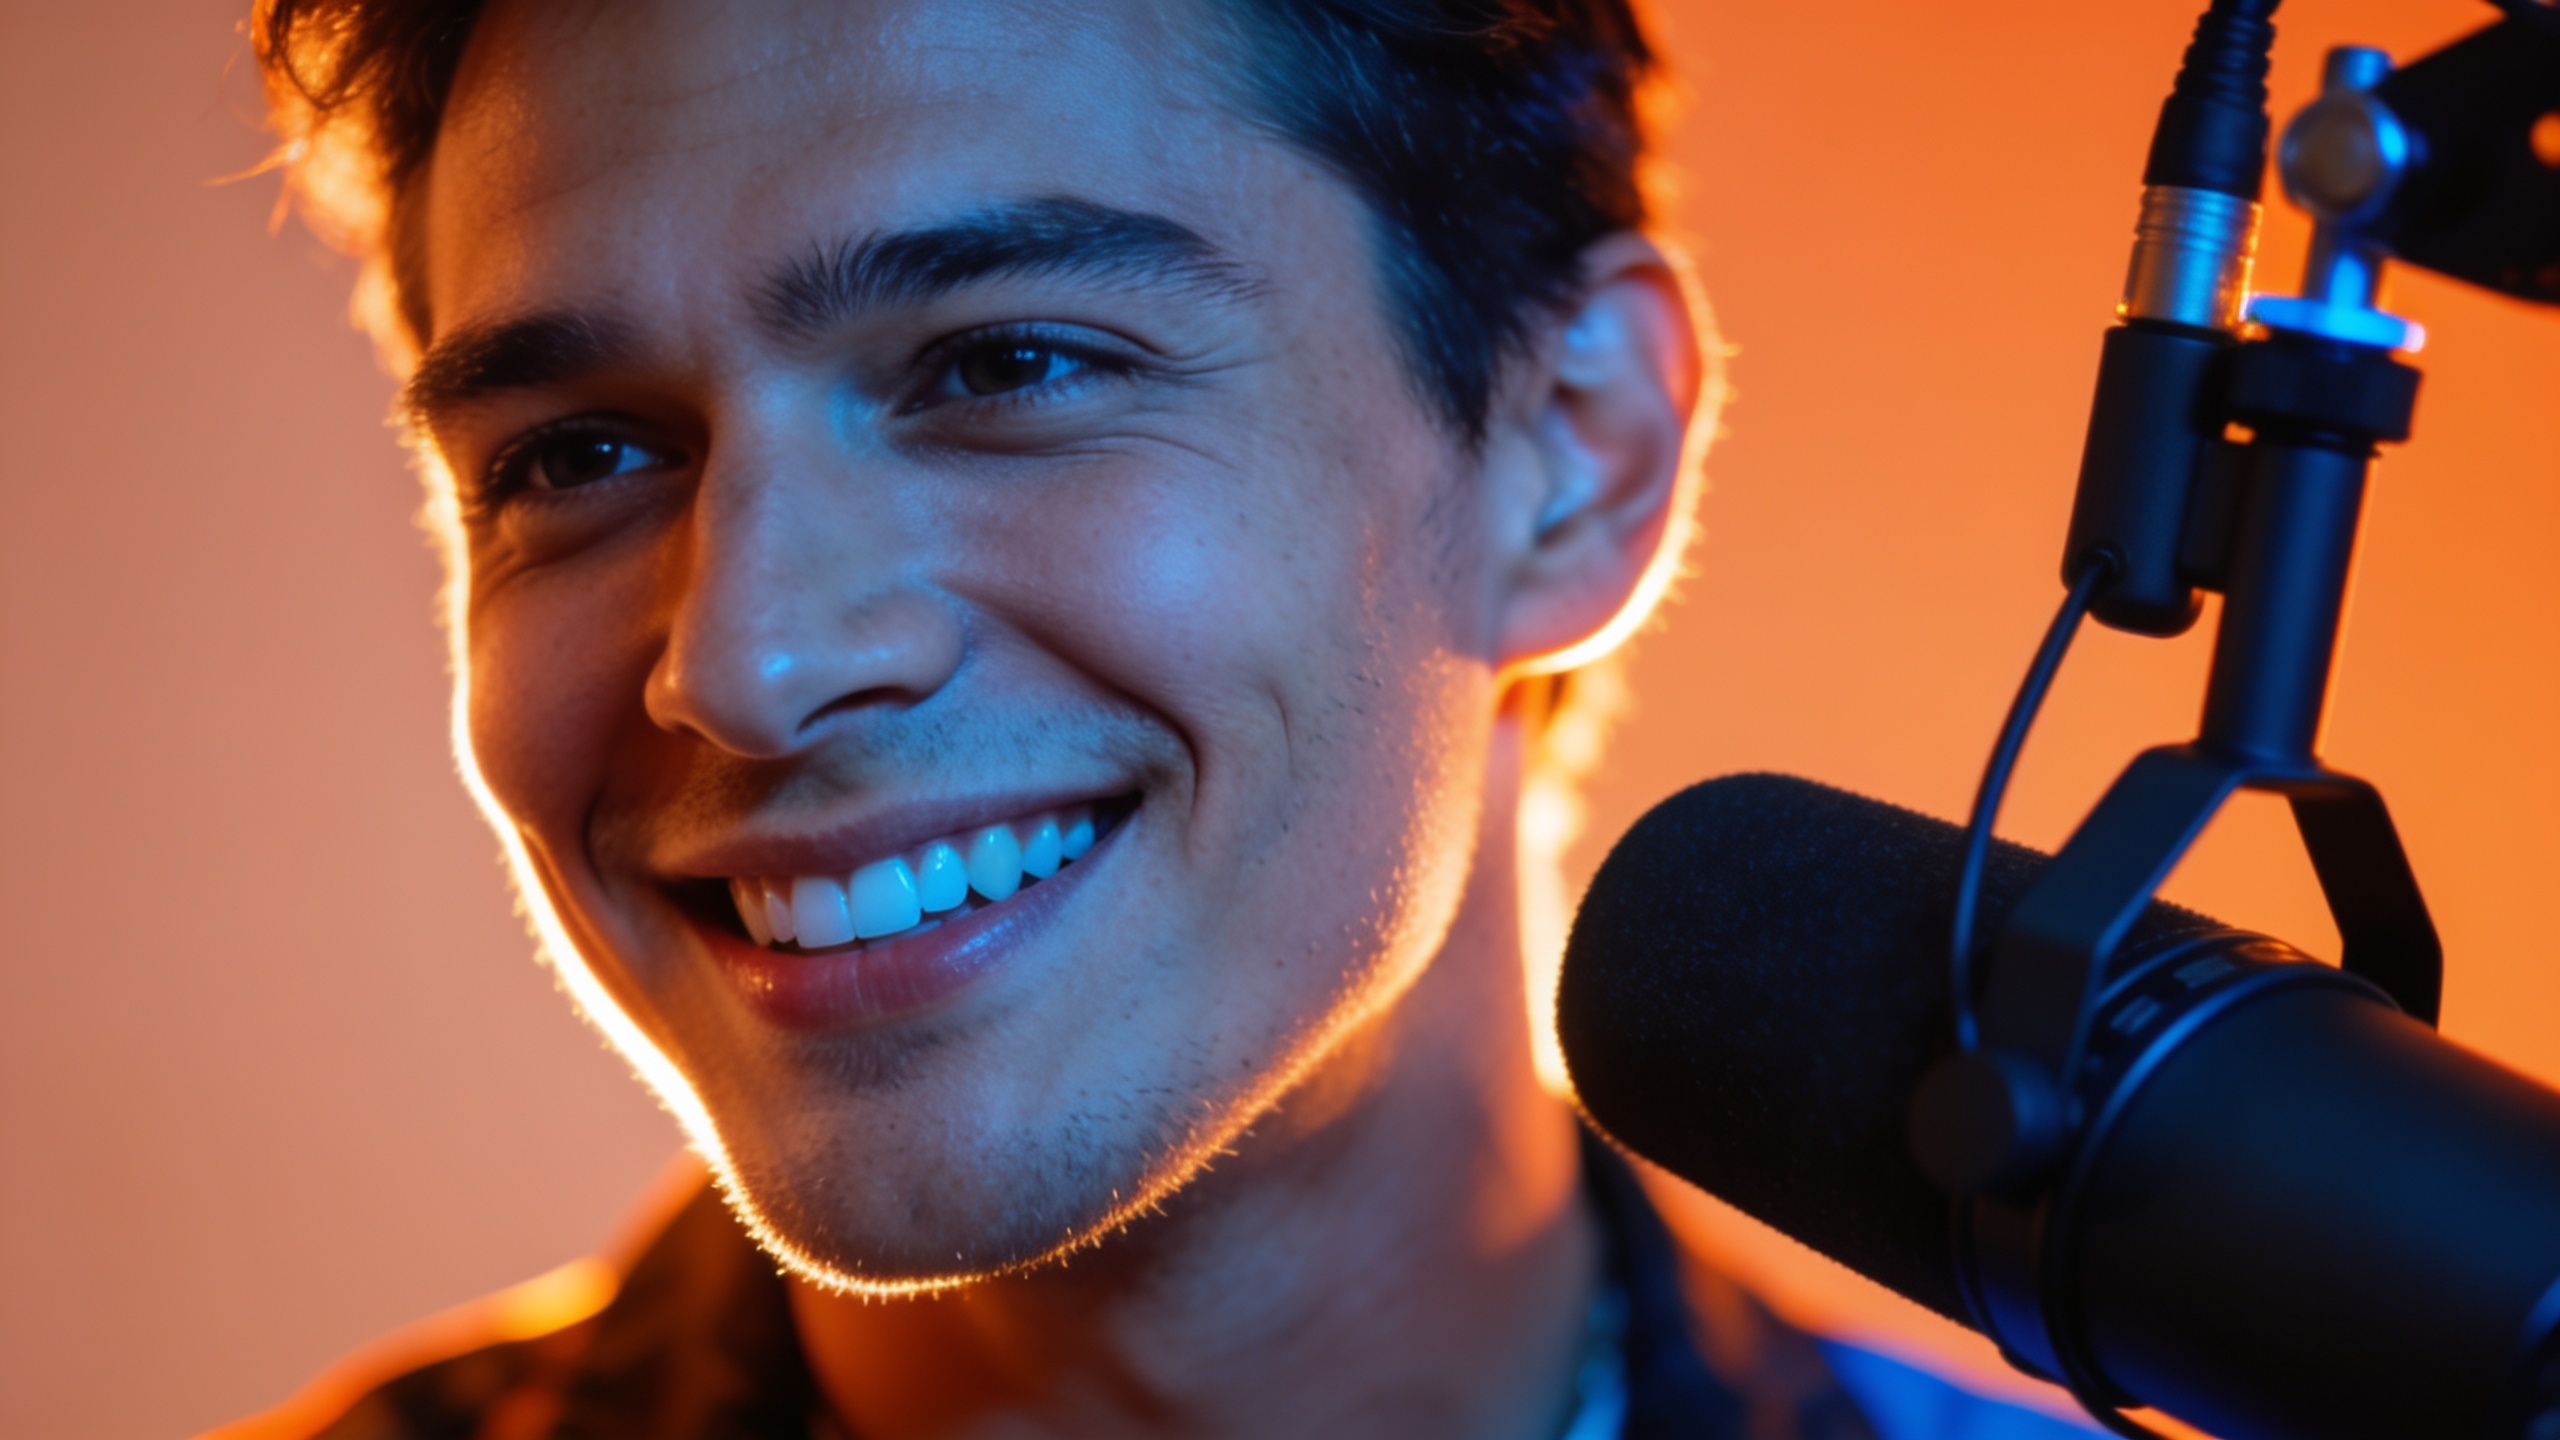
"[Subject description], close-up, 3/4 angle, dramatic rim light, high contrast, brand palette: #FF6A00,#0033CC; bold facial expression; shallow depth of field; cinematic 50mm; photorealistic — use reference: upload://anchor1.jpg"
Example prompt skeleton (hero image):
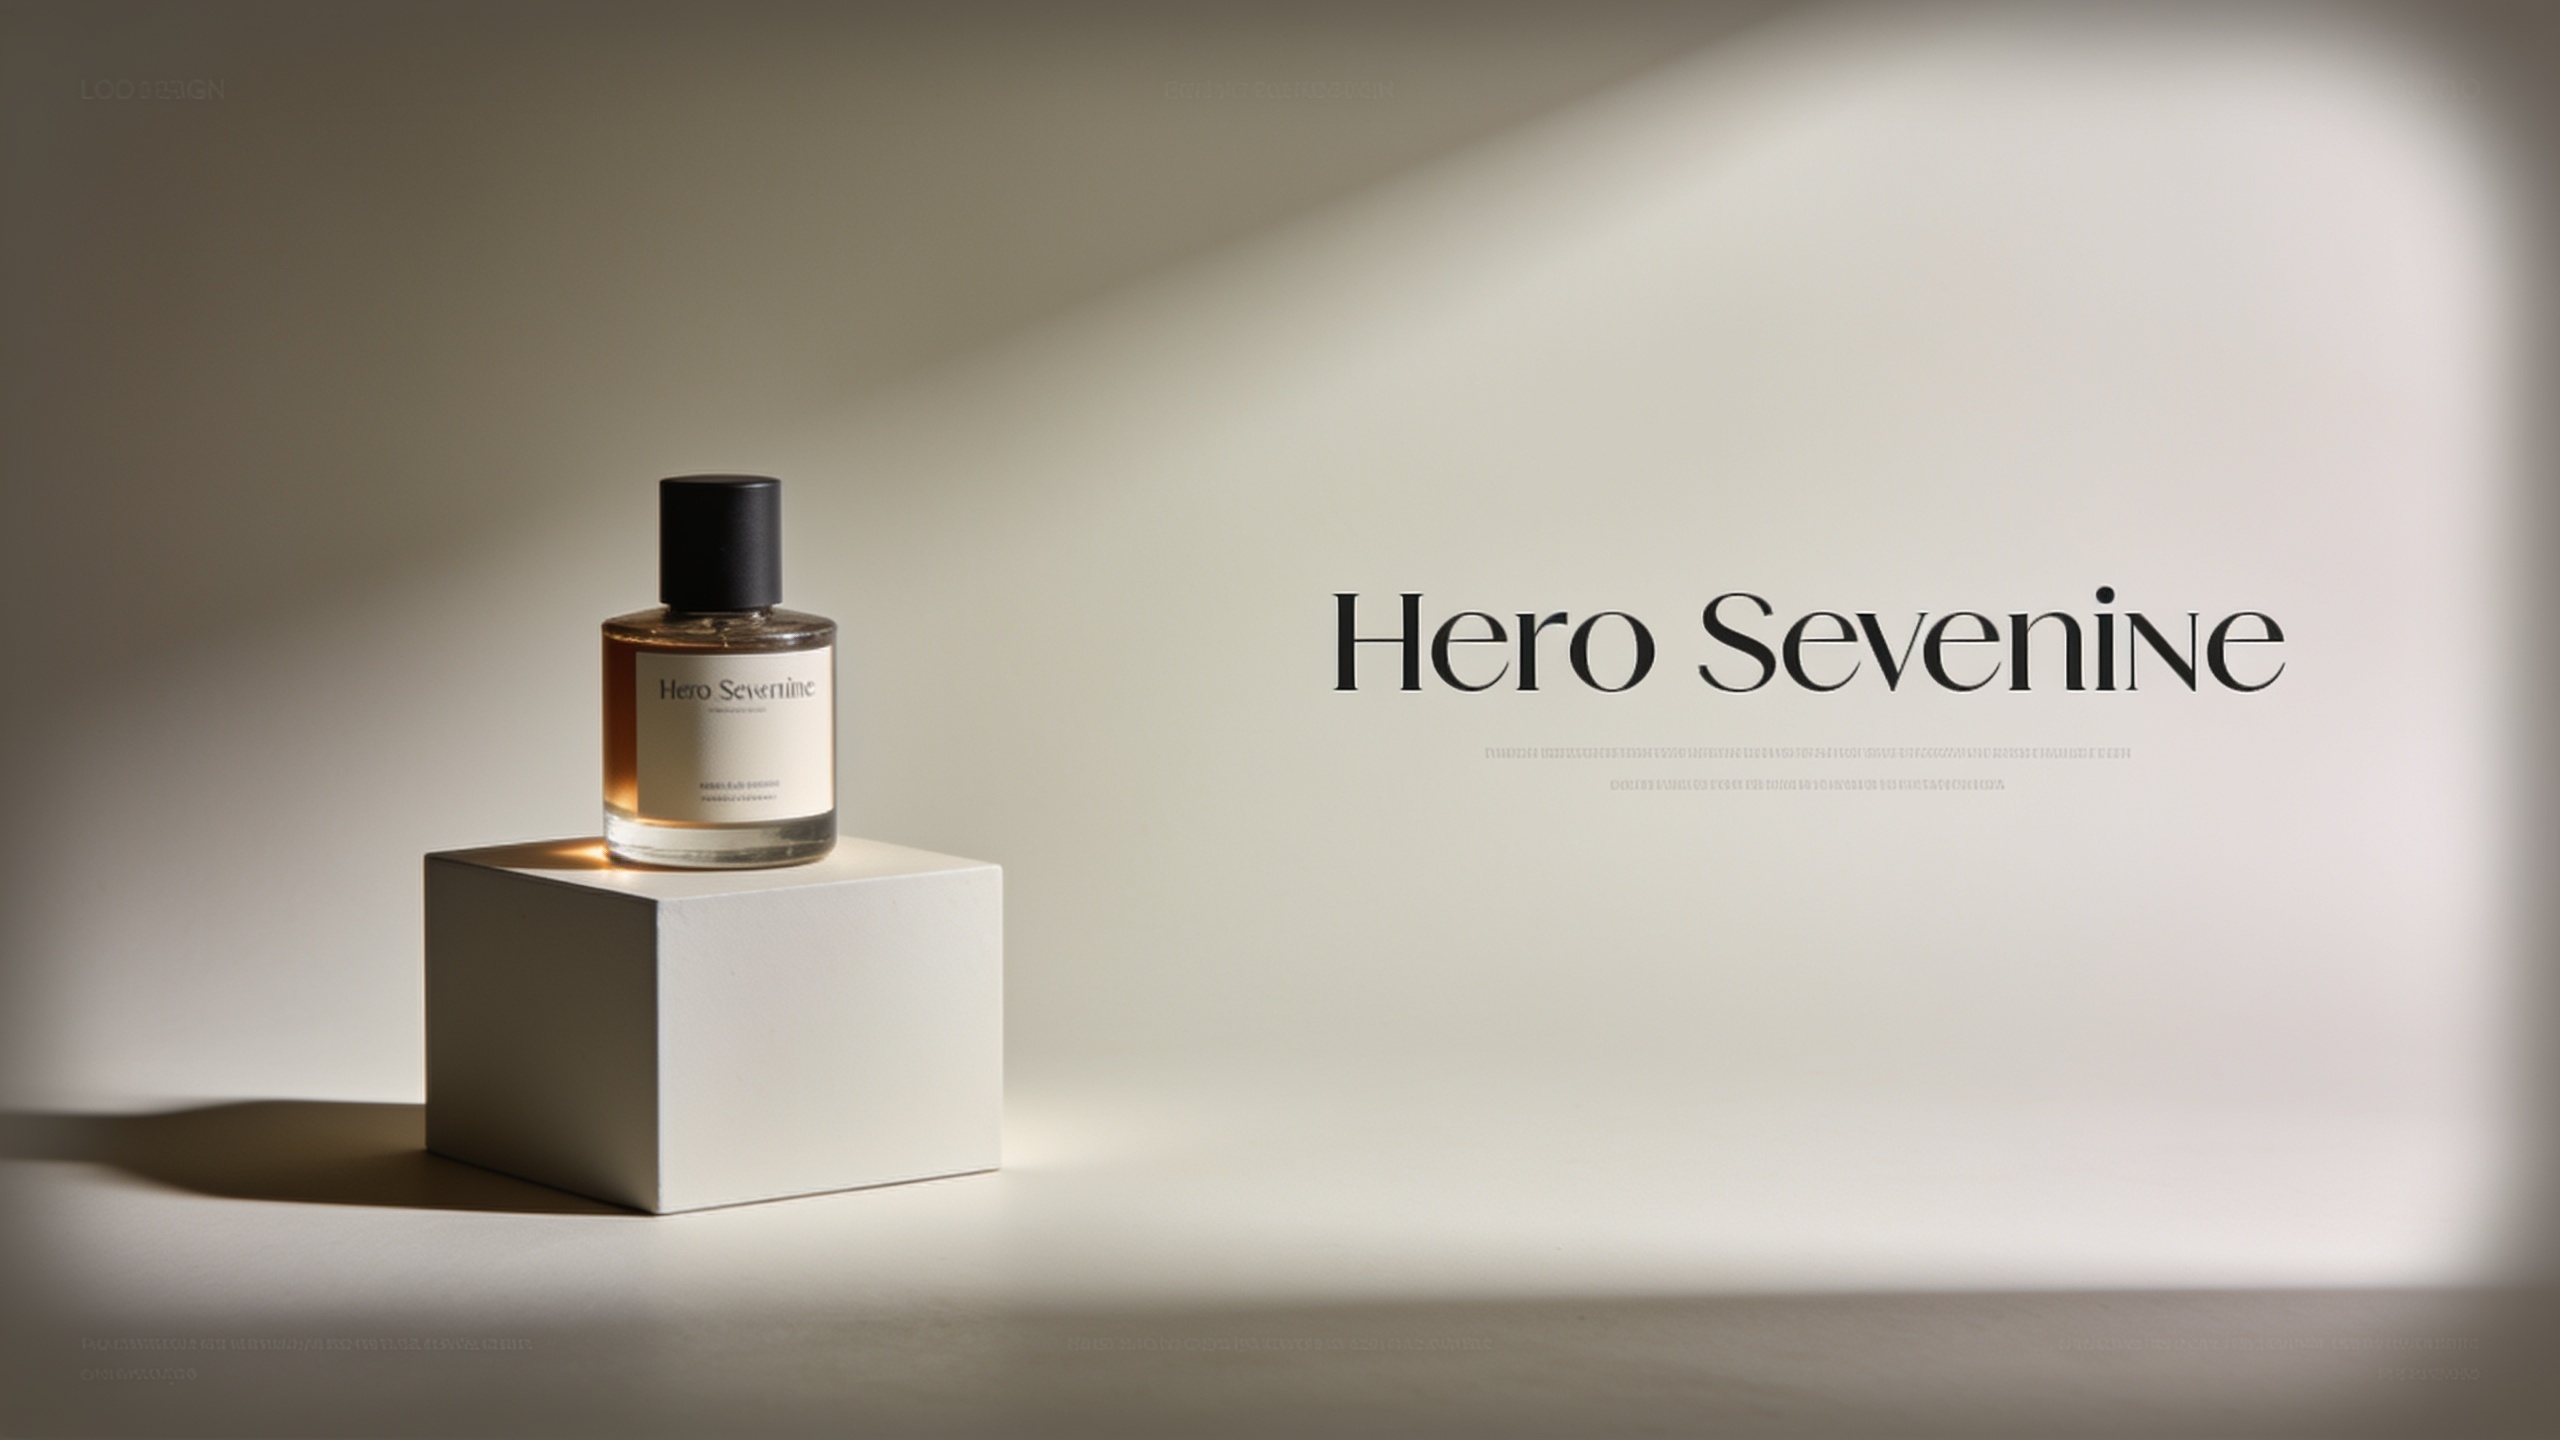
"Wide shot of [product or person], clean negative space on right, soft directional light, warm color grade, brand palette: #0A84FF,#FFFFFF; subtle vignette; no text"
Negative prompt bank (copy):
"no watermark, no logos, no text, no extra fingers, avoid distorted limbs, no duplicates, no signature"
Naming convention (example):
project_feature_seed_v01.jpg -> "podcast_thumbnail_seed12345_v01.jpg"
Store each prompt skeleton as a template in your project folder and pair it with one reference anchor image. That single reference + prompt skeleton + locked seed pattern is the core production trick used by many teams to reduce drift[5].
What checklist should I use to QA and lock outputs before handing to editors or uploading?
Use a five-point QA checklist before finalizing assets: aspect & resolution, composition safe zones, color & palette match, artifact check, and metadata completeness. Quickly verify each asset against the checklist:
1) Aspect & resolution: Confirm master is 1920×1080 (or chosen master) and platform crops are correct sizes. Refer to platform export guides when in doubt[1]. 2) Composition safe zones: Ensure faces, CTAs, and headlines are inside the safe margin. 3) Color & palette: Compare HSL/hex values to your style sheet; ensure no unexpected color shifts. 4) Artifacts & legal: Run the image through the negative-prompt bank and visually scan for artifacted limbs, unexpected text, or logos. 5) Metadata completeness: Include source model, seed, prompt file version, and negative prompts in the asset metadata or filename.
If everything passes, export the master, create the platform crops, and save both the master and derived files into your asset library with clear naming and the seed recorded. That way, editors can re-generate or up-res any asset using the exact seed and model.
Frequently Asked Questions
What size should I make a YouTube thumbnail?
Use 1280×720 (16:9) as the base size, but many creators export a higher-res 1920×1080 master to preserve quality when repurposing. Store the master and crop for other platforms rather than re-generating.
How do seeds help with reproducibility?
When a tool exposes the seed parameter, the same seed + same prompt + same model version will usually reproduce the same image. Save the seed, prompt, and model version together to re-create or iterate on a result[3].
Which model should I pick for iterative thumbnail work?
Nano Banana (Gemini family) is well-suited for high-volume generation and conversational editing — useful for iterative thumbnail and hero-image workflows because it handles prompt+image editing efficiently[4].
What negative prompts should I always include?
Start with a short bank: "no watermark, no logos, no text, no extra fingers, avoid distorted limbs, no signature." Keep a shared project negative-prompt file so everyone uses the same constraints.
Should I generate separate images for each platform aspect?
Prefer exporting a single high-res master and cropping for platform-specific outputs. This preserves detail and keeps focal points consistent across sizes[1].
Conclusion
Keep a single production pattern — one reference anchor, one prompt skeleton, one style sheet, and a saved seed — and you’ll dramatically reduce drift across thumbnail and hero-image runs. Start by creating a high-resolution master in your chosen model, save the seed and prompt, then export platform crops. Try these workflows in the AI Image Generator and save your first template to the project library.
Sources
- YouTube Thumbnail Size for Videos (social/export recommendations)youtube.com ↗
- Social Platform Size Guide (marketing quickstarter PDF)assets.ctfassets.net ↗
- How Nano Banana got its name (Google blog about Nano Banana / Gemini image models)blog.google ↗
- Gemini 2.5 Flash Image (Nano Banana) — Google AI developer docsai.google.dev ↗
- Diffusion Models: A Practical Guide (Scale AI) — determinism and seed explanationscale.com ↗
- How to Create Consistent AI Images (Vogue AI guide)vogueai.net ↗
- Keep AI Images Consistent Across Any Project (Picasso IA guide)blog.picassoia.com ↗
- Prompt Engineering for Text-to-Image Models (Scaler guide)scaler.com ↗
- How to Write Image Generation Prompts (AI-TLDR prompt guide)ai-tldr.dev ↗
- Advanced Prompts for Brand-Consistent AI Images (Moruk tips)moruk.co ↗