
How to create on-brand hero image AI for landing pages and ads?
Step-by-step guide to create consistent, on-brand hero images and logo-based variations using Nano Banana, Seedream 4, and GoCrazyAI's Image Generator.
 AI-generated
You need a repeatable way to produce a single hero image style that looks right on your homepage, ads, and thumbnails — and you need dozens of cropped variations from the same logo without a designer for every mock. This guide shows a practical workflow: prepare a brand prompt kit, choose a model (Nano Banana, Seedream 4, Kaneko Gen Pro), generate a primary hero frame, then produce logo-driven variations and consistent crops for ads. You’ll get concrete prompts, step-by-step actions on GoCrazyAI’s AI Image Generator, and measurement tips so tests show real lift (one CRO case study showed a single hero image swap lifted conversions ~22%[1]). Along the way I explain how to keep outputs predictable (fixed seeds, reference images, constrained style prompts), how to restyle with image-to-image and in-painting, and how to package final asset stacks for designers and your CMS. If you plan to scale creatives — thumbnails, 1:1 ads, and hero headers — this article gives the exact prompts and controls to repeat the look across dozens of sizes and channels.
Quick Answer
How to create on-brand hero image AI for landing pages and ads? Create a single high-quality hero frame using a controlled text prompt plus a reference photo or logo, then produce size- and crop-specific variations with fixed seeds and style constraints. Use image-to-image edits and in-paint to match tone across thumbnails and ads, and automate export stacks for each channel.
Why on‑brand hero images and logo‑based variations matter (metrics and UX signals)?
Hero images shape first impressions and can change conversion metrics noticeably: swapping a single hero often moves conversion rates by double digits in real campaigns (one example showed a 22% lift[1]). Above-the-fold visuals set perceived product value, guide eye movement to CTAs, and influence bounce rates. For logos and small brand variations (favicons, badges), consistency builds recognition across ad networks and social feeds.
Because hero visuals are high-impact, treat them as controlled experiments. Use one primary hero frame as a canonical visual reference — this helps UX and CRO teams judge A/B changes against a stable baseline. Track clicks, scroll depth, and conversion micro-metrics (CTA clicks, form starts) by variant. For social and ad platforms, measure both engagement and CPM/CTR differences; small visual tweaks can change ad relevancy scores and thus cost. When you test, keep creative variables isolated: test imagery while keeping copy and CTA constant so you attribute lift correctly.
Choosing the right image model for brand consistency: Nano Banana, Seedream 4, Kaneko Gen Pro — strengths and tradeoffs?
Which model you choose affects predictability and editability. Nano Banana (Gemini image family) tends to prioritize precise generation and editing controls, which helps when you need exact logo placement or consistent material rendering across outputs[2]. Seedream 4 is optimized for multimodal prompts and fast image-in prompts, making iterations and reference-driven consistency easier[3]. Kaneko Gen Pro offers strong aesthetic variation and creative stylization when you want more expressive hero looks.
Tradeoffs: Nano Banana is generally better when you need tight control over small identity elements (logo scale, specular highlights). Seedream 4 is helpful when you want to feed an image prompt and quickly pivot styles while keeping composition. Kaneko Gen Pro is useful when you accept a wider stylistic spread and want visually bold options. For branding workflows that require producing multiple crops from a single source, favor models that support image-conditioning and fixed-seed workflows so family outputs remain predictable. When in doubt, generate a small grid from each model, compare on palette and logo fidelity, and then commit to one model for the campaign.
Preparing assets and constraints: how to build a brand prompt kit (logo, palette, photography brief, dos/don’ts)?
A brand prompt kit is a one-page specification that lets the model produce on-brand images consistently. At minimum include: a high-resolution logo (PNG with transparency), a palette of 3 hex colors, 2–3 mood keywords (e.g., "warm minimal", "tech cinematic"), preferred camera styles (e.g., "wide 35mm, shallow depth of field"), and explicit dos/don’ts (e.g., "do not crop logo; avoid heavy vignettes").
Also add short, repeatable prompt fragments: a hero prompt template, a thumbnail prompt template, and a list of banned elements. Use the logo as an image reference in image-conditioned prompts and lock the logo size/position with clear instructions. For photography brief include subject treatment (product on white table, person left of frame), lighting notes (soft key, golden-hour rim), and allowed textures (matte, brushed metal). Keep the kit compact — designers and marketers should be able to copy/paste prompt fragments and paste the logo when generating variations.
 AI-generated
Hands‑on: How do I generate an initial brand hero image with GoCrazyAI AI Image Generator (step‑by‑step)?
Generate a hero frame by uploading a logo or reference photo, choosing a model, and using a controlled prompt and seed. On GoCrazyAI's AI Image Generator you can upload the logo, pick a model (Nano Banana/Seedream/Kaneko), set aspect ratio for your hero header, and add a concise style prompt so the output stays on-brand. The Image Generator outputs multiple variations and saves them to your library, letting you iterate without losing previous candidates.
Step-by-step (practical):
1) Upload: add your high-res logo and one reference photo that captures desired composition. 2) Choose model: start with Nano Banana for precise edits. 3) Prompt: use your hero template from the brand kit (example below). 4) Advanced: set a fixed seed and select 4-6 variations. 5) Export: pick the primary hero aspect ratio and save all variations to the asset library.
Sample hero prompt (paste into the prompt field and replace bracketed items):
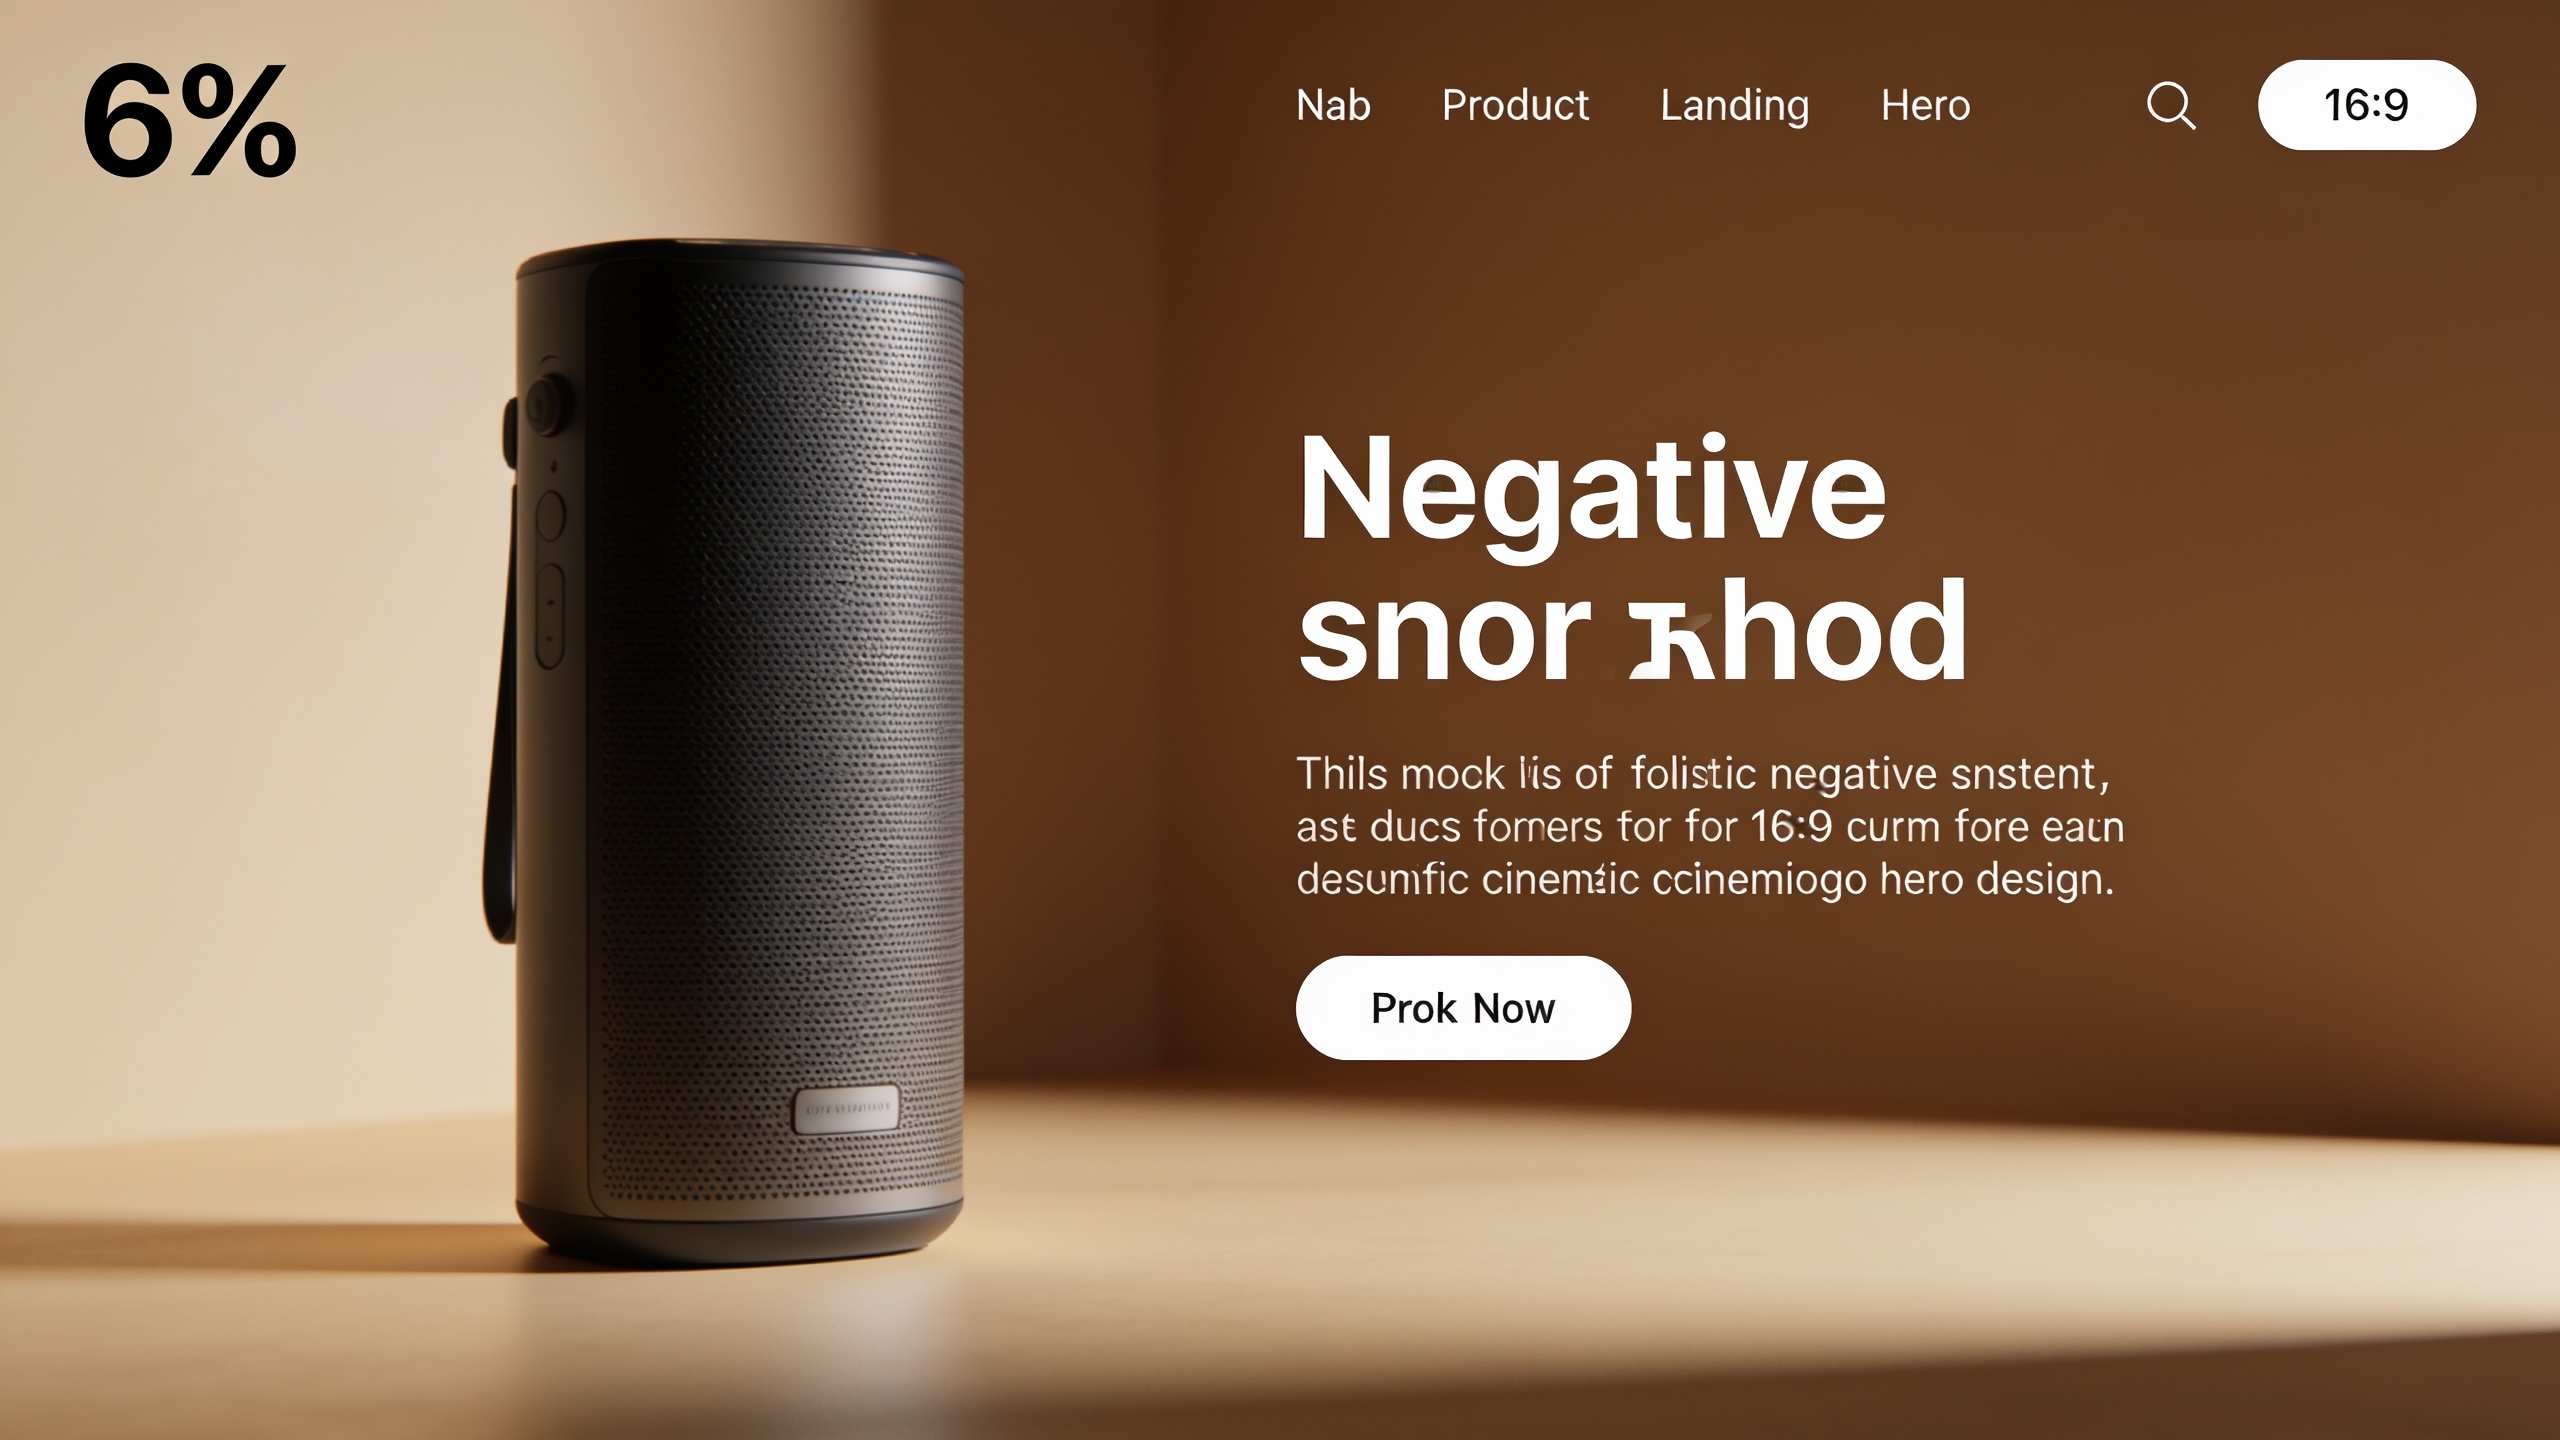
``` Hero frame: product on left, logo top-left, warm minimal palette (#FF6A00, #101820, #F5F7FA), cinematic soft-key lighting, shallow depth of field, clean negative space for headline, brand mood: approachable-tech. Use uploaded logo at 6% width, unobstructed. No heavy vignettes. --model:nano-banana --seed:12345 ```
When you export, ask the Image Generator to output PNG + a web-optimized JPEG for the landing page. This keeps a crisp master and a fast-delivery variant for the live site. (The Image Generator also saves every result to your library for easy iteration.)
AI Image Generator is where these steps run in GoCrazyAI; upload, pick Nano Banana or Seedream 4, and use the brand prompt kit to generate consistent hero frames.
Hands‑on examples: How do I create image variations from a single logo — layout, favicon, and ad crops using the Image Generator?
You can produce a family of assets from one approved logo by using image-conditioning plus explicit crop and layout prompts. Start from the canonical hero frame and generate targeted crops (16:9 hero, 1:1 social ad, 9:16 story, 48x48 favicon) using the same seed and a short crop modifier to keep proportions and logo placement predictable.
Practical prompt examples you can copy (replace bracket tokens):
Hero (16:9):
``` Use uploaded hero-frame as reference. Output 16:9 crop. Keep logo top-left at 6% width. Maintain warm minimal palette and shallow depth of field. Preserve negative space for headline. --seed:12345 --crop:16:9 ```
Square ad (1:1):
``` Derive a 1:1 crop from the reference image. Recompose so logo remains visible but centered-left; avoid cutting subject's face. Keep same lighting and palette. --seed:12345 --crop:1:1 ```
Favicon (48x48):
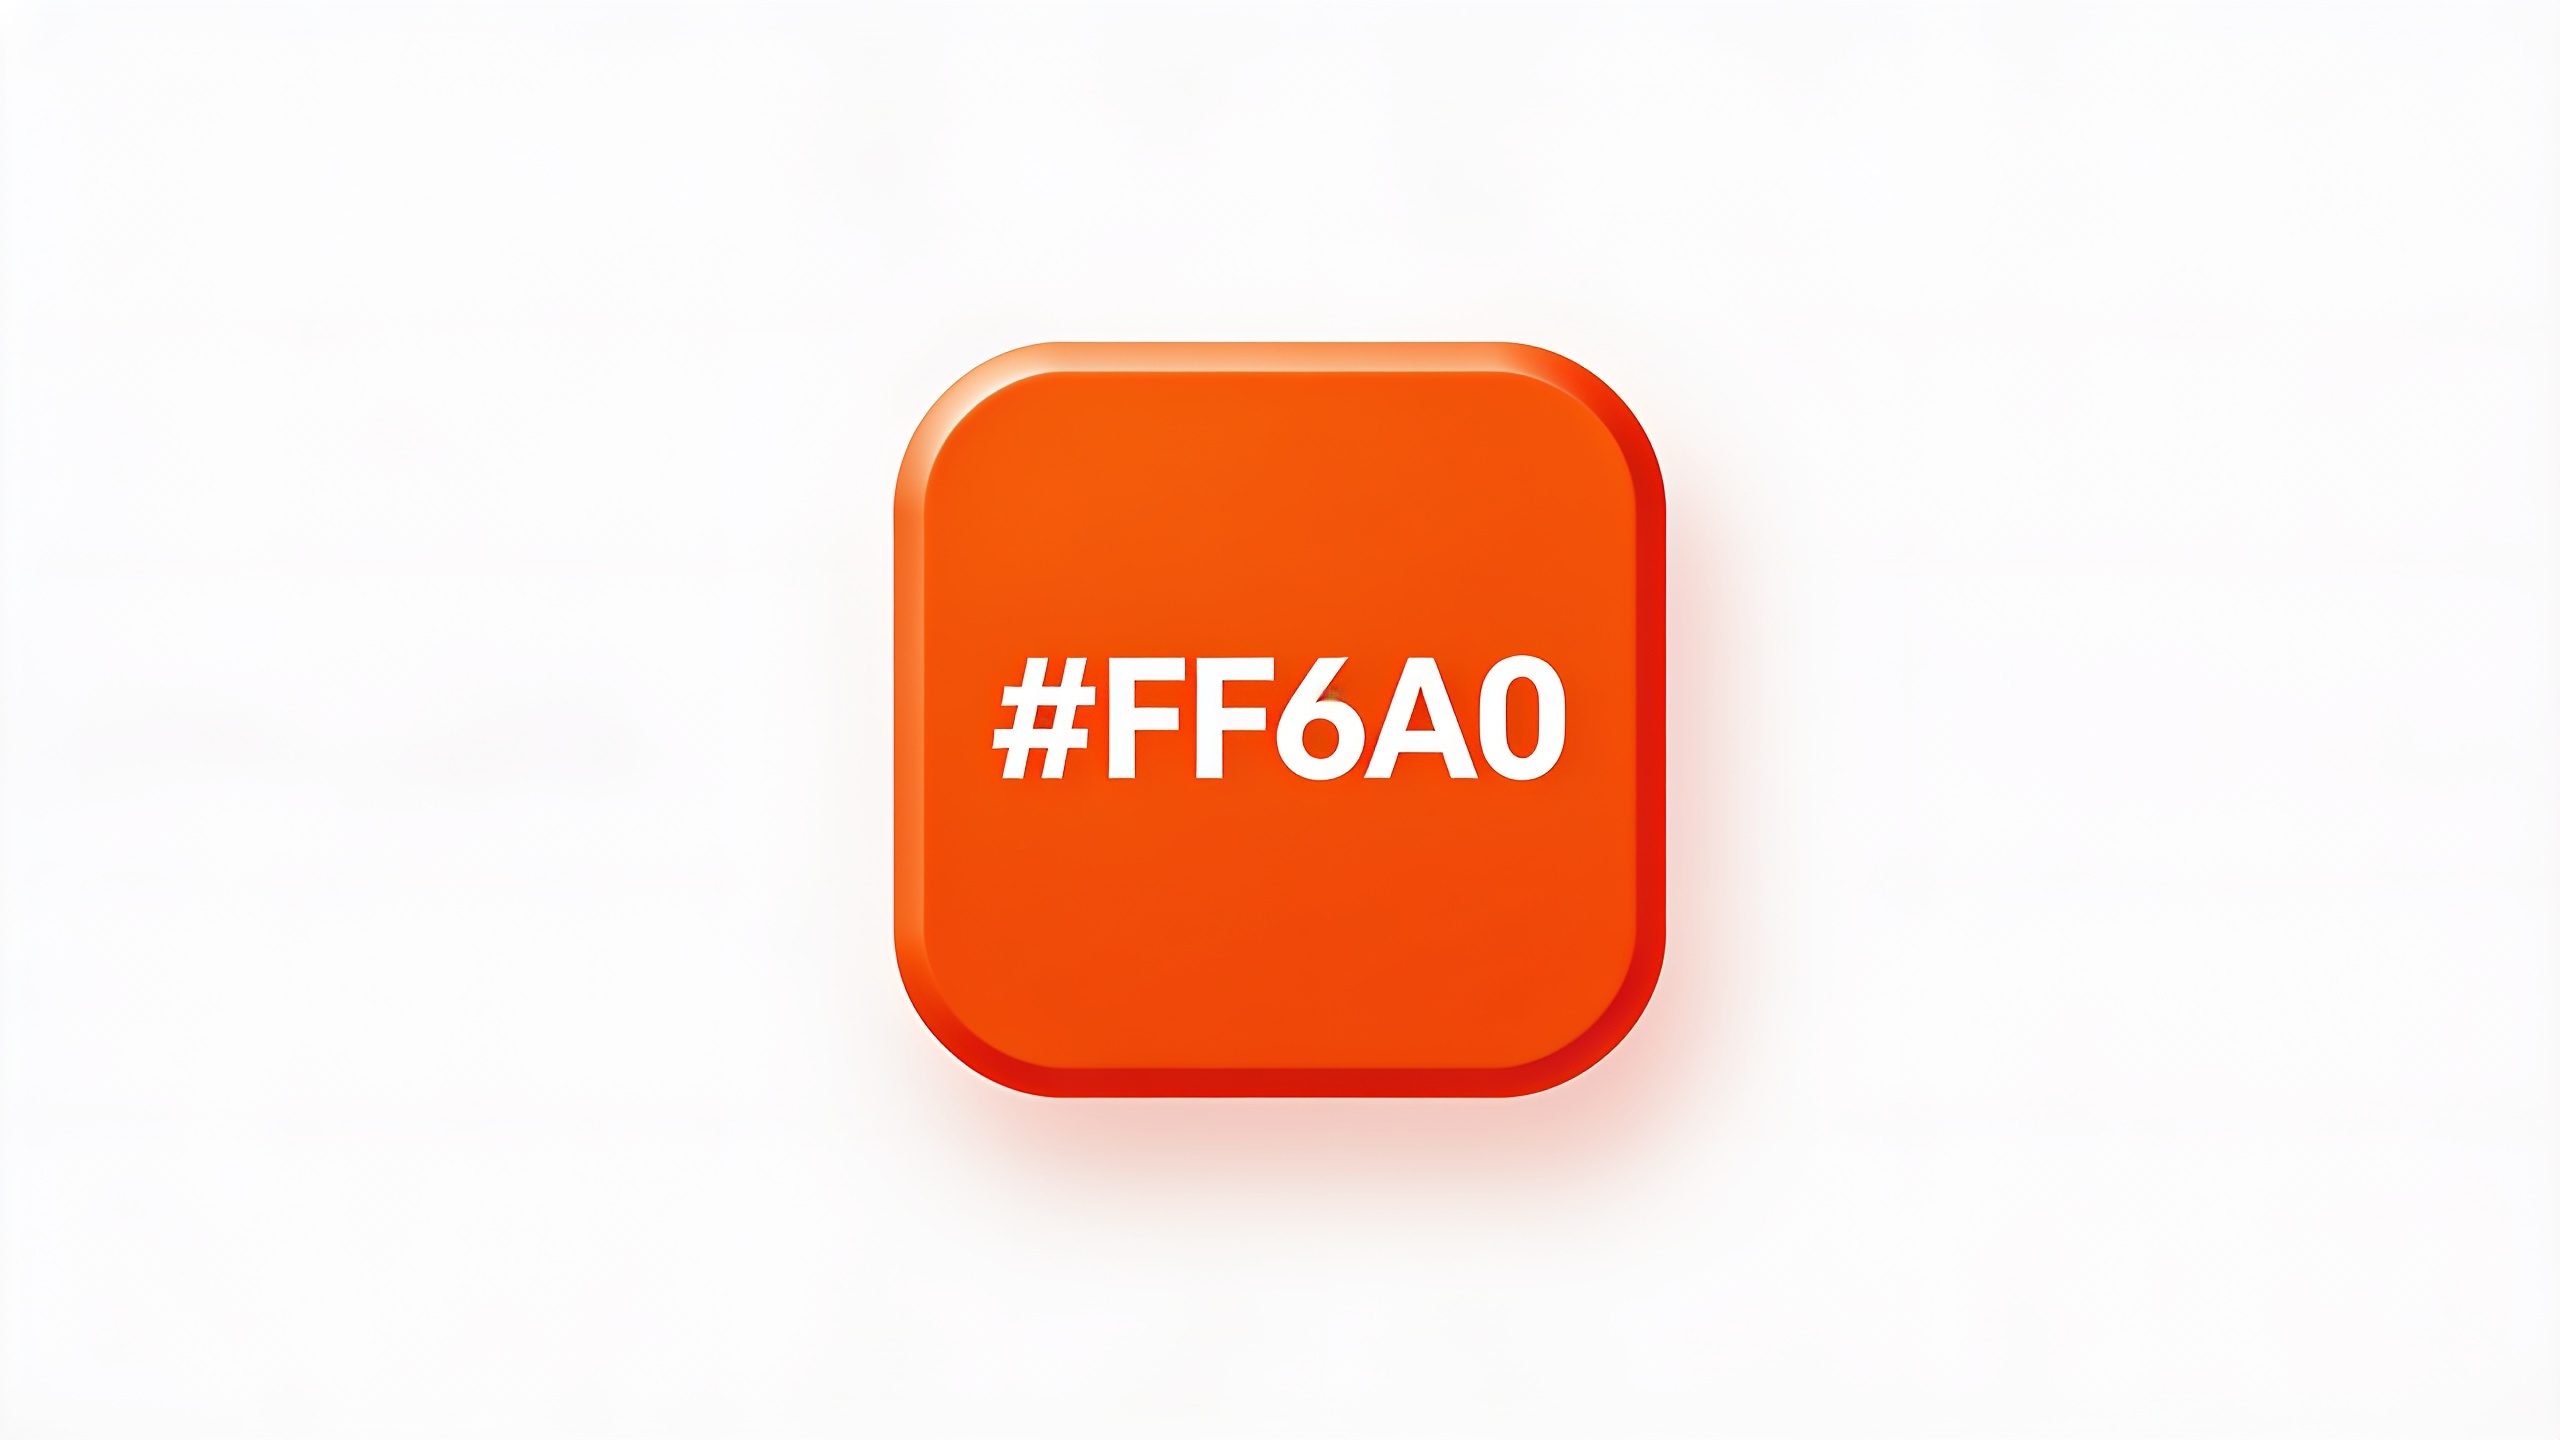
``` Generate a simplified badge from the uploaded logo. Use the primary mark only, no text, flat color background from palette hex #FF6A00, high contrast. Output 48x48 px. --style:flat ```
Tips: use the same seed across these prompts so the visual family stays cohesive. For badges/favicons generate a simplified variant (single-color or embossed material) rather than scaling the full hero image down; this ensures legibility. Save each output in a named folder (hero/1x1/favicons) in your asset library so designers can find exact variants.
Restyle and edit for consistency: using image‑to‑image and in‑paint workflows to match tone across thumbnails, hero images, and ads?
Use image-to-image and in-paint to move an existing hero frame to thumbnails and ad crops while preserving core brand attributes. Image-to-image lets you feed the canonical hero as a reference and ask the model to retarget composition, adjust lighting, or swap background color while keeping the logo and palette intact. In-painting is useful when you need to remove or relocate objects inside a composition without regenerating from scratch.
Practical workflow: pick the canonical hero image and run an image-to-image pass for each target crop using a short style modifier (e.g., "thumbnail: tighter crop, higher contrast, preserve logo top-left"). For spot fixes — remove clutter or reposition props — use in-paint and mask only the area to change. If outputs look soft at small sizes, run the result through an image upscaler to retain crispness; GoCrazyAI's AI Image Upscaler can increase resolution while keeping logo edges sharp. Keep the same seed and style tokens when possible to minimize drift across the set.
 AI-generated
Testing, measurement, and scaling: A/B tests, speed/weight tradeoffs, and generating size/crop stacks for ad channels?
Test creative changes with controlled A/B experiments and track both engagement and downstream conversions. Start with a single-variable A/B test where imagery is the only changing factor; measure CTR, time on page, and conversion events to capture direct and indirect effects. For ad channels, generate size/crop stacks for each target (16:9, 1:1, 4:5, 9:16) and run small paid tests to compare CPM and CTR across variants.
Speed and weight matter: hero images on landing pages should balance fidelity and file size. Export a high-resolution master for archives and a compressed web JPG/WebP for production. Use progressive JPEGs or WebP for faster loads. When scaling to many creatives, automate exports with consistent naming and metadata so ad platforms and CDNs can ingest them programmatically. If you want to turn static frames into short videos, feed hero frames into the AI video generator pipeline; GoCrazyAI’s AI video generator accepts image frames as starting frames and can create short animated variations for social clips.
Operationalize: packaging brand image sets for designers, CMS, and the GoCrazyAI asset library — common mistakes?
Package assets as structured sets: a master folder with the canonical hero, a style.json (or human-readable kit) that contains palette, logo spec, and the prompt fragments, and subfolders for each crop size. Include both a print-ready master (PNG/PSD) and an optimized web export (WebP/JPEG) for delivery. Save all generated variations and prompts in GoCrazyAI's asset library so marketers can re-run or re-edit any variant.
Common mistakes and how to avoid them:
- Mistake: Not saving the prompt and seed. Fix: record the exact prompt, seed, and model; this is the only way to reproduce a family of images reliably.
- Mistake: Treating a favicon as a downscaled hero. Fix: generate a simplified badge variant rather than shrinking a complex scene.
- Mistake: Allowing unbounded style drift when iterating. Fix: pin core style tokens (palette, lighting words, logo placement) and use them as required fields in the brand kit.
Operationalizing also means defining permissions: who can edit the brand prompt kit and who can only generate variations. Keep one source of truth in your CMS or shared drive and sync final masters into the GoCrazyAI asset library for quick reuse.
Frequently Asked Questions
What makes an image "on-brand" for hero use?
An on-brand hero image matches the brand palette, logo treatment, and tone of voice consistently across placements. Use a compact brand prompt kit (logo, 3 colors, mood keywords, camera brief) and enforce those tokens in every prompt so the model repeats the desired look.
Can I use a single logo file to generate favicons and badges?
Yes. Generate simplified variations specifically for small sizes (flat colors, single-mark badges). Do not simply downscale the full hero; instead produce a dedicated favicon crop or badge prompt to preserve legibility.
How do fixed seeds and reference images help with predictable outputs?
Fixed seeds reduce stochastic variation so multiple runs produce similar compositions. Reference images provide a visual constraint the model can follow. Use both together to generate predictable families rather than purely random outputs.
Which model should I try first for tight brand control?
Start with Nano Banana for precise editing and logo fidelity, then test Seedream 4 for faster multimodal edits if you need quick iteration and Kaneko Gen Pro for more stylized options[2][3].
Conclusion
Final thoughts: Start by locking a single, well-crafted hero frame and a compact brand prompt kit. Use image-conditioning and fixed seeds to produce consistent size/crop families, then run focused A/B tests to measure real impact. Save prompts and masters in your asset library so designers can reproduce or extend the set reliably. Spin up your first frame in the AI Image Generator and iterate until the look is stable.
Sources
- Nano Banana — Google DeepMind / Gemini Image model pagesdeepmind.google ↗
- Gemini API — Google AI (image generation docs, Nano Banana model names)ai.google.dev ↗
- Nano Banana AI image editing coming to Lens, Photos and more — Google blogblog.google ↗
- Seedream 4 — official Seedream / ByteDance pagesseedream.ai ↗
- Seedream 4.0: Toward Next‑generation Multimodal Image Generation (arXiv)arxiv.org ↗
- How to generate logo variations from your logo — Fuzana guide (practical workflow)fuzana.com ↗
- How One CRO Team Used a Single Image to Lift Conversions 22 Percent — Conversion Rate Optimization podcast summary (case example)music.amazon.com ↗
- AI brand visual set: build a consistent product image kit — OmniArt tutorial (how to keep logos consistent in AI images)omniart.studio ↗
- Logo Variation Generator / LogoAI (examples of generating variants from a logo)logoai.com ↗