


How to 3D Print a Picture: From Photo to Finished Figurine
Turn one photo into a real 3D print: pick the right picture, generate a full 3D model, export an STL, set up your slicer and print a figurine you can hold.
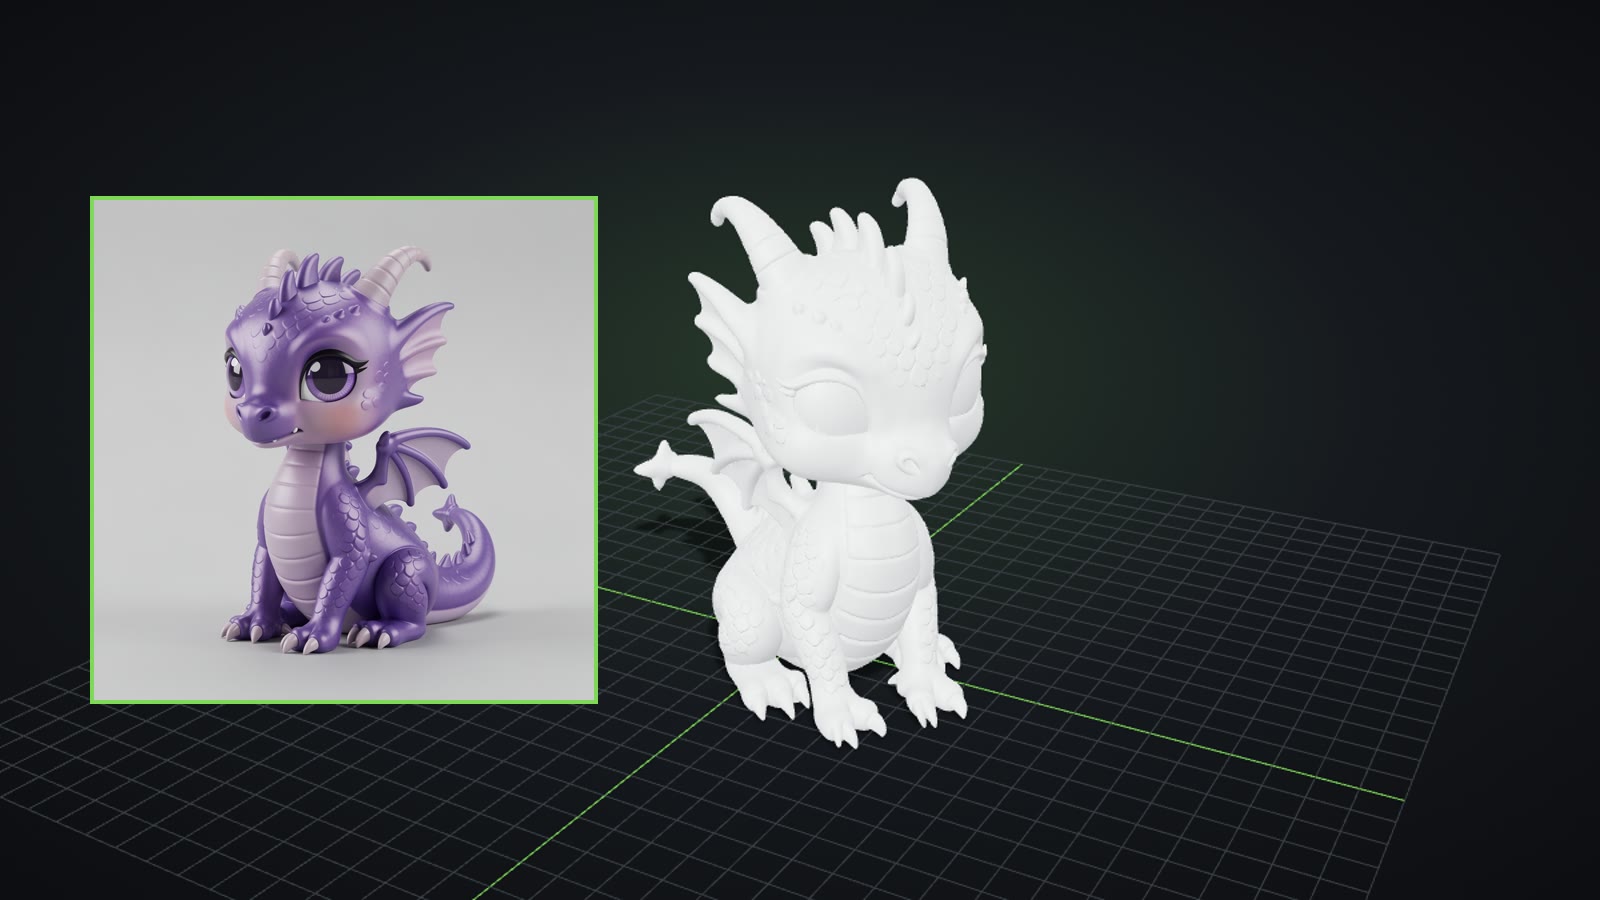 AI-generated
Quick Answer
To 3D print a picture, convert the photo into a real 3D model with an image-to-3D tool, download it as an STL file, open it in a slicer such as Cura, PrusaSlicer or Bambu Studio, scale it, add supports and print. The quality of the print depends mostly on the photo you start with: one object, fully in frame, on a plain background, in even light.
Can you really 3D print a picture?
Yes, with one caveat about what "picture to 3D print" means. There are two very different results you can get:
- A relief or lithophane. The picture's brightness becomes height on a flat plaque. It looks great against a window, but it is still a flat print. We compare the two in lithophane vs 3D model.
- A full 3D object. The object in the photo is rebuilt with a front, sides and back, so you can print it as a figurine and turn it in your hand.
This guide is about the second one. Modern image-to-3D models infer the hidden sides of an object from what they learned about shapes, so the back of your model exists even though your photo never showed it.
Step by step: from photo to printed figurine
 AI-generated
What slicer settings work for AI-generated figurines?
These are starting points for an FDM printer with a 0.4 mm nozzle and PLA. They usually work well for figurines between 60 and 100 mm tall:
- Layer height: 0.08–0.12 mm for figurines, 0.16–0.20 mm for large prints. Thin layers keep faces and curves smooth.
- Walls / perimeters: 3. Solid shells survive sanding and painting.
- Infill: 10–15 %. Display pieces need very little inner strength.
- Supports: tree (organic) supports. They touch the model at few points and break away cleanly from detailed surfaces.
- Bed adhesion: a brim. Small footprints can tip over mid-print.
- Scale: at least 60 mm tall. Below that, fine detail falls under the size of the nozzle.
Resin printers skip walls and infill: hollow larger models, add drain holes and orient the part so the supports avoid the face. Once the print is arranged, most current slicers save a 3MF project that keeps your scale, supports and settings together, which is handy when you reprint later. If you are new to the terms, the slicer overview on Wikipedia) and the fused filament fabrication article explain the basics.
Examples: what prints well (and what does not)
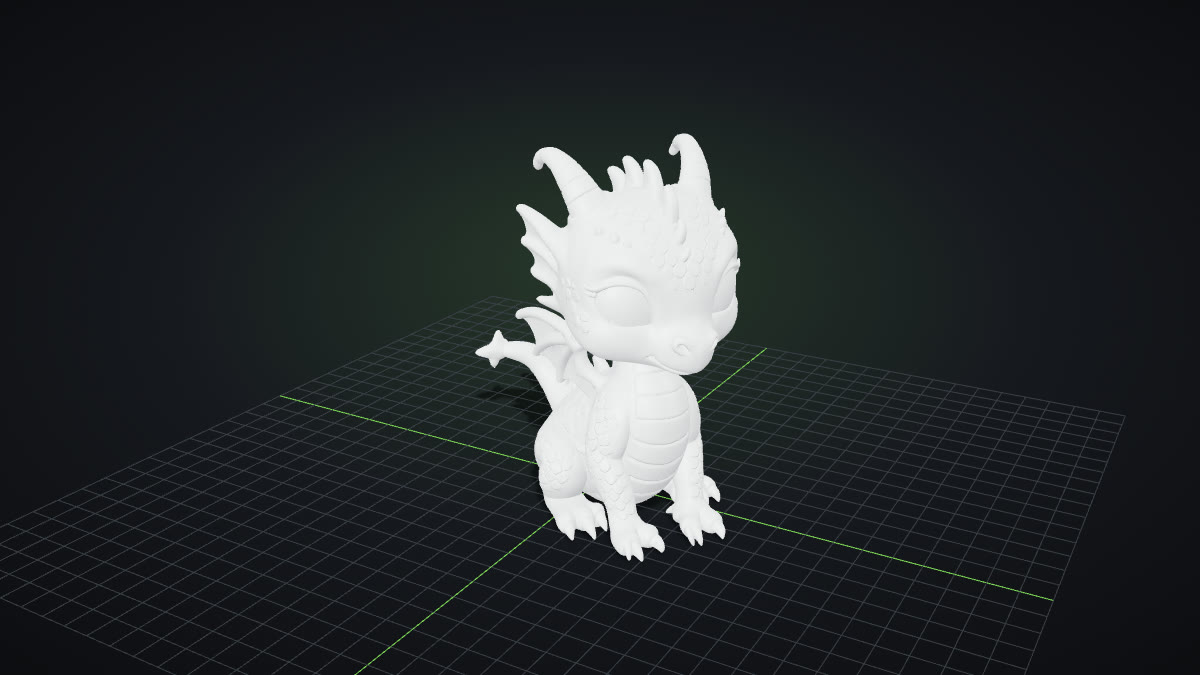
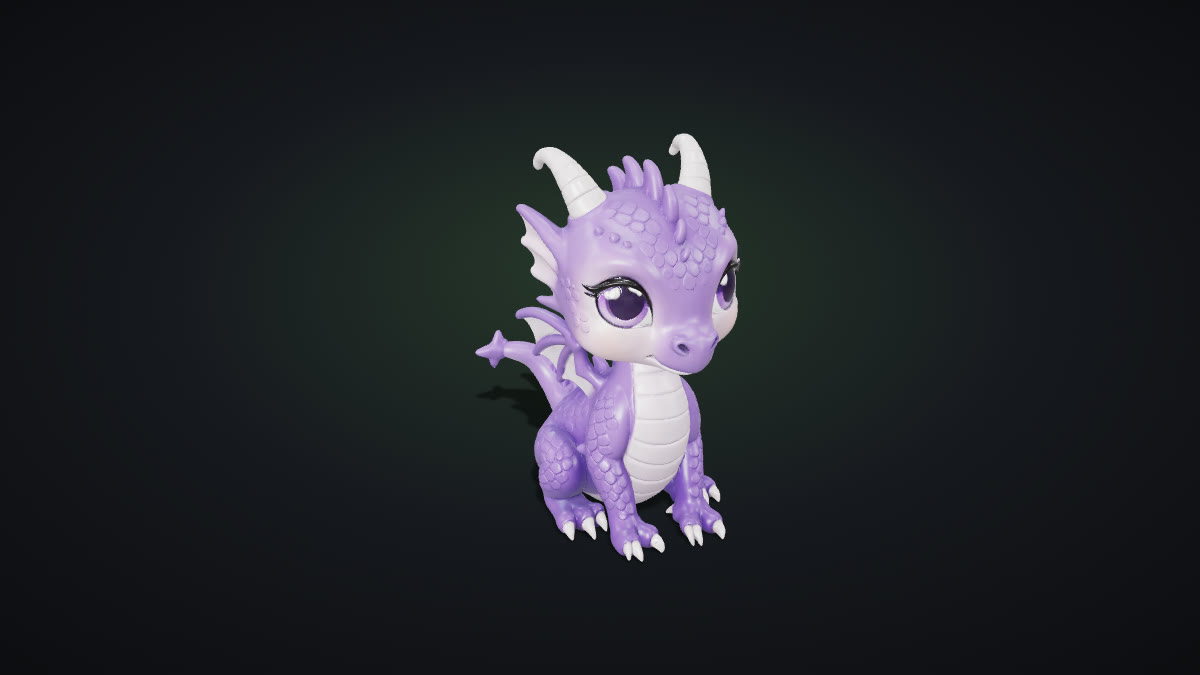
We generated the dragon figurine shown here from a single photo and exported it as an STL. It is a good example of a print-friendly subject: a solid base, a clear silhouette, and overhangs (wings, tail) that tree supports can reach. Chunky subjects like this one tend to succeed:
- Figurines and creatures with a clear silhouette and a solid base.
- Toys and collectibles: vinyl-style characters, robots, mascots.
- Props and decorations: chests, lanterns, planters, ornaments.
Subjects that usually need extra work:
- Very thin parts such as antennas, whiskers or sword blades. Scale up or thicken them.
- See-through objects like glass, which the model turns into a solid shape.
- Scenes with many objects, which come out as one merged lump.
 AI-generated
How to do it with GoCrazyAI
Open Image to STL or the main AI 3D Model Generator, upload your photo and keep the Pro engine selected. The model is ready in about four minutes and is saved to your library even if you close the tab. Check the clay view, then choose Download → STL. If you do not have a photo yet, describe the object instead with Text to 3D Model, or generate a picture first in the AI Image Studio and pick it from your creations.
Common mistakes when printing a photo
- Printing too small. A 30 mm figurine loses its face. Start at 60–100 mm and scale down only after a successful print.
- Skipping the clay check. Textures hide geometry problems; clay view shows them.
- Using a busy photo. Background clutter gets modelled into the object. Crop tight or use a plain backdrop.
- Forgetting supports. Wings, arms and tails overhang. Tree supports usually solve it without scarring the surface.
- Ignoring slicer warnings. Most slicers repair small mesh errors automatically; if yours reports problems, run its repair tool before slicing.
Mentioned in
- Text to 3D Prompts: A Simple Formula and 20 Examples to TryWrite text to 3D prompts that produce clean, printable models: a four-part formula, 20 copy-ready examples, and the prompt mistakes that turn objects into messy scenes.
- Lithophane vs 3D Model: What “Image to STL” Really Gives YouLithophane vs 3D model: two very different things an “image to STL” tool can make. See how each works, what each prints like and which one your picture needs.