



Image upscaler for ads: turn UGC and thumbnails into 4K/8K deliverables
Practical workflows to turn phone photos and AI thumbnails into print-ready, ad-ready 4K/8K assets. Tools, settings, and why GoCrazyAI Image Upscaler speeds the process.
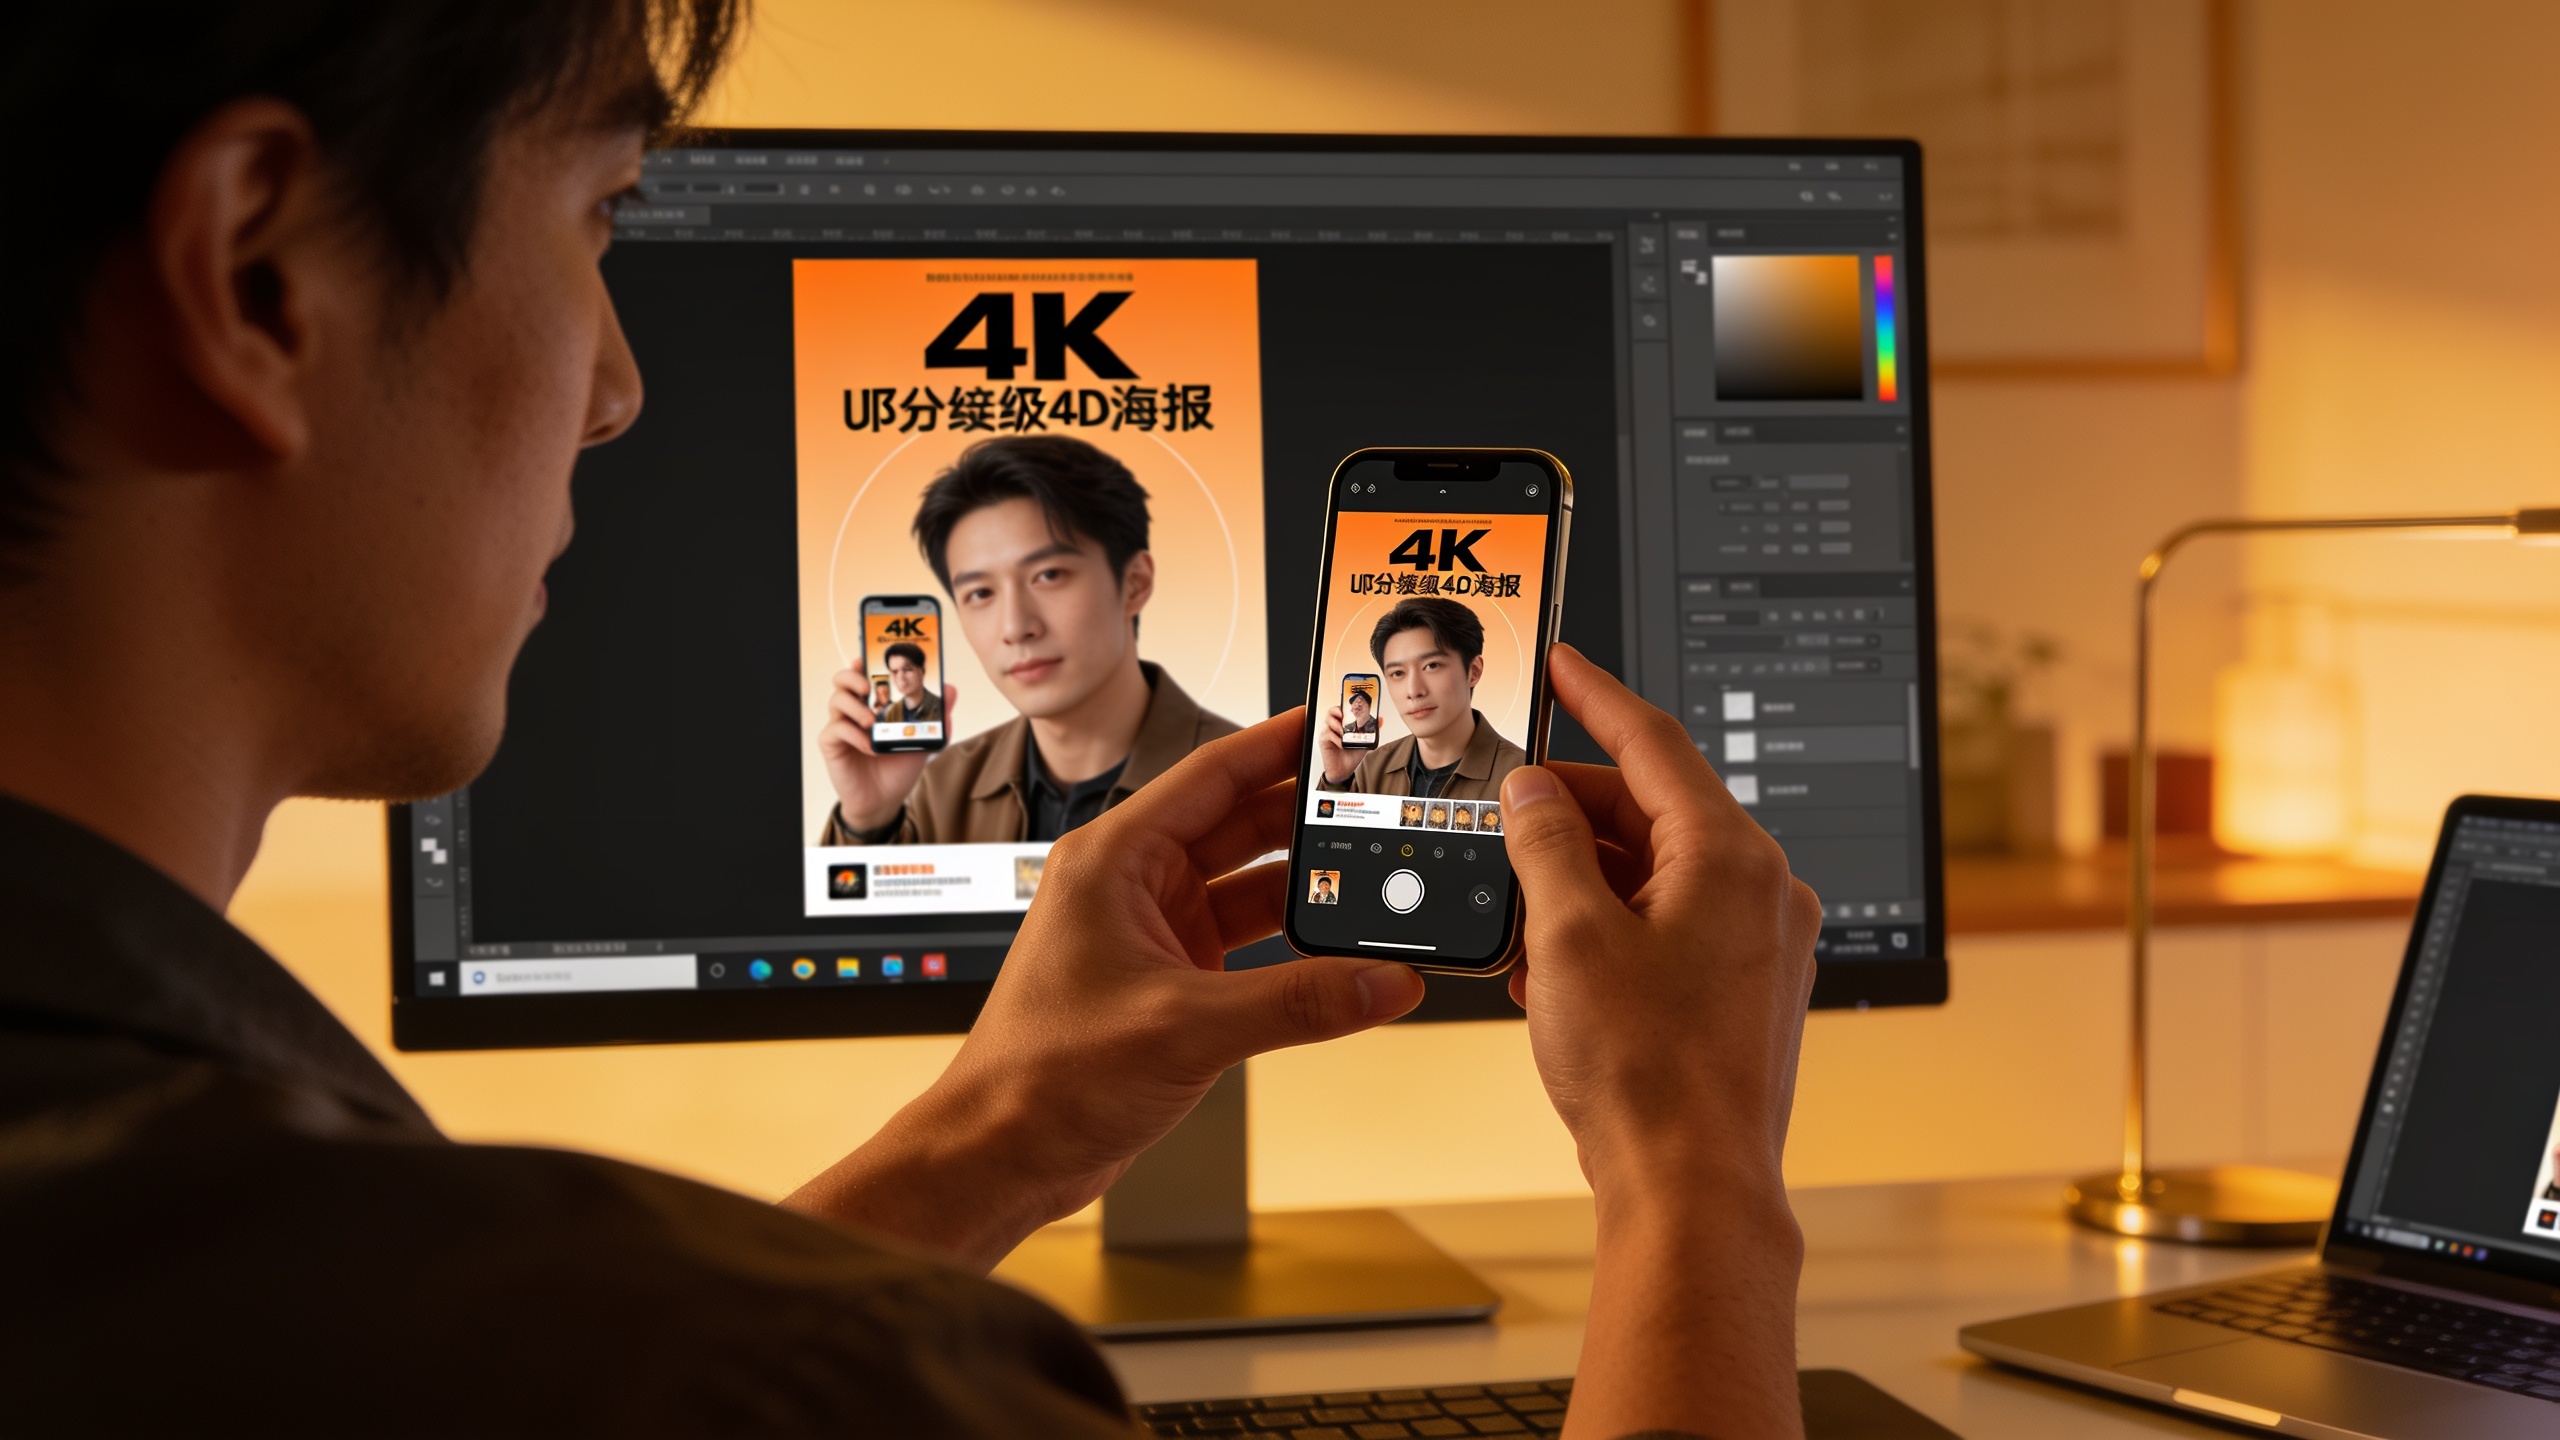 AI-generated
You have a great phone photo or an AI thumbnail that looks fine on mobile but blurs or artifacts when you try to use it in an ad or on a poster. This guide shows exactly when to upscale, which model classes to pick, and step-by-step workflows to convert UGC and AI-generated images into print-ready, ad-ready 4K/8K files. You’ll learn simple QC checks (DPI, color profile, sharpening), file-format rules for ad platforms and print, and practical fixes for common failures. I’ll show hands-on examples you can copy: one for turning a phone-shot UGC into a poster, and another for taking an AI thumbnail to a 4K ad asset. The article also compares tool types, pricing tradeoffs, and includes a focused section on using the GoCrazyAI Image Upscaler so you can export crisp, watermark-free images quickly.
Quick Answer
How do you use an image upscaler for ads? Upscale images by choosing a detail-preserving model for photos or a creative model for AI art, set the output to the target pixel dimensions (4K/8K), check DPI and convert to the printer’s color profile, then apply measured sharpening and artifact repair. For speed and no-watermark exports, web-based upscalers like GoCrazyAI Image Upscaler are a practical choice.
When to upscale: deciding which UGC and AI images deserve 4K/8K promotion?
Upscale images when the deliverable demands larger pixel counts or when compression artifacts noticeably reduce perceived quality. If your target is a 4K ad spot, a poster, or a high‑DPI thumbnail, and the source image is below the target pixel dimensions or shows JPEG blockiness, upscaling usually helps. For social preview tests, creators often A/B a post-sized image first; if engagement or clarity suffers, they then upscale winners before promoting as paid ads. Upscaling is not always necessary: for tiny thumbnails under heavy platform compression, a crisp re-render at native size sometimes beats aggressive upscaling.
Practical signs you should upscale:
- Visible blockiness, halos, or loss of fine texture on zoom.
- Text or logos become unreadable at target size.
- The ad platform compresses aggressively—uploading a higher-resolution master can reduce visible compression artifacts.
When deciding between 4K and 8K, match the output to the use case: 4K covers most video thumbnails and digital ads; 8K or multi-hundred-megapixel outputs are useful for large posters, trade show banners, or packaging that requires close inspection. Modern web upscalers advertise outputs up to hundreds of megapixels, so the limiting factor is usually cost and processing time, not the algorithm itself (see tool roundups for concrete output limits).
What upscaling actually does (and what it can't fix): AI reconstruction, DPI, and print thresholds?
Upscaling reconstructs more pixels by inferring detail; it does not recreate unknown scene geometry or magically improve composition. AI upscalers typically do two things: interpolate pixels and reconstruct plausible detail using learned priors from image datasets. Faithful/photo‑detail reconstructors aim to preserve original textures and edges, while creative reconstruction engines may reinterpret strokes, textures, or color to produce a visually pleasing but not strictly faithful result. Choose the class that matches your use case.
For print, DPI matters: print shops commonly expect between 150 and 300 DPI at final dimensions. To calculate minimum pixel dimensions, multiply the printed inches by the desired DPI (for example, a 20"×30" poster at 150 DPI needs 3000×4500 px). An upscaler can increase pixel counts to meet those thresholds. However, you must still convert to the printer’s color profile (usually CMYK) and check for saturation shifts. Upscaling also struggles with severe motion blur, extreme out-of-focus areas, or composition problems. If text or tiny logos are in the source, use a detail-preserving model or regenerate vector elements rather than relying solely on upscaling. Head-to-head reviews show different tools excel at different categories—product photography and text-heavy art favor detail-preserving models, while painterly AI art can benefit from creative upscalers.
Hands-on example: a step-by-step workflow to convert phone-shot UGC into a print-ready poster?
Short answer: Resize to required pixels, fix exposure and noise, use a detail-preserving upscaler to reach target pixel dimensions, convert color profile to the printer’s CMYK spec, and do final sharpening and bleed/margin checks. This process typically takes 10–30 minutes per image depending on edits and export size.
Step-by-step expanded workflow:
1) Assess the source. Open your phone photo at 100% and check for noise, motion blur, and composition. Crop to the poster aspect ratio first.
2) Basic corrections. Correct exposure, white balance, and perspective. Remove distracting elements that an upscaler will otherwise invent or exaggerate.
3) Noise and detail prep. If the image is noisy, apply a targeted denoise pass—too much noise confuses reconstruction. For product photos, preserve edges and fine texture.
4) Upscale with a faithful model. Set the output to pixel dimensions that meet your final print DPI (e.g., 20"×30" at 150 DPI = 3000×4500 px) and choose a detail-preserving model. If you need larger, set to 4K (3840×2160) or 8K (7680×4320) depending on final size.
5) Convert to CMYK and proof. Soft‑proof in your photo editor with the printer’s profile. Watch for saturation and contrast shifts; reds and blues often change.
6) Final sharpening and export. Apply subtle USM or local sharpening targeted to mid-frequency detail; avoid global oversharpening which can create halos. Export as high-quality TIFF or print-ready PDF with embedded CMYK profile and crop marks/bleed.
Example prompts and settings (when using creative upscalers for stylized UGC):
- "Preserve original texture and edges; reduce JPEG blocking; output 4500x3000 px; no color shifts."
- "Detail-preserve mode; mild denoise; sharpen after upscaling; export TIFF CMYK."
QC checklist before sending to print:
- Pixel dimensions meet DPI requirement.
- No hard artifacts or tiled patterns.
- CMYK conversion looks acceptable in soft-proof.
- Sharpening is targeted, not global.
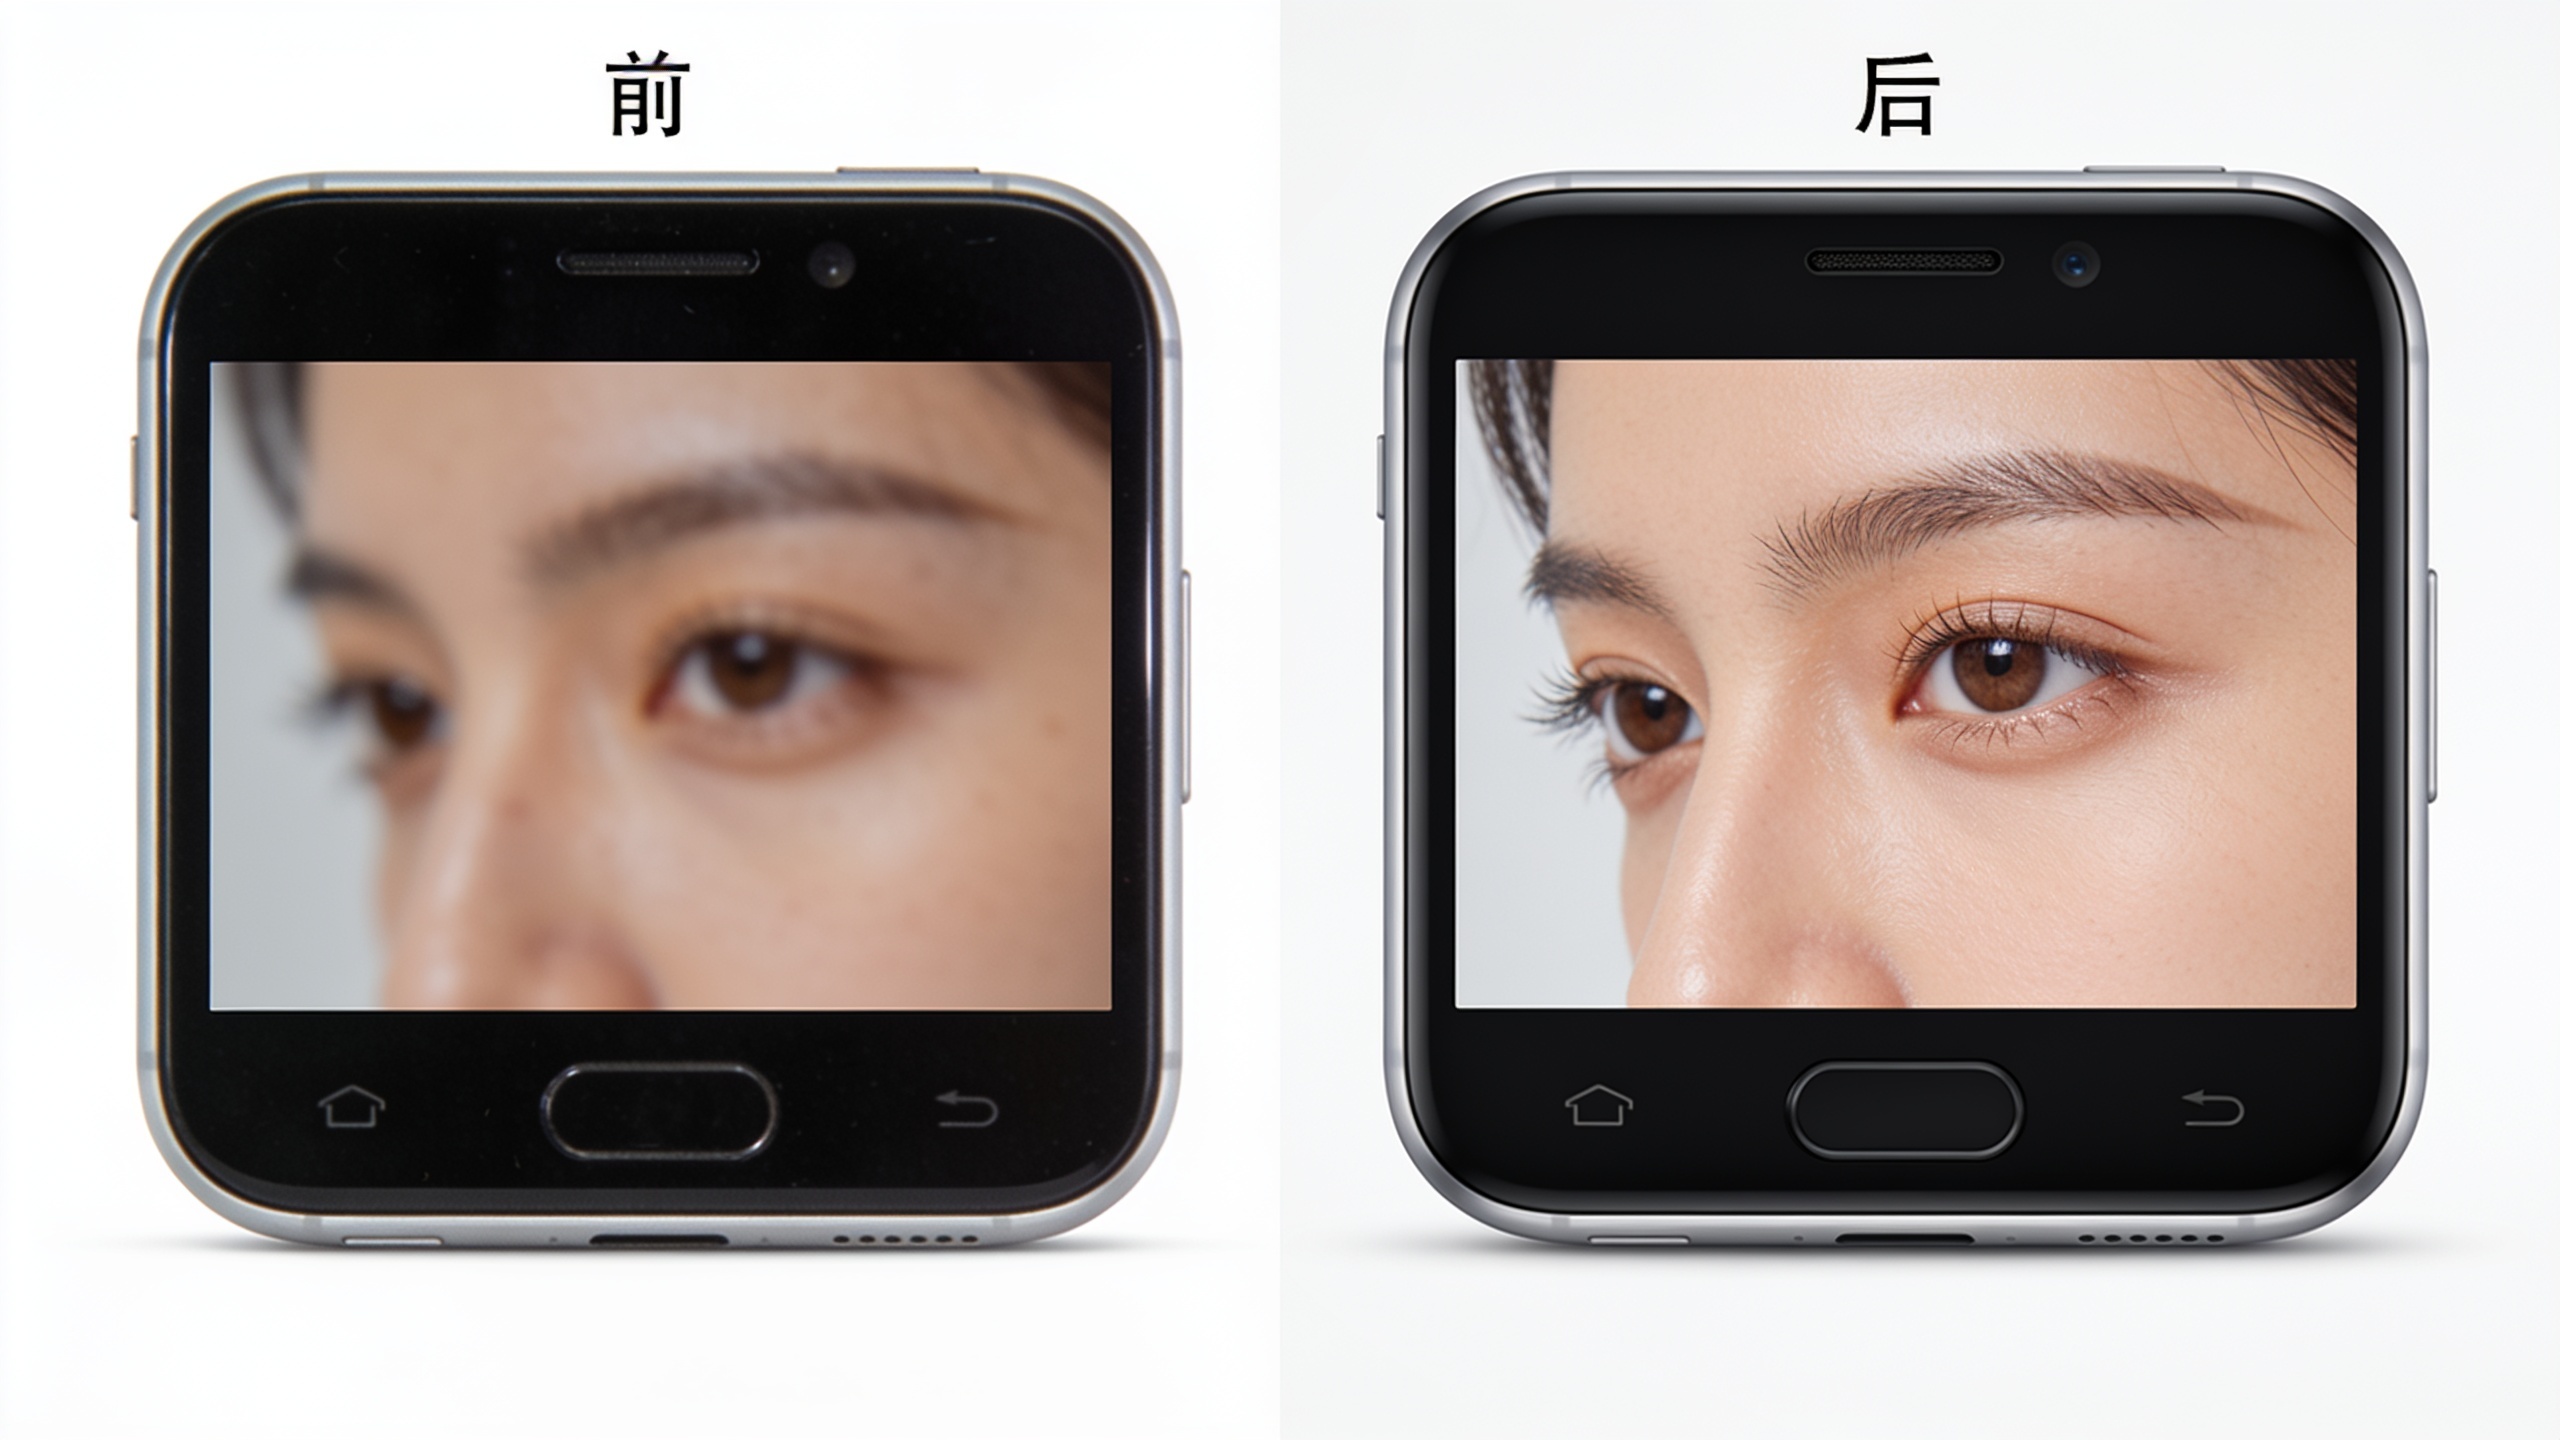
These steps reduce the chance your poster comes back with banding, muddy color, or unreadable text.
 AI-generated
Hands-on: take an AI-generated thumbnail to 4K for ad platforms and YouTube — settings, file formats, and QC checks?
Short answer: Export your AI thumbnail at the native generator’s highest resolution, use a creative or hybrid upscaler depending on art style, target 3840×2160 px for 4K, save as high-quality PNG or JPG with minimal compression, and run platform-specific QC (safe title area, file size limits, and visual checks after platform compression).
Expanded steps and settings:
1) Start with the highest-quality source the image generator provides. If you generated variants, pick the most legible frame.
2) Choose upscaler class. For photoreal thumbnails, use a faithful/photo-detail model. For stylized AI art, a creative model can restore painterly texture while increasing detail.
3) Set target to 3840×2160 px (4K). If the platform accepts higher, you can choose 4K+; remember larger files may be downsampled or recompressed.
4) File format: PNG for images with hard edges or transparency; high-quality JPG (quality 90+) for photographic thumbnails to reduce file size. Many ad platforms limit file size—compress conservatively after upscaling and verify visual quality.
5) QC checks before upload:
- Resize preview at platform compression level (some platforms apply aggressive JPEG compression).
- Check legibility of text at small sizes; if needed, increase font weight or re-render text as vector before upscaling.
- Inspect for haloing, oversharpening, or checkerboard artifacts.
6) Platform test. Upload to the ad preview tool or a private YouTube thumbnail and screenshot results on different devices to validate. Many creators report measurable gains from sharper thumbnails on high-DPI devices and after platform recompression; running a quick A/B test is standard practice.
If you use a web-based upscaler, batch-process winners for multiple ad creatives to save time and ensure consistent visual quality across platforms.
Comparing tools and quality tradeoffs — fidelity, creativity, speed, and cost (why pick a web-based upscaler)?
Short answer: Different upscalers trade off faithfulness, creative reinterpretation, speed, and price. Choose a tool based on whether you need exact photo detail (faithful models), stylized outputs (creative models), fast batch throughput (web services), or local control (desktop apps). Web-based upscalers are convenient for fast, watermark-free exports and scalable batch jobs.
Expanded comparison and tradeoffs:
- Fidelity vs. creativity: Faithful models (Topaz-style) preserve edges and texture and are usually best for product photos and text-heavy images. Creative models reinterpret textures and may produce more pleasing art results for AI-generated illustrations. Industry reviews and head-to-head tests show each class excels in different categories, so match model to source. (See comparative reviews for specifics.)[1]
- Speed: Desktop GPUs can be fast for single high-res files, but web services often parallelize jobs and handle very large outputs without local hardware limits. Some commercial services advertise outputs up to ~256 MP, which covers many large-format print use cases.
- Cost and workflow: Consider per-image pricing, batch support, and whether the service adds watermarks. For creators needing finished deliverables immediately, a no-watermark web option that supports 4K/8K is usually the best productivity choice.
- File limits and export formats: Some desktop tools output specialized TIFFs and allow deep control over interpolation; web tools typically export common high-quality formats like TIFF, PNG, and JPG.
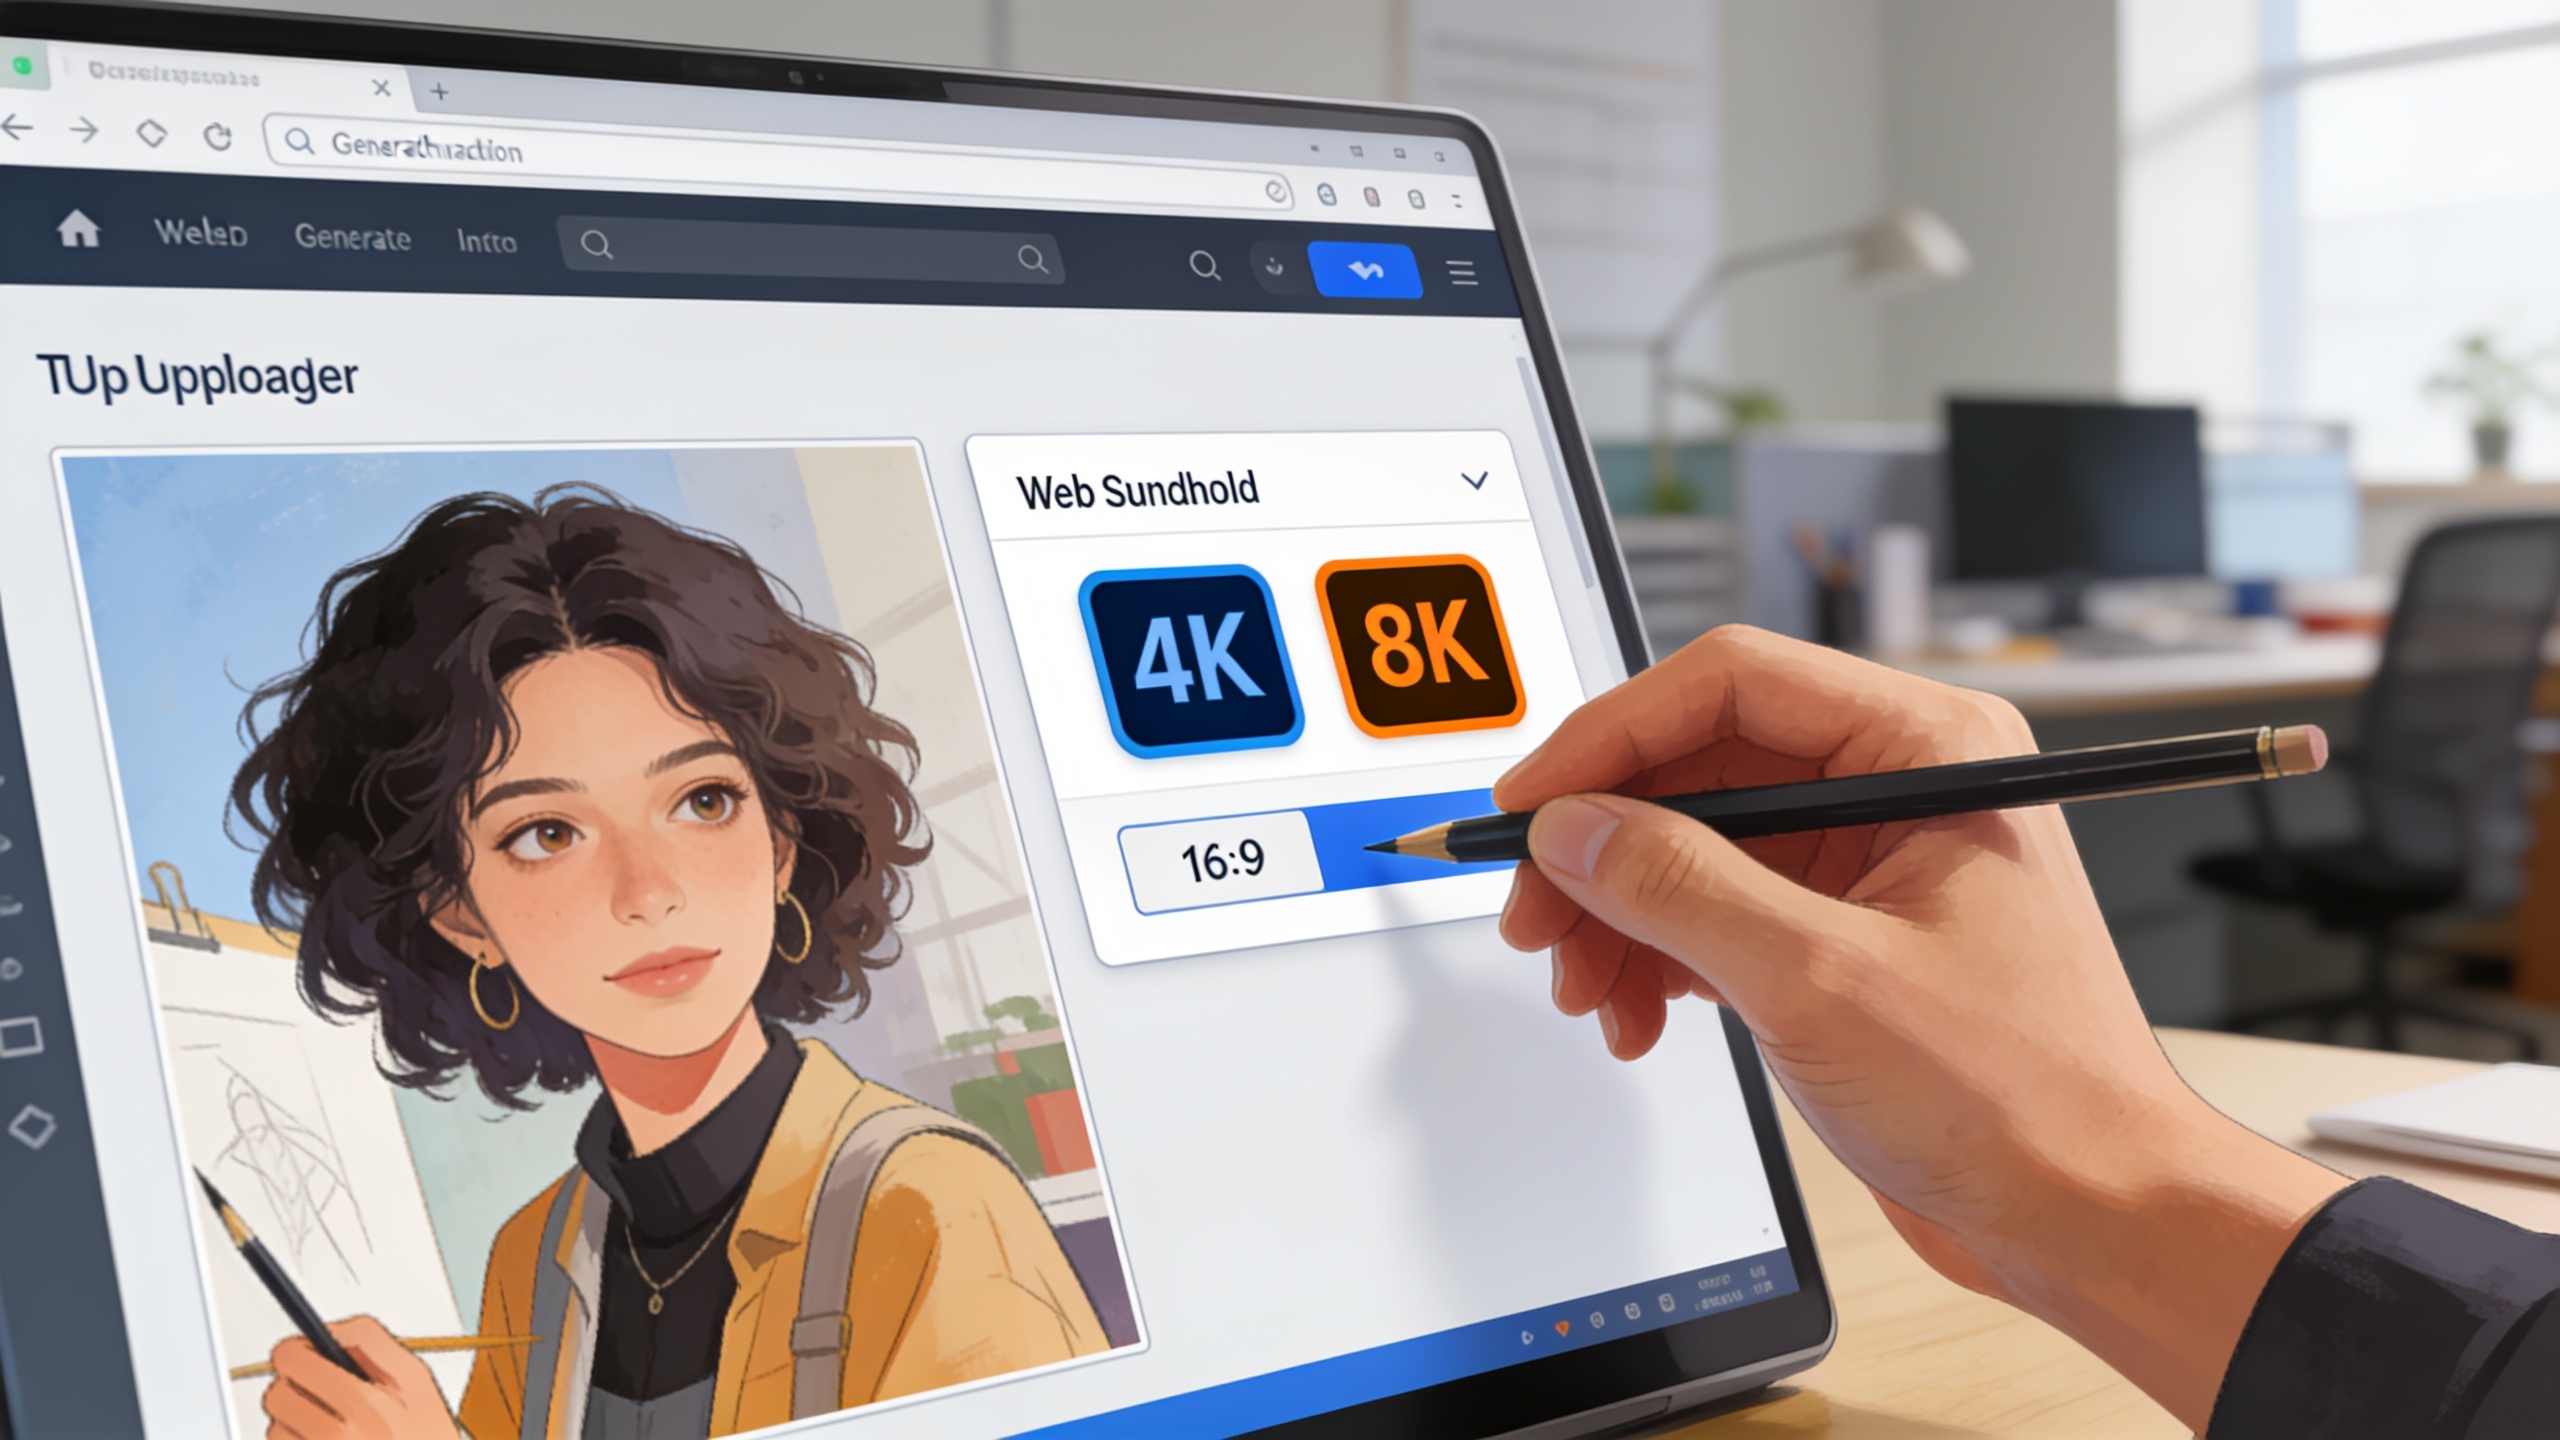
Why web-based upscalers? For many creators, web upscalers combine speed, batch processing, and no-install convenience. If you need to process multiple ad variants quickly, or you lack a powerful GPU, a web service reduces friction. When choosing, weigh speed, per-image cost, batch features, and watermark policy—these factors often determine which tool fits a campaign timeline and budget.
 AI-generated
File prep and post-upscale mistakes that cause print failures?
Short answer: The most common mistakes are ignoring DPI and dimensions, skipping color-profile conversion, over-sharpening, and failing to remove compression artifacts before upscaling. Each mistake is avoidable with simple checks: calculate pixel dimensions for DPI, soft-proof in CMYK, apply targeted sharpening, and denoise before upscaling.
Common mistakes and how to avoid them:
1) Mistake: Sending wrong pixel dimensions to the printer. Avoid by calculating required pixels from desired print size and DPI (inches × DPI = pixels). Confirm final dimensions with the print vendor.
2) Mistake: Skipping CMYK conversion. Avoid by soft‑proofing in the printer’s CMYK profile and adjusting saturation or contrast to compensate for gamut shifts. Some colors, especially bright neon greens and saturated blues, will shift.
3) Mistake: Over-sharpening after upscale. Avoid by using targeted sharpening on mid-frequency details and previewing at 100% and at print size. Excessive sharpening shows as halos when printed.
4) Mistake: Not fixing compression artifacts first. Avoid by running a compression cleanup pass before upscaling; upscalers can amplify blockiness if left untreated.
5) Mistake: Relying on upscaling to fix composition or severe blur. Avoid by re-shooting or regenerating if composition and focus are poor; upscaling can’t invent plausible camera geometry.
Addressing these prevents the top causes of rejected print files and ensures ad platforms and printers render your asset as intended.
Why GoCrazyAI Image Upscaler is the practical choice for creators — feature map, use cases, and a conversion path to gocrazyai.com?
Short answer: GoCrazyAI Image Upscaler outputs up to 8K, restores detail, and removes compression artifacts with no watermark on export, making it a practical fast path from phone or AI thumbnail to ad-ready and print-ready deliverables.
Feature map and use cases:
- Upscales images up to 8K resolution—useful for 4K ad assets and many poster sizes.
- Restores and sharpens detail while cleaning compression artifacts—helpful for phone-shot UGC and compressed thumbnails.
- No watermark on exports—critical for paid ads and client deliverables.
Suggested conversion path on GoCrazyAI:
1) Upload your phone photo or AI thumbnail to the GoCrazyAI Image Upscaler (/image-upscaler). 2) Choose a detail-preserving model for product photos or a creative model for stylized AI art. 3) Set the target pixel dimensions (4K/8K) and preview. 4) Export as TIFF or high-quality JPG with the output color profile; then soft-proof and convert to CMYK in your editor if printing.
When to bring other GoCrazyAI tools into the pipeline:
- If you need to regenerate variants before upscaling, use the AI Image Generator (/ai-image-studio?tool=image-generator) to create multiple starts quickly.
- For final video ads that use the upscaled image as a still or texture, integrate with the AI Video Generator (/create-ai-video) or the Media Mixer (/ai-video-edit) to add voiceovers and music.
Pricing and project fit: weigh per-image cost and batch support against campaign needs; see GoCrazyAI pricing and credits (/credits) to decide which plan fits your workflow. GoCrazyAI’s combination of no-watermark exports and 4K/8K outputs makes it a fast, practical choice for creators who need finished deliverables immediately.
Frequently Asked Questions
What resolution should I target for ad thumbnails?
Target 3840×2160 px for 4K thumbnails to prevent platform compression artifacts on high-DPI displays. If your ad platform enforces size limits, export a high-quality master at 4K and then create platform-specific compressed variants from that master.
Can I convert an upscaled RGB image to CMYK without quality loss?
You can convert RGB to CMYK, but expect saturation shifts because CMYK has a smaller gamut. Soft-proof in your editor with the printer’s CMYK profile and adjust saturation or contrast before final export to avoid surprises.
When should I use a creative upscaler instead of a faithful one?
Use a creative upscaler for stylized or painterly AI art where texture and aesthetic reinterpretation are acceptable. Choose a faithful model for product shots, portraits, or text-heavy images where preserving original detail is essential.
Do web-based upscalers add watermarks or limit output size?
It depends on the service—many web upscalers limit output size or add watermarks on free tiers. If you need watermark-free 4K/8K exports immediately, pick a service that explicitly supports no-watermark exports and the output size you require.
Conclusion
Final thoughts: Upscaling is a practical, time-saving step when you need higher pixel counts for ads and print, but it works best within a structured workflow: prepare the source, pick the right model class, meet DPI requirements, proof in CMYK, and use targeted sharpening. For creators who need quick, watermark-free 4K/8K outputs, try the GoCrazyAI Image Upscaler to convert your phone photos or AI thumbnails into deliverables you can upload or send to print with confidence. Drop your image into the AI Image Upscaler and pull a 4K version in seconds.
Sources
- The Best Image Upscalers in 2024 (PetaPixel)petapixel.com ↗
- Best Image Upscalers in 2026: Tested & Compared (Topaz Labs overview)topazlabs.com ↗
- Image Upscaling: From Social Post to Print-Ready (Versely)versely.studio ↗
- Head-to-head: Adobe Super Resolution vs. ON1 Resize AI vs. Topaz Labs Gigapixel AI (DPReview)dpreview.com ↗
- Generating Print-Ready Personalized AI Art Products from Minimal User Inputs (arXiv)arxiv.org ↗
- Top Image Upscalers Compared: Honest Benchmark (UpscaleIMG)upscaleimg.app ↗
- The Best AI Image Upscalers Compared (AI Tool Rundown)aitoolrundown.com ↗