



On‑brand hero images: create marketing‑ready visuals fast with AI
Step-by-step guide to produce on-brand hero images fast using AI. Prompt templates, brand asset workflow, A/B variants, and a 2-week sprint.
 AI-generated
You need a high-converting hero image for a landing page or ad—but you don't have time, a photographer, or a full design team. This guide shows a marketer-first process to generate on-brand hero images fast, with repeatable prompt templates, seeded reference frames, and export-ready variants for ads and landing pages. You'll get a concrete 7-step walkthrough using GoCrazyAI’s AI Image Generator, plus an export workflow for platform-specific crops, accessibility checks, and a two‑week sprint template to ship results quickly.
Quick Answer
How do you create on-brand hero images fast? Use a minimal brand style system (palette, lighting, subject archetypes), seed a reference image, and run an AI image generator with tight prompts to produce multiple variants. Edit and export platform-specific crops, keep headlines as live HTML, and A/B test 8–12 variants quickly. GoCrazyAI’s Image Generator simplifies prompts, model selection, and batch exports.
Why hero images still drive conversion (and what marketers get wrong)?
Hero images are often the first thing visitors notice and they can materially affect engagement and conversions; thoughtful visual swaps usually change click and scroll behavior. For most landing pages, the hero image’s role is to communicate context, show the product in use, and guide the eye toward the CTA rather than carry headline copy. Conversion-focused audits show meaningful differences in engagement when switching hero visuals[1].
Common mistakes marketers make include embedding important copy inside the image, cramming the frame with competing elements, and failing to create platform-specific crops. Authoritative UX guidance recommends keeping headlines as live HTML (not baked into the image), using negative space for readable overlays, and ensuring sufficient contrast for accessibility[2].
Practical takeaway: treat the hero as a visual hook and design the layout so the headline and CTA are layered in HTML. That approach preserves accessibility, allows responsive text scaling, and keeps ad text under recommended coverage limits for platform delivery.
Define a minimal brand style system to make AI images repeatable and safe?
A minimal brand style system is a compact set of rules you feed into prompts so results stay on-brand across dozens of images. At a minimum include: a 3-color palette (primary, accent, neutral), two lighting directions (studio / golden-hour), 2–3 subject archetypes (product close-up, lifestyle with person, hero-with-background), and allowable props or patterns. This small system helps prompts remain consistent and reduces trial-and-error.
Include a prompt library with short descriptors for each archetype (e.g., “product close-up | soft studio light | shallow depth | white background | primary-accent palette”). Save seed images or reference frames that show your product at the preferred angle; the generator will then restyle consistently. GoCrazyAI documents a reproducible brand workflow—palette, lighting presets, and seeded references—to scale product visuals reliably[3].
Implementation tip: store the minimal style system as a single-line prompt template you prepend to every generation request. That makes batch runs consistent and simplifies review.
Hands‑on: Create a marketing-ready hero image in 7 steps with GoCrazyAI AI Image Generator?
This section shows a concrete 7-step walkthrough to create one marketing-ready hero image, from brief to export, using GoCrazyAI’s AI Image Generator. Follow each step and expect to iterate quickly.
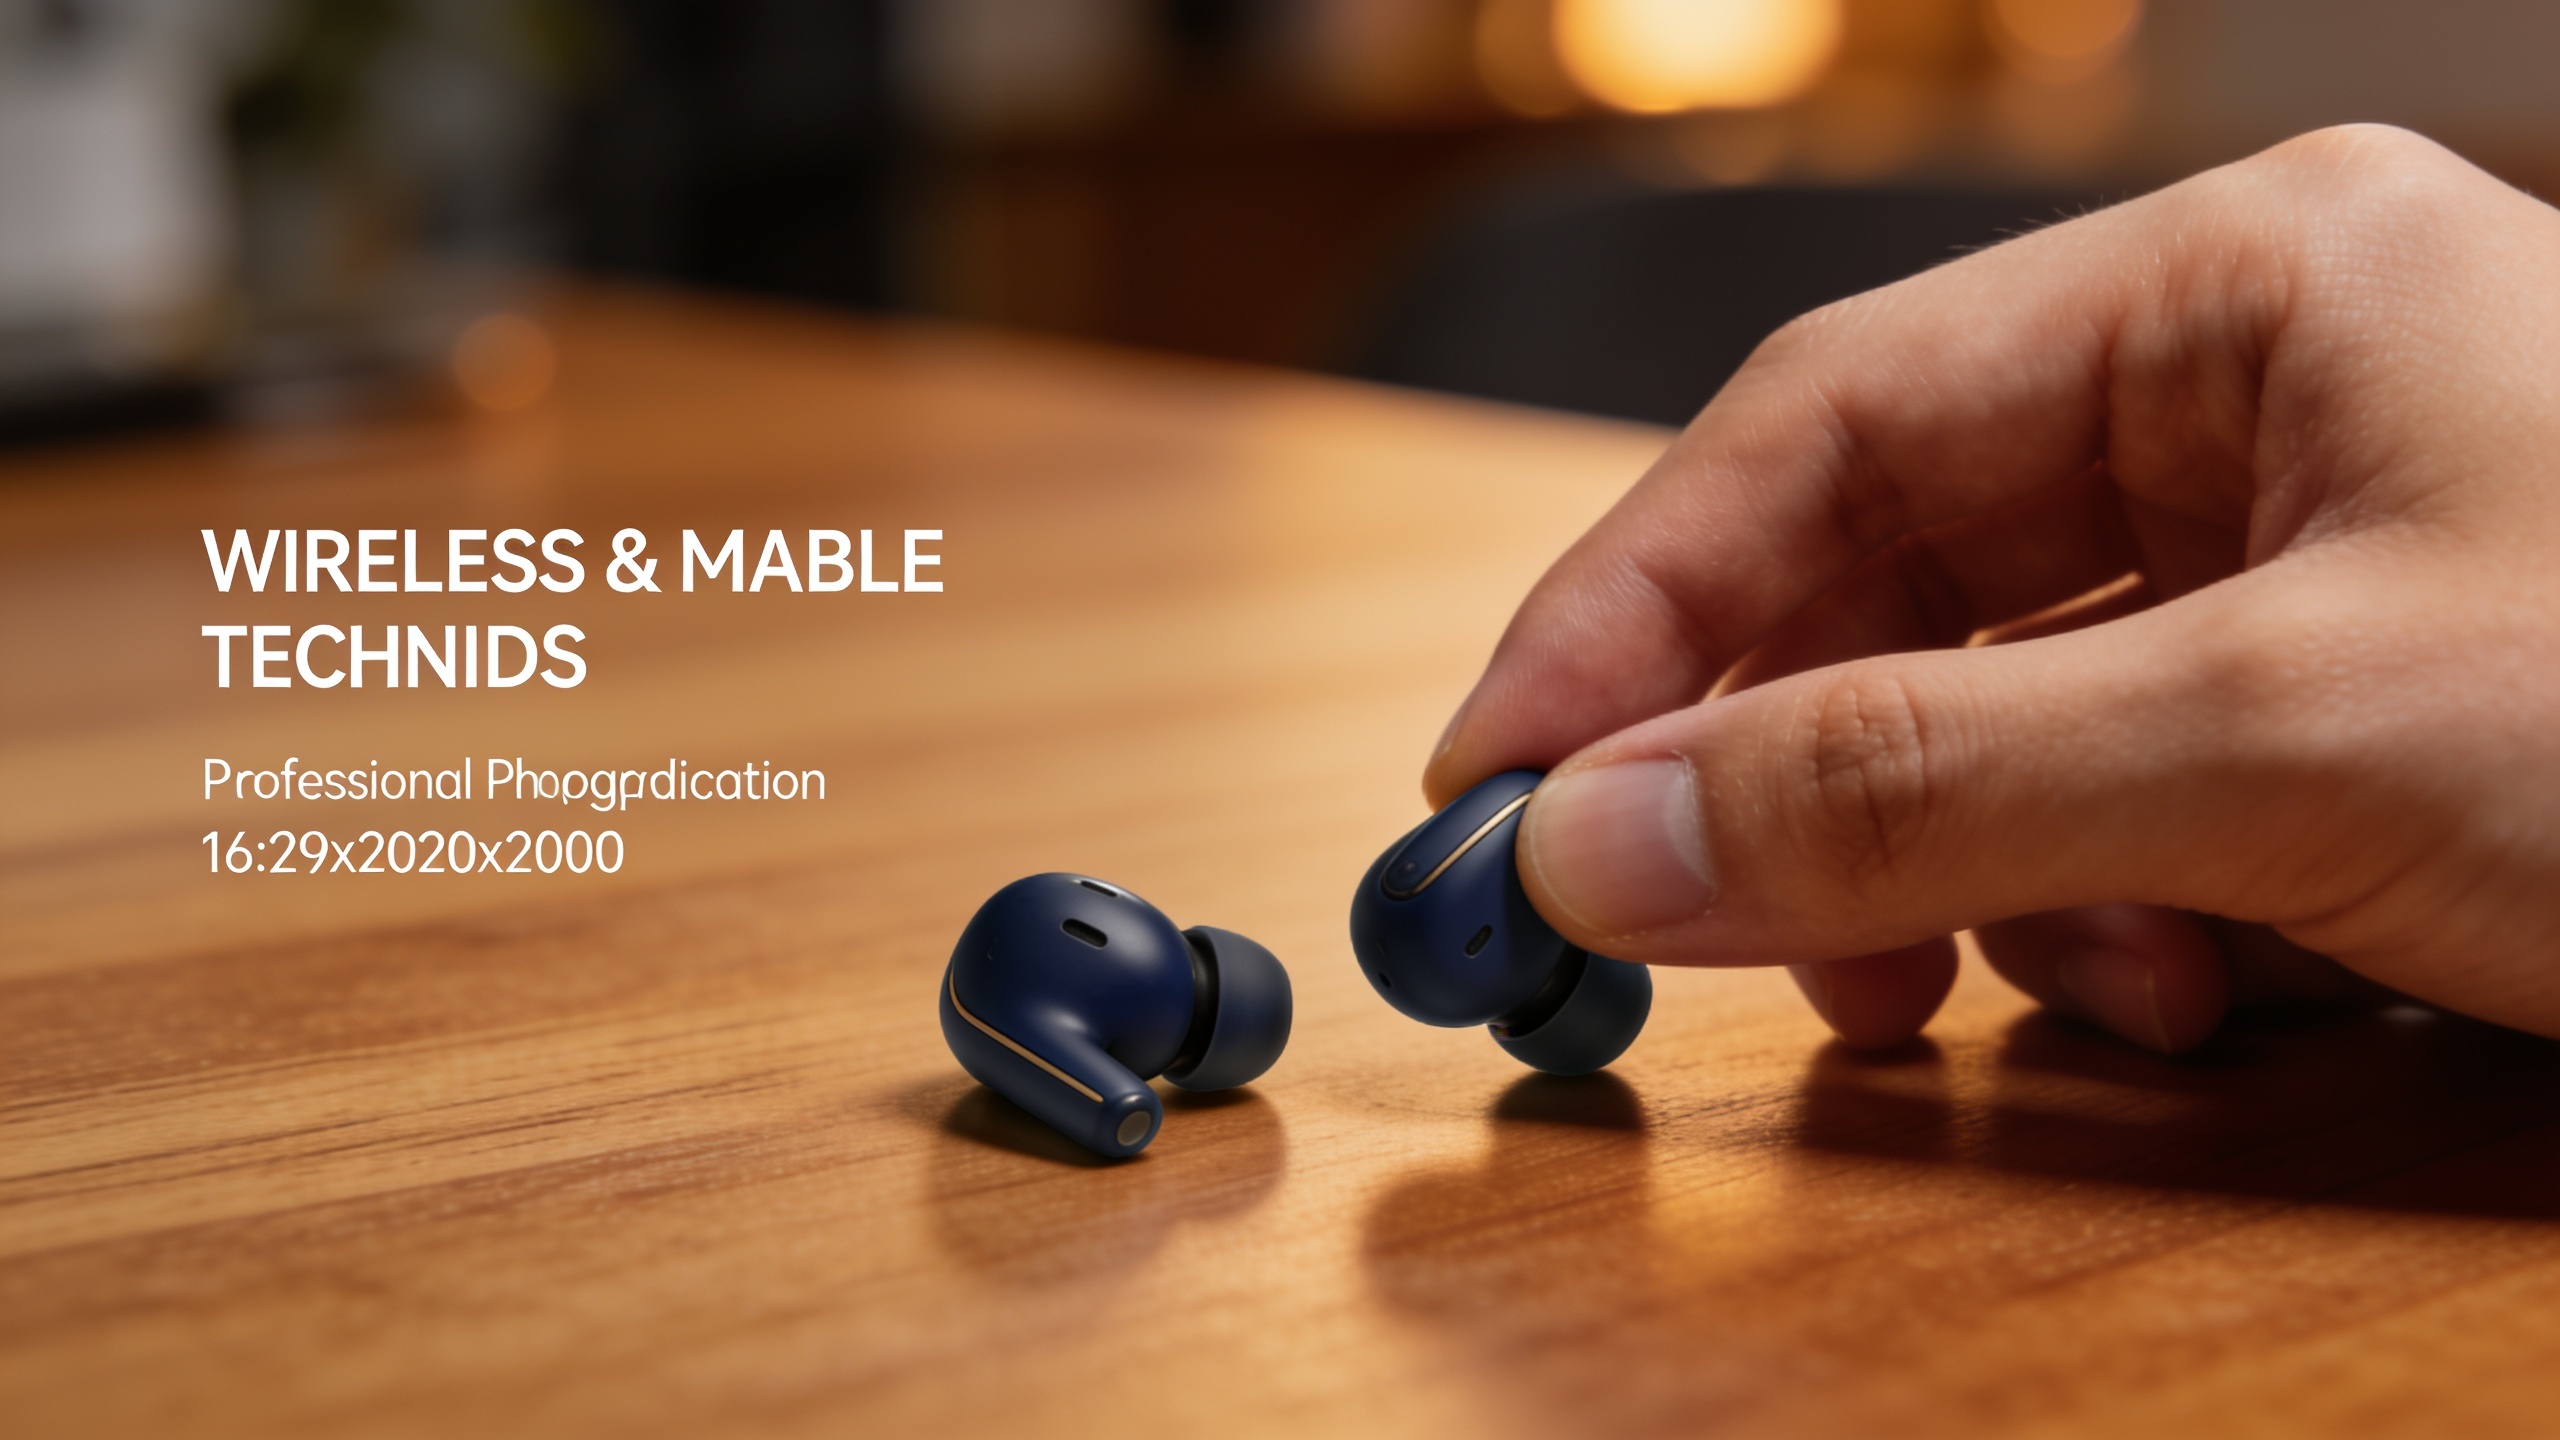
1) Brief: write a single-sentence goal (e.g., “Hero for product page: wireless earbuds, lifestyle shot, warm studio light, space for headline left”).
2) Choose model: pick Google Nano Banana or Seedream 4 for realistic detail and good text rendering.
3) Seed or reference: upload a product photo or silhouette as a seed image for angle and proportions.
4) Prompt: combine your minimal style system with concrete descriptors and shot details. Example prompt lines (copyable):
"product close-up, wireless earbuds on wooden table, warm studio light, soft bokeh background, left negative space for headline, brand palette: #0A3D62 (navy), #F39C12 (amber), #FFFFFF (neutral), photorealistic, 35mm lens, shallow depth"
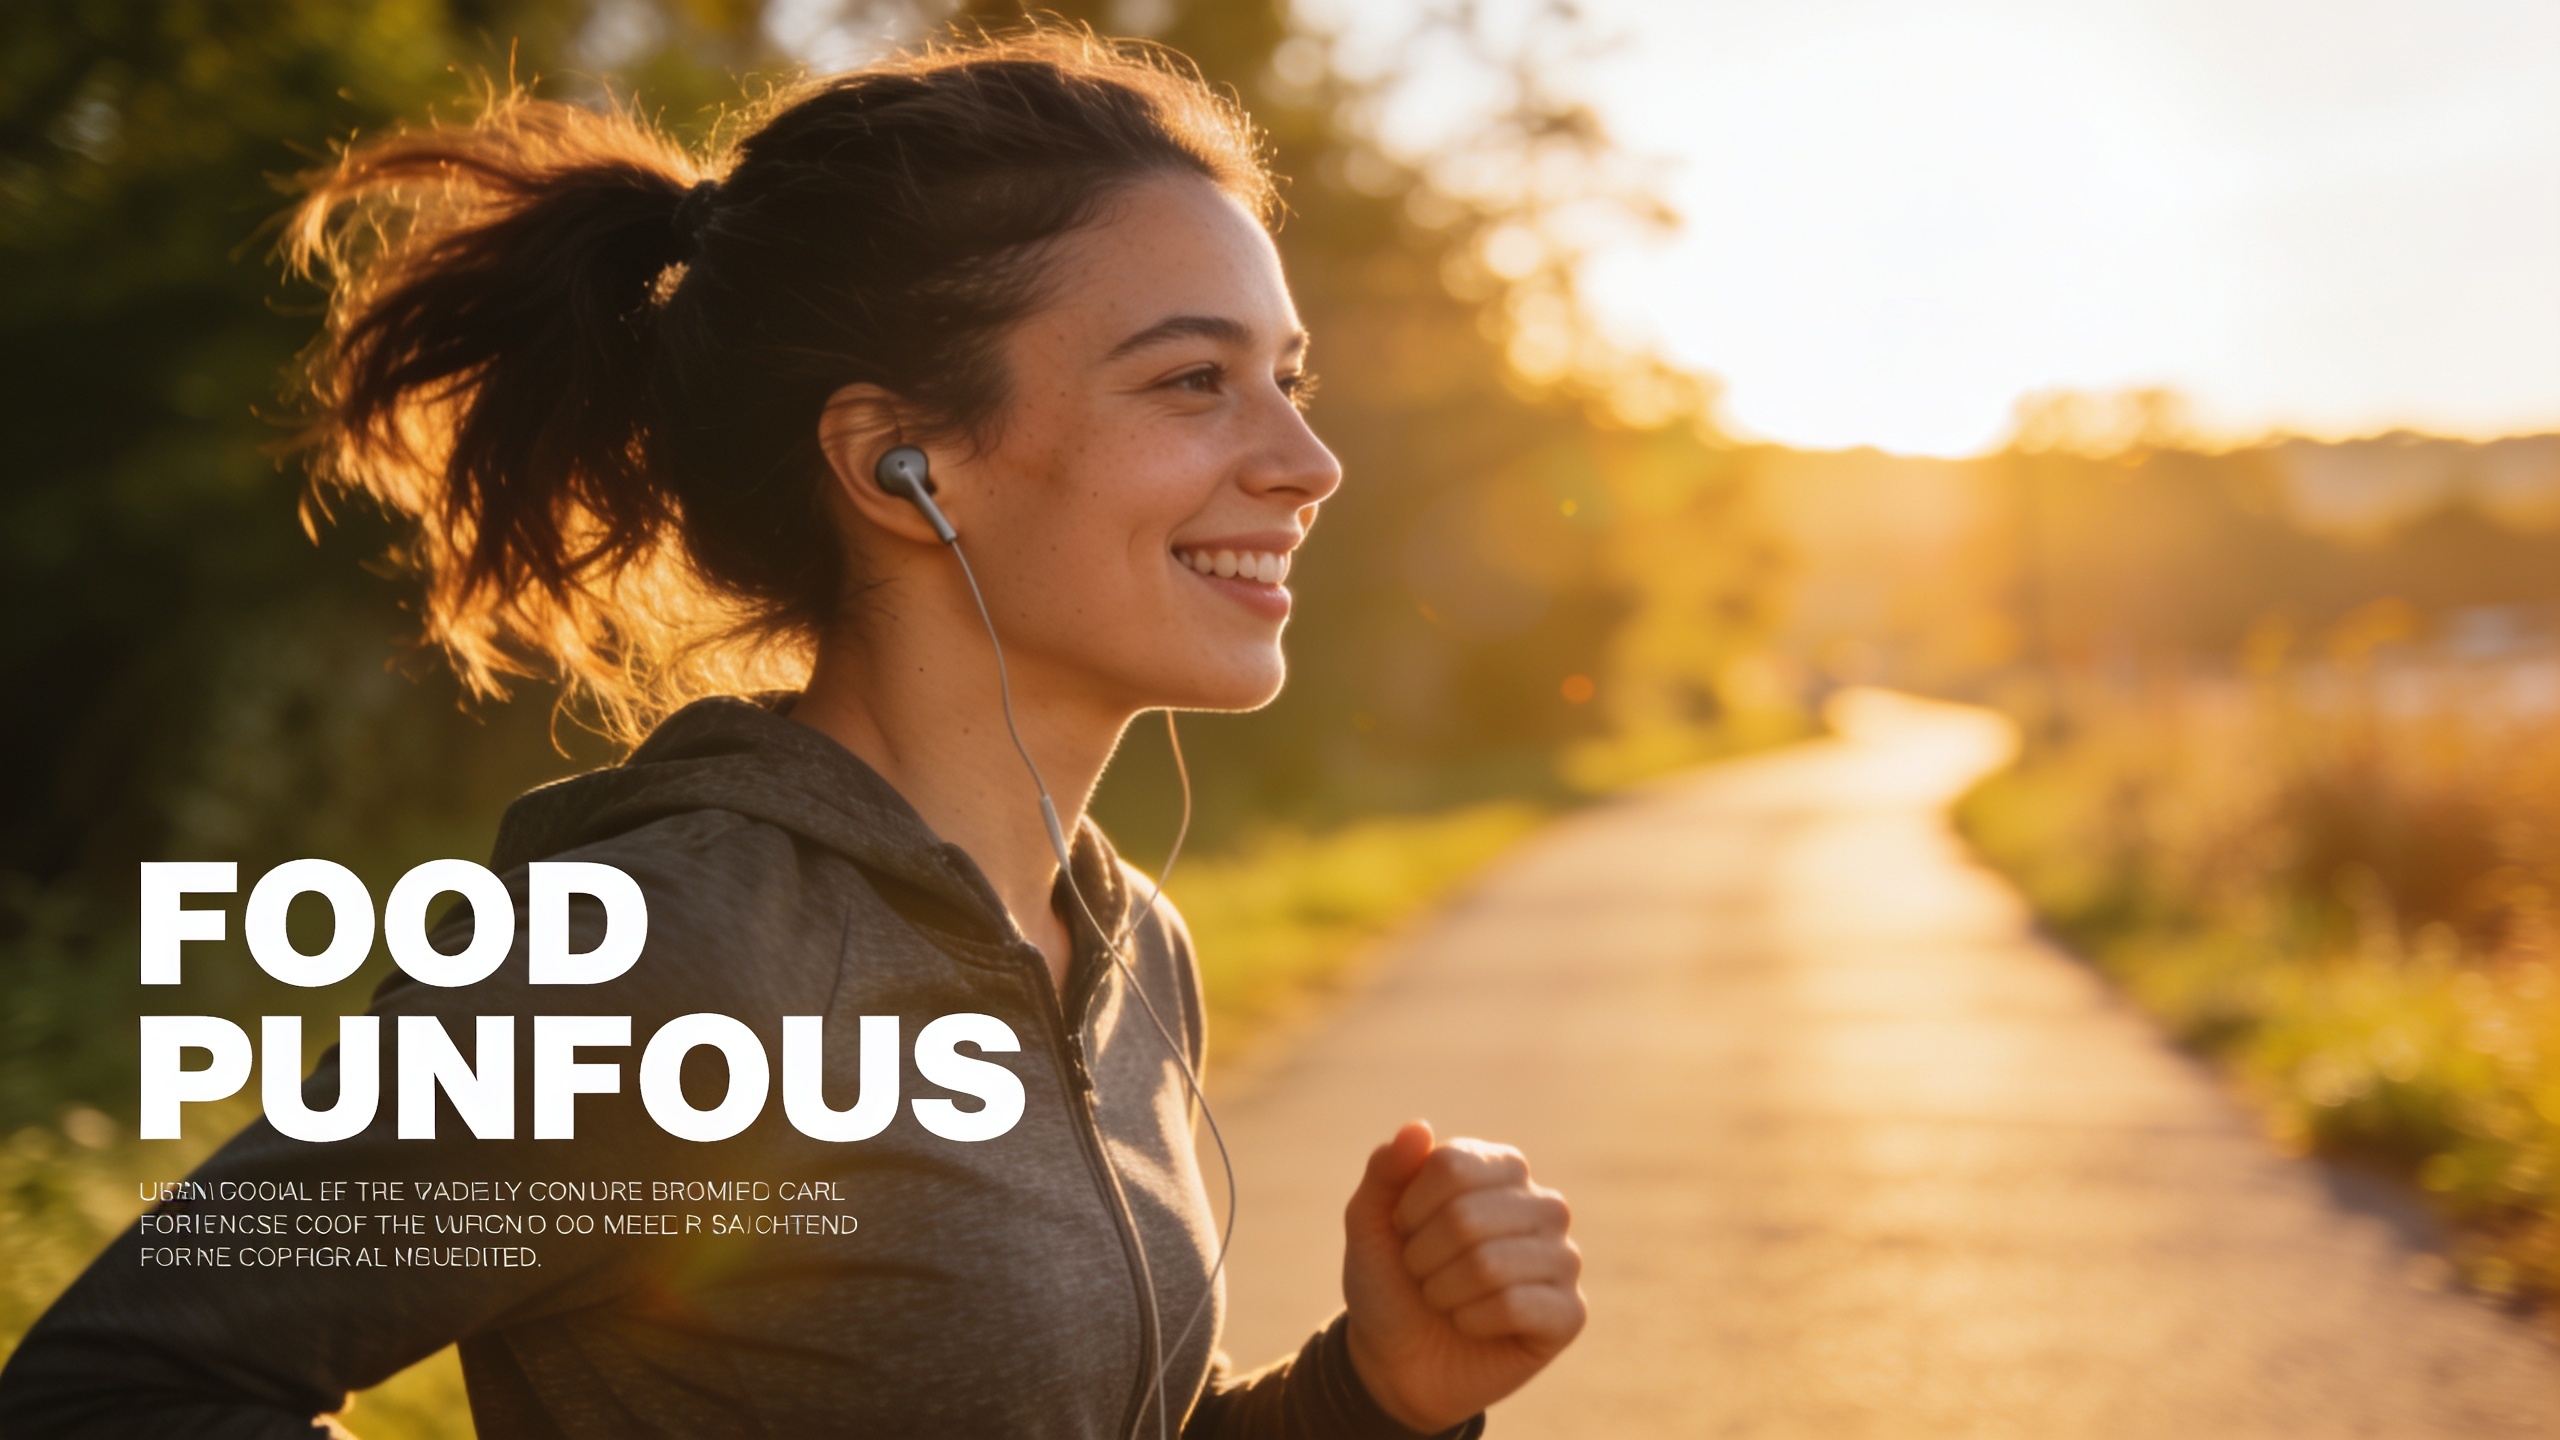
"lifestyle, person jogging with earbuds, golden-hour rim light, smiling, left third clear for headline, on-brand amber accent visible on product"
5) Generate: run 4–8 variants in one batch. Save the best 2–3 to the library.
6) Edit: use the Image Generator’s edit/restyle tools to nudge lighting, remove distractions, or swap background color.
7) Export: create platform-specific crops (16:9 hero, 1.91:1 ad, 4:5 social) and download high-res assets; keep the headline out of the image and export with at most 20% text coverage for ads.
Each step is fast: with seeded prompts you can get usable variants in minutes and iterate toward the final hero.
You can try every step above directly in GoCrazyAI AI Image Generator — no setup needed.
 AI-generated
Hands‑on: Produce and export platform‑specific ad and landing-page variants at scale — example exports?
You can produce platform-ready variants in a single batch by combining a seed image, a prompt template, and a target-crop list. Start with 8–12 base variants, then export each in the platform aspect ratios you need. This workflow makes A/B testing and ad delivery practical because you’ll have multiple crops tuned for each placement.
Example export list and rationale:
- 16:9 (landing page hero): main commerce header with left negative space for headline.
- 1.91:1 (Facebook/LinkedIn ads): wide ad crop that preserves product placement.
- 4:5 (Instagram feed): vertical crop that centers the subject for scrolling feed.
- 9:16 (Stories / Reels placeholder frame): tall frame with the subject centered and top/bottom safe zones.
Batch method: generate base variants at a high-res square or wide aspect, then use the Image Generator’s export presets to crop and retouch each variant for the list above. GoCrazyAI supports saving variations to a library so you can iterate and re-export without regenerating new images[4].
Practical note: label each file with the variant name and hypothesis (e.g., "hero_variantA_leftspace_test1") so your analytics and ad platform can match performance to specific visual treatments. Generating 10+ variants now usually takes the time it used to take to hire and schedule a photographer[5].
 AI-generated
Advanced tips: seed images, model choice (Nano Banana / Seedream / Kaneko Gen Pro), and preserving brand assets?
Choosing the right model and seeding approach improves consistency and legibility. Newer models like Google’s Nano Banana family tend to produce cleaner text, sharper product details, and more convincing materials, which helps when images include labels or signage[6]. Seed images (your product photos, mood frames, or packshots) anchor the generator to your composition and preserve proportions across variants.
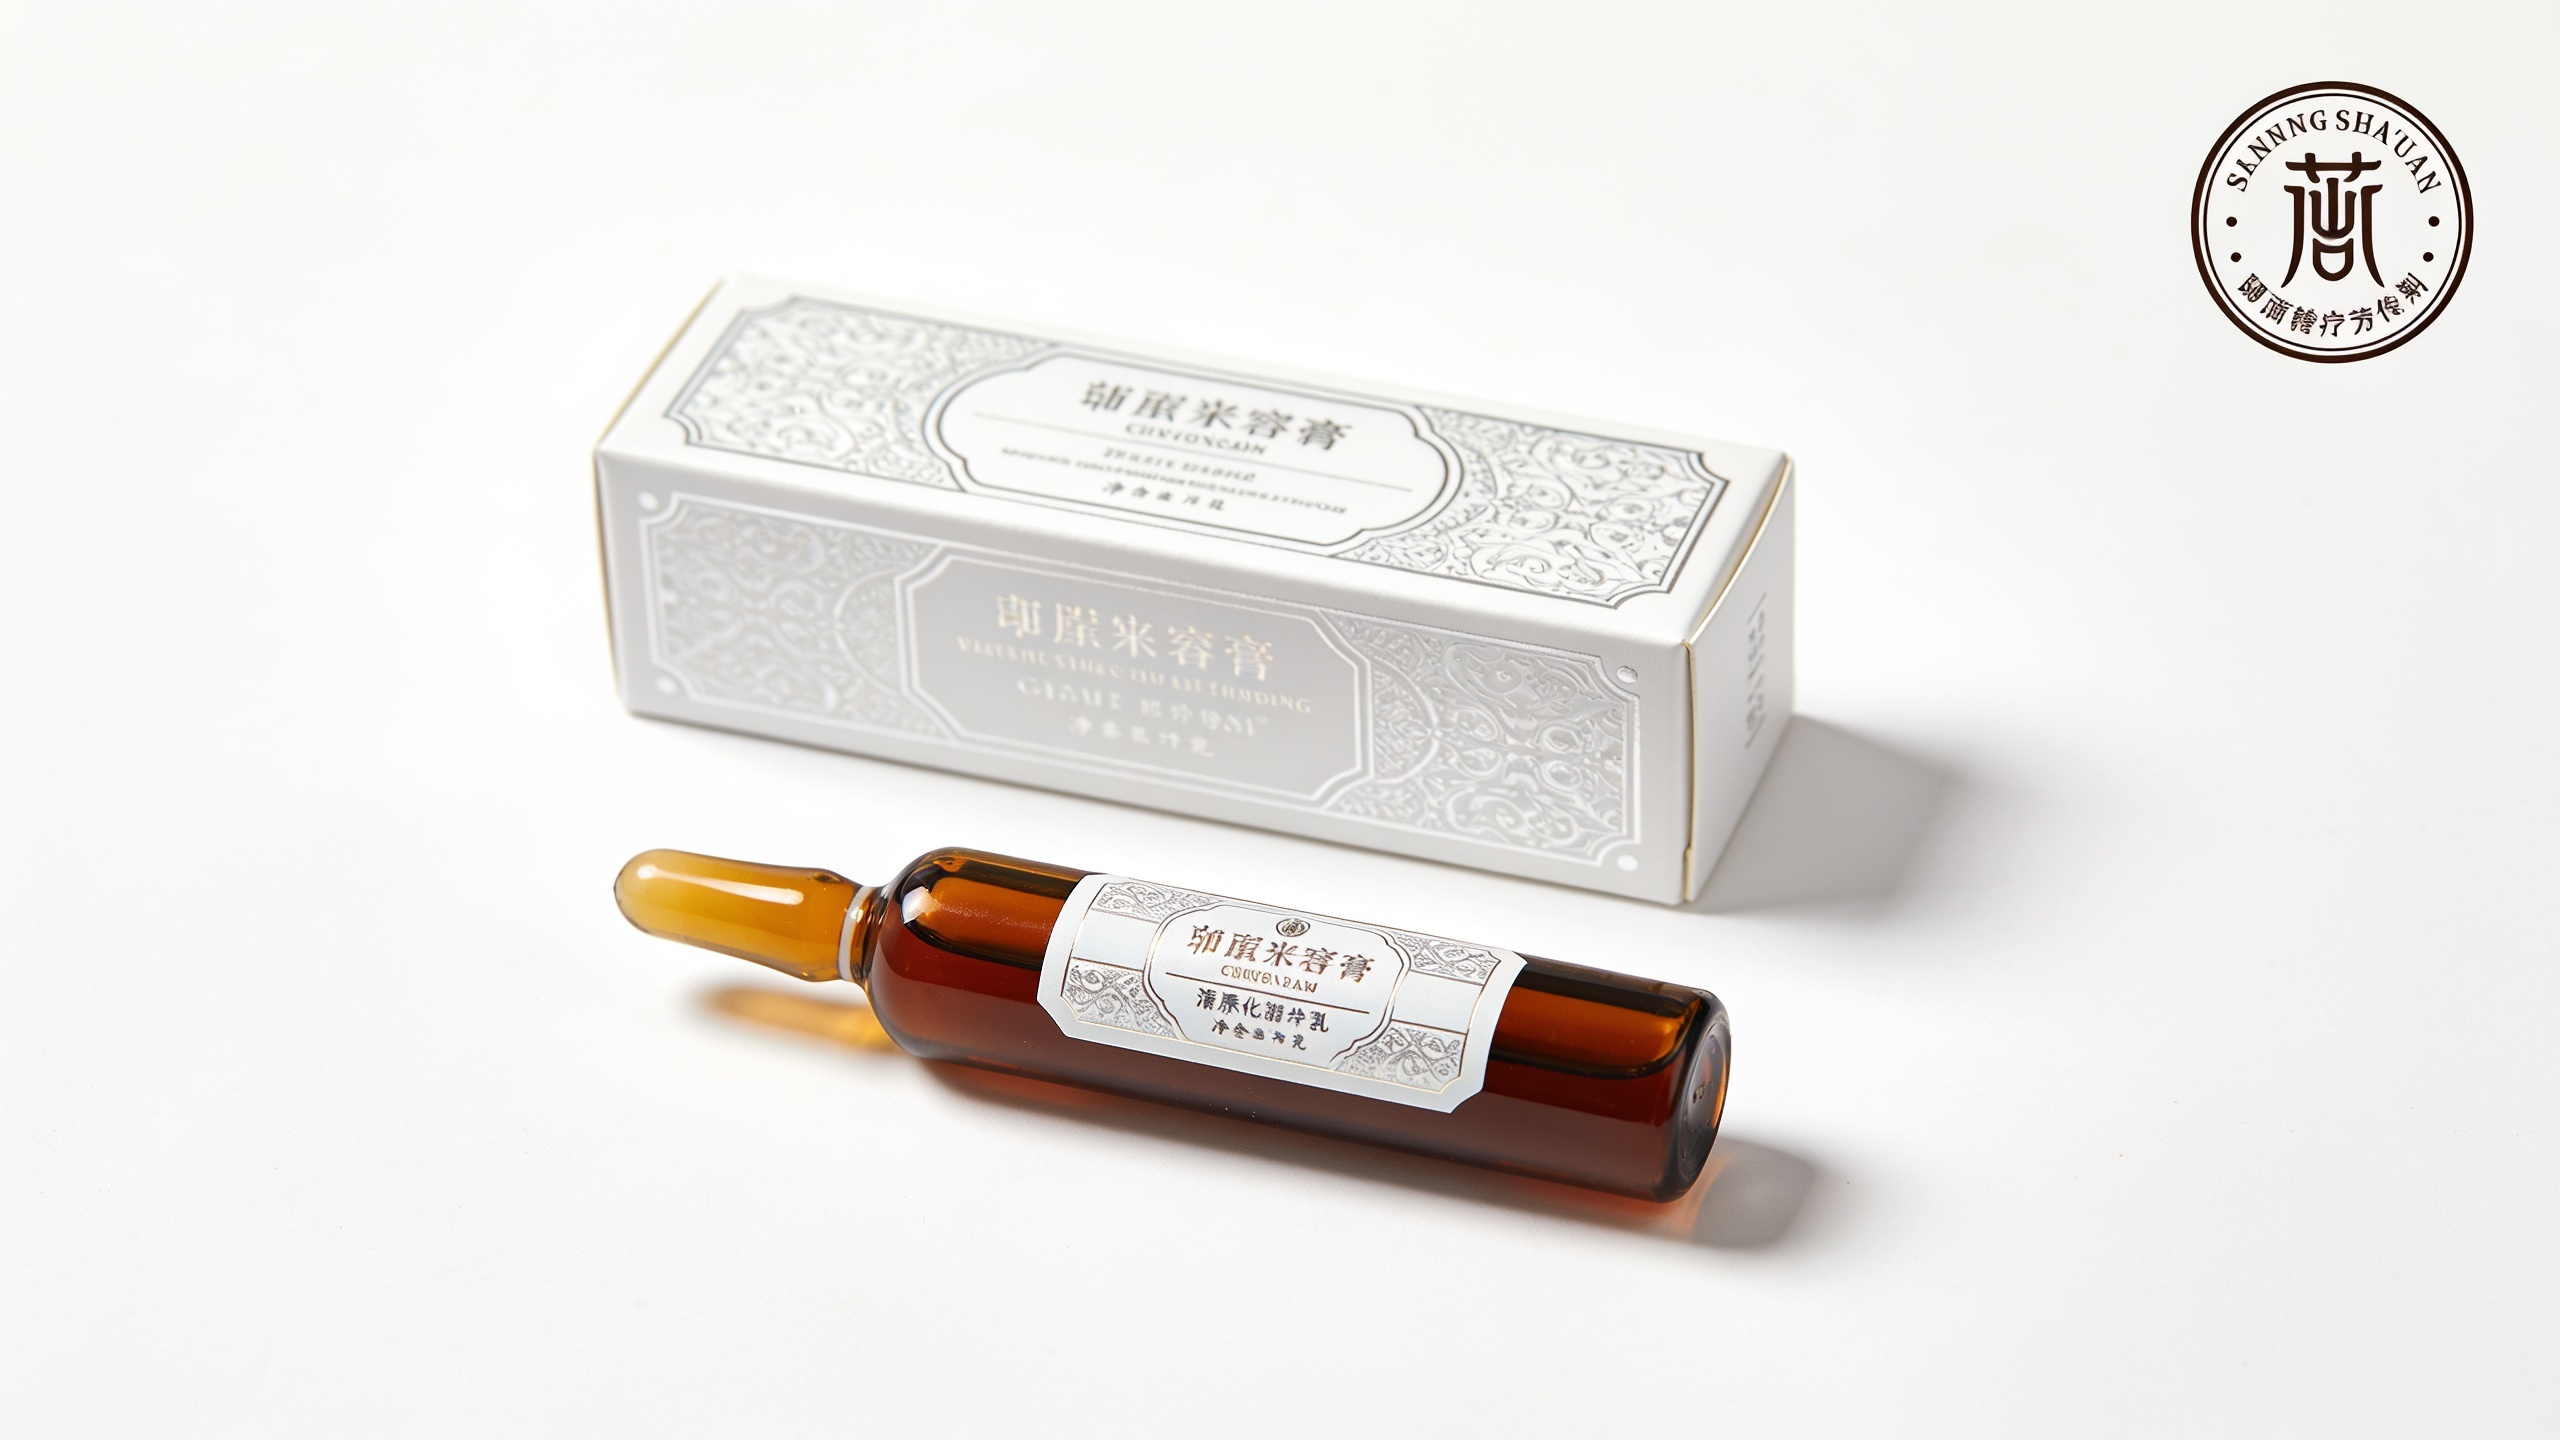
When preserving brand assets, provide clear constraints in prompts: exact hex colors, logo placement rules (e.g., "logo in bottom-right at 6% margin"), and allowable prop list. Store high-contrast, transparent logo files and import them in the edit step instead of asking the model to recreate logos—that reduces variations and legal risk.
Model selection tips:
- Nano Banana: best for photorealism and text legibility.
- Seedream 4: strong for stylized, cinematic looks and color grading.
- Kaneko Gen Pro: useful for fine-grained textures and product surfaces.
If you need motion later, export reference frames that feed directly into an AI video generator workflow so the hero can be animated without losing brand fidelity. For teams using video, consider pairing image exports with the AI video generator for short hero animations for ads and landing pages.
Testing, accessibility, and legal checks before you publish AI hero images — common pitfalls?
Before you publish, run a small checklist: accessibility contrast, copy as live HTML, factual accuracy, and rights clearance. Accessibility: ensure color contrast for any overlay text and maintain sufficient negative space; UX guidance strongly advises keeping headlines as live HTML so text scales and remains selectable[2]. Also keep image text under ~20% of the visual area for ad delivery and clarity.
Legal and accuracy checks: verify product labels, ingredient lists, and claims. If the hero shows a product feature, confirm that the visual matches the current product and packaging. Avoid asking the model to recreate third-party logos or trademarked artwork; instead, import the official asset during editing.
Common pitfalls and how to avoid them:
- Pitfall: embedding essential copy in the image. Avoid by placing headlines in HTML.
- Pitfall: inconsistent color or lighting across variants. Avoid by using seeded references and a saved prompt template.
- Pitfall: unverified product labels or misleading imagery. Avoid with a legal review step and a facts checklist before publish.
Running these checks typically prevents late-stage rework and ad rejections.
 AI-generated
Production checklist and a 2‑week sprint template for hero-image-driven launches?
A short production checklist and a two-week sprint help teams ship quickly without sacrificing quality. The checklist covers brief, brand system, seed frames, batch generation, edits, exports, testing, and launch approvals.
Two-week sprint template (summary):
- Week 1, Day 1: Brief and minimal brand style system; collect seed images.
- Week 1, Day 2: Create prompt library and run initial batch (8–12 variants).
- Week 1, Day 3: Internal review and pick top 4 variants.
- Week 1, Day 4: Edit/retouch selected variants; add logo assets in edit step.
- Week 1, Day 5: Export platform crops; prepare ad creatives.
- Week 2, Day 1–2: Run accessibility and legal checks; finalize live HTML headlines.
- Week 2, Day 3–4: Upload to ad platform and set up A/B tests.
- Week 2, Day 5: Monitor early performance and iterate (produce 8 more variants if needed).
Production checklist (quick): brief, palette, lighting presets, seed images, prompt templates, batch generation, edit pass, export crops, accessibility check, legal check, naming conventions, analytics tagging. Use saved templates in your image tool to reduce repeated setup time. Following this sprint, you should be able to deliver a tested hero set that supports rapid A/B testing and campaign launches.
Frequently Asked Questions
What makes an image "on-brand" for hero visuals?
An on-brand hero matches your palette, lighting, and subject archetypes consistently. Use a minimal style system: 3-color palette, 1–2 lighting setups, and defined subject types (product close-up, lifestyle). Apply these as prompt templates so generated images align across campaigns.
How many variants should I generate for A/B testing?
Start with 8–12 base variants, then export 2–4 platform crops per variant. That gives you enough variety to test hypotheses while keeping review time manageable.
Should headline text be baked into the hero image?
No. Keep headlines as live HTML for accessibility and responsive scaling. Reserve image space (negative space) for overlays instead of embedding important copy into the image.
Can I reuse images from the image generator in video ads?
Yes. Exported hero frames can be used as reference frames or starting frames for AI video generation, enabling simple motion or animated hero sequences.
Conclusion
Hero images still drive first impressions and measurable engagement when done right. Use a minimal brand style, seed images, tight prompt templates, and batch exports to produce consistent, testable hero sets fast. Run accessibility and legal checks before publishing and keep headlines live in HTML. Try generating your first on-brand hero set with the AI Image Generator and iterate until the visual aligns with your brand.
Sources
- Hero images: Best practices and examples — HubSpotblog.hubspot.com ↗
- How to create beautiful and persuasive hero images — Shopifyshopify.com ↗
- AI image generation best practices for marketers (2026) — AvocadoAIavocadoai.co ↗
- AI image branding workflow for consistent product visuals — GoCrazyAIgocrazy.ai ↗
- Generate image variations for ads & hero images — GoCrazyAIgocrazy.ai ↗
- Product launch visuals with AI — GoCrazyAIgocrazy.ai ↗
- How I create marketing images with AI (2026 Guide) — Asset Academyassetacademy.io ↗
- Nano Banana and image model notes — Wikipedia (Gemini/Nano Banana family)en.wikipedia.org ↗
- AI Image Generator for Marketing: 6 Tools Compared (2026) — AiForDigitalMarketingaifordigitalmarketing.com ↗
- AI website hero image workflow — MyUPmyup.ai ↗